
How To Adjust A Pin And Collar Watch Band?
Adjusting a pin-and-collar watch band improves comfort without buying a new bracelet. Most pin-and-collar setups let you remove 1-2 links and reset the collar pins in about 15-30 minutes with basic tools. You’re done when the band sits snug on your wrist, lies flat against the case, and moves freely at each joint.
Pin-and-collar bands are sized by removing 1-2 links, reinserting the pins and collars, and testing the fit on your wrist. Start with the clasp side to preserve symmetry, then reattach the end link after you confirm comfort. If the gap remains, add or remove another link.
Key Takeaways
- Tools you’ll need. A pin pusher, small hammer, and soft block prevent scratches and misalignment.
- Removable-link count. Most wrists require removing 1-2 links for a comfortable fit.
- Clasp-side first. Start removing links at the clasp side to keep symmetry.
- Pin and collar care. Keep collars aligned and pinheads flush to avoid snagging.
- Test and adjust. Reinsert pins, test fit, then add or remove another link if needed.
Tools and prep
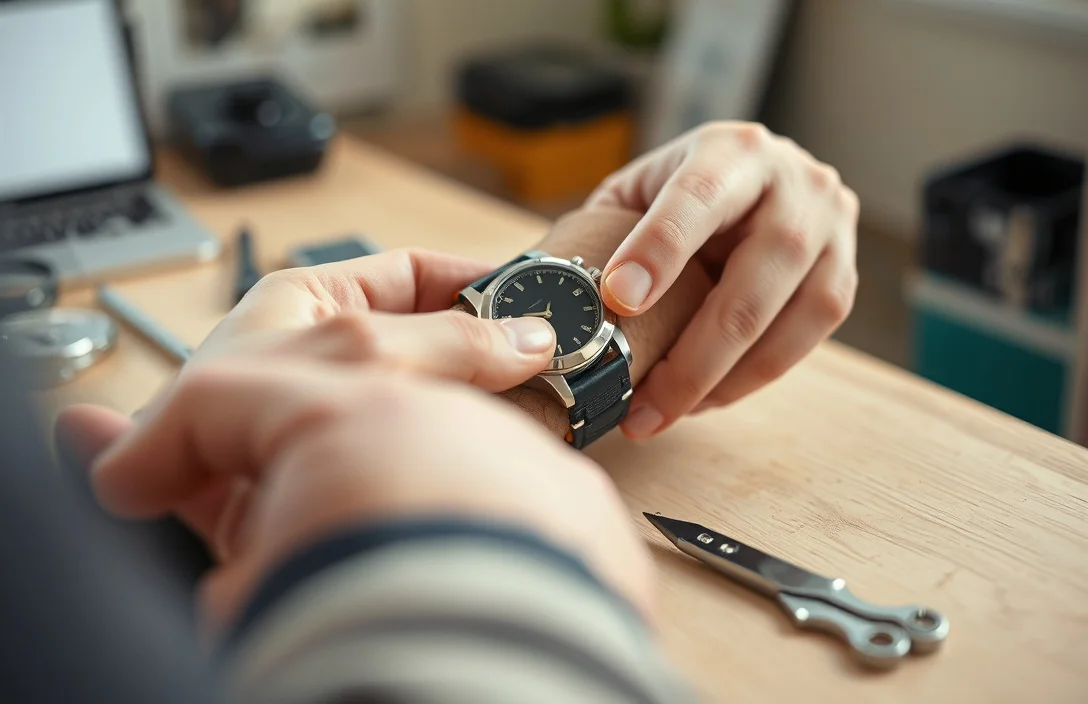
A clean workspace and the right tools prevent nicking the case or bending a pin. Set the watch on a soft surface, like a microfiber cloth on a padded board, and avoid hard edges that could scratch the caseback. Identify removable links before you start; many bracelets mark removable links with arrows or a visible gap.
Gather these basics: a pin pusher, a small hammer (preferably plastic or rubber), a soft block or watch holder, needle-nose pliers, a magnifier or jeweler’s loupe, and a clean cloth. If you don’t have a dedicated pin pusher, a thin safety pin or a tiny push tool designed for jewelry can work in a pinch, but avoid improvised tools that can slip and scratch the band.
To keep everything aligned, use a soft block or a dedicated watch holder. Tape the bracelet gently to prevent rolling while you work, and note which side faces the clasp when you remove links. This helps you reassemble with proper orientation. When in doubt, photograph the setup before removing any pins.
Tools list table
| Tool | Primary use |
|---|---|
| Pin pusher | Pushes the pin cleanly out of the link to separate it. |
| Small hammer | Gently taps the pusher if the pin is stubborn. |
| Soft block | Protects the bracelet and keeps joints square. |
| Needle-nose pliers | Grips and maneuvers small collars or pins as needed. |
| Magnifier | Lets you see the pin head and collar edge clearly. |
Prepare for a methodical session. Take breaks if the bracelet is stubborn; forcing pins can mar the finish or bend a link. Work slowly, keep the watch oriented the same way, and confirm each link’s removal direction before you push.
Understanding the pin-and-collar mechanism
Pin-and-collar bracelets rely on a small cylindrical pin that passes through the join between two links and a surrounding collar that locks the pin in place. The collar sits inside the link and keeps the pin head flush with the surface. When you remove a link, you push the pin out, slide the link away, and leave the remaining links connected by the continuing pins and collars.
Look for removable links by checking the underside of the bracelet for small arrows or gaps indicating a pin position. Some designs hide the pin head within the edge of the link, making the removal feel like a tiny metal puzzle. As you work, keep the orientation consistent: note whether the pin is pushed from the left or the right so you can reinsert it in the same direction. Misaligned pins or collars can sit proud and snag on clothing or hair, so aim for a flush finish.
The collar’s job is to hold the pin from sliding out completely while still allowing the joint to articulate. Some collars snap into the link and must be pressed back into place after you remove or add a link. If a collar is bent or deformed, the pin may never sit flush again, and you’ll feel roughness at the joint. A careful, straight push is essential for a clean, functional reassembly.
Step-by-step: remove links
Most pin-and-collar bracelets require removing 1-2 links to shorten. Start with the clasp-side link to preserve symmetry, then test the fit before removing more. Each step should be deliberate; rushing increases the risk of slips or scratches.
1) Place the bracelet on the soft block with the pin you’ll push facing up. 2) Align the pin pusher with the pin head and apply steady pressure to push it out just enough to clear the collar. 3) Gently pull the link away from the bracelet once the pin is freed. 4) If the pin doesn’t move, re-check alignment and try a light tap with the plastic hammer to loosen the pin head. 5) Remove the target link and set aside the pin and collar from that section. 6) Repeat on the adjacent link if you plan to remove a second link. 7) Keep track of which links come out; you’ll reinstall the same number on the other side for balance. 8) If a link is stubborn, pause and re-check orientation before attempting another push.
For example, remove one link from the clasp side to shorten slightly. If the band still feels loose, remove a second link from the same side or adjust by one link on the opposite side to maintain symmetry. Each bracelet design can differ slightly, so patience is essential.
During this process, inspect the pin and the collar after removal. Confirm that the collar stays seated in the link and that the pin head sits flush with the surface. If you see any bend or gap around the collar, stop and reassess before continuing. A misaligned collar can prevent the band from closing securely.
Step-by-step: reassemble and adjust the clasp
Reassembly is the flip side of removal. Push the pins in so the head is flush with the link surface and the collar sits fully seated inside the link. Start by lining up the two halves of the bracelet and guiding the pin back into the hole. Use the pusher to slide the pin until you hear or feel a light click indicating the collar has seated.
Check the alignment along the entire bracelet. The goal is a smooth line with no protruding edges at any joint. Close the clasp and move the bracelet through a few wrist movements to ensure the pins don’t shift under normal wear. If you notice stiffness, there may be a misalignment; remove and reinsert the pin a touch more carefully. Slow, deliberate work and checking from different angles yield the most reliable reassembly.
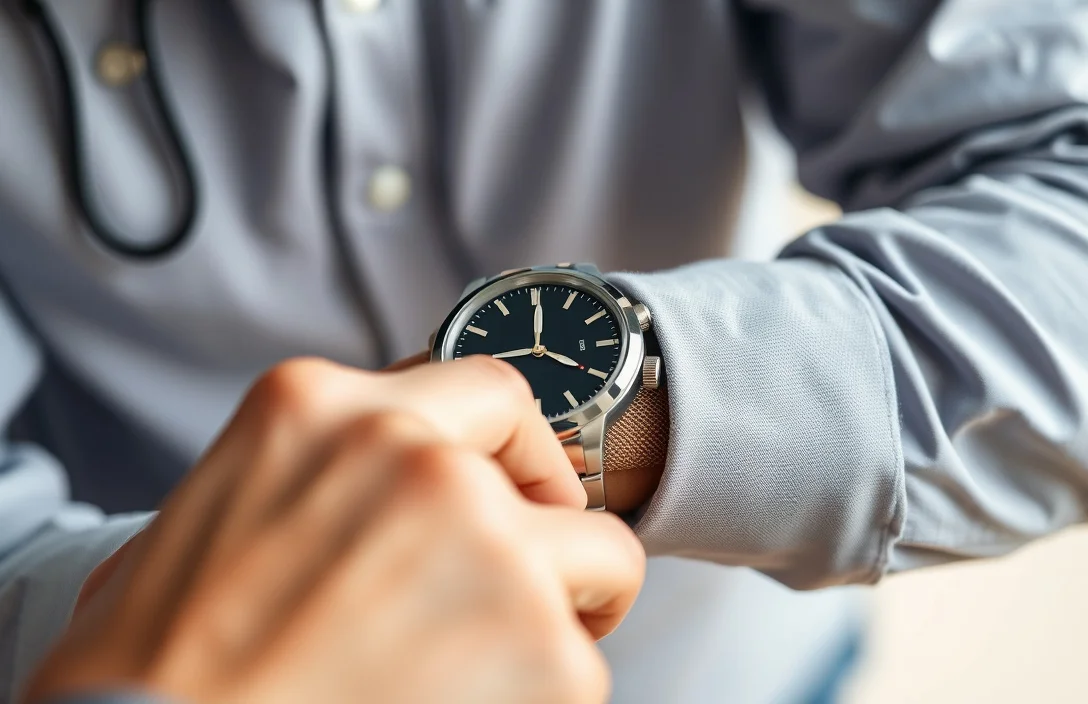
When testing the fit, wear the watch for a few minutes around the house. Move your wrist through everyday motions to confirm there’s no pin snag. If the band feels too tight, remove another link only if you can maintain symmetry. If it’s still loose after removing a couple links, you may have cut too much length and need to add back a link or consult a professional.
Troubleshooting common issues
Pin and collar bracelets are sturdy, but a few problems can pop up. Knowing how to respond keeps you from making things worse.
- Pin won’t come out: Recheck alignment and use a lighter, more controlled push. A stubborn pin can mean the collar is binding or the pin head is recessed. Don’t hammer hard; a precise touch often frees it.
- Collar won’t seat flush: Inspect for a bent collar or a misaligned edge. If the collar is deformed, stop, straighten gently with fine pliers or replace the collar if you have spares.
- Bracelet too tight or too loose: If you trimmed too much, add a link from the same side or from the opposite side to restore symmetry. Avoid removing more than 2-3 links without rechecking your wrist measurement.
- Pin or collar scratched: Work on a soft block and keep sharpening tools away from the case. If you see scratches on the pin, consider replacing the pin and reassembling with fresh parts.
- Clasp won’t close after reassembly: Double-check that the end link sits properly and the final pin is fully seated. If you suspect misalignment, remove the last pin and reseat with care.
In practice, most issues come from misalignment or over-enthusiastic tapping. Keep tool pressure light and verify alignment with a solid, square stance before every push. If you’re ever unsure, pause and re-evaluate rather than forcing a stubborn joint.
Measuring fit and testing
A precise fit is about comfort and range of motion, not a number. Start with a conservative removal, then test by pressing the band against the wrist and bending at each joint to ensure it can flex without pinching. A band that sits snug but can still move with a natural arc is ideal. If you can slide a finger under the band easily and there’s no gap along the back near the case, you’re close.
Make sure the band sits flat against the case with no raised edges that could catch on sleeves or cuffs. A flush finish around each pin head ensures the band won’t snag. Recheck the clasp to confirm it closes securely and remains aligned with the bracelet line. For most users, the target is a comfortable, secure fit that feels integrated with the watch rather than a loose, wingspan-like extension.
Use a mirror to verify both the top and underside angles of the bracelet. A single misaligned pin or collar can look off from the side, even if it feels fine when you move your wrist. Adjust by removing or adding a link in small increments, then retest. With careful steps, you’ll have a custom fit that lasts.
Maintenance and care
After you adjust, wipe the bracelet to remove fingerprints and oils. A light coat of watch-safe lubricant on the pin and collar is usually unnecessary for stainless steel; if you do use lubricant, apply a tiny amount to the pin interface and wipe away excess. Regular checks every few months will help keep the fit consistent as the bracelet settles.
Store your tools in a small case to prevent accidental scratches on the watch case. If you notice corrosion or a dull finish on the clasp, consider a professional cleaning. A periodic inspection by a jeweler can catch issues like bent links or worn collars before they become problems.
When to seek a pro
If the bracelet uses a non-standard pin-and-collar design, or if the links are very tight or very delicate, a professional can size the band without risk. A jeweler will have the right press tools and exact replacement parts to ensure the collar seats perfectly and the pins stay flush. If you feel uncertain at any point, don’t force a fit; a quick pro visit is worth avoiding costly damage.
For metal bracelets with hollow or fragile links, a pro can also check for wear and replace compromised components. If your watch has a unique case back or a curved end link that requires specialized fittings, a professional service will preserve the bracelet’s integrity and maintain its warranty where applicable.
Quick-start
- Confirm you have a soft work surface and proper tools (pin pusher, small hammer, soft block).
- Identify removable links and start from the clasp side.
- Remove 1-2 links, then reassemble and test fit.
- Recheck the collar seating and pin flushness after reassembly.
- Test movement around the wrist, ensuring no snagging or tight spots.
You can size most pin-and-collar bands at home in under 30 minutes with patience and the right tools. Start small, test often, and keep symmetry in mind. If you run into a stubborn snag, a local jeweler can size the bracelet cleanly in minutes.
FAQ
How many links should I remove to start?
Start with 1 link, then test. If it’s still loose, remove another, but don’t exceed two links unless you remeasure your wrist.
How long does it typically take to adjust a pin and collar band?
Most adjustments take 15 to 30 minutes in typical cases, depending on bracelet design and your tool control.
Is it risky to adjust a pin and collar watch band at home?
Yes, there is risk of scratching the case or bending the pin if you rush. Use a soft surface, proper tools, and a careful touch.
What tools do I need for this repair?
You need a pin pusher, a small hammer, a soft block, needle-nose pliers, and a magnifier to work accurately.
What should I do if the band is still loose after removing 1-2 links?
Add one more link from the same side or the opposite side to maintain symmetry. If it remains loose, seek a jeweler to avoid over-shortening.