
How To Wear A Collar Tie Pin? In 7 Easy Steps
A collar tie pin is a small detail with a big effect. It keeps the collar points aligned, stabilizes the knot, and adds a touch of vintage polish to a clean, modern look. You’ll need a proper shirt collar, a standard tie knot, and a pin with a secure back clasp. When placed correctly, the result is sharp lines and a confident, understated finish.
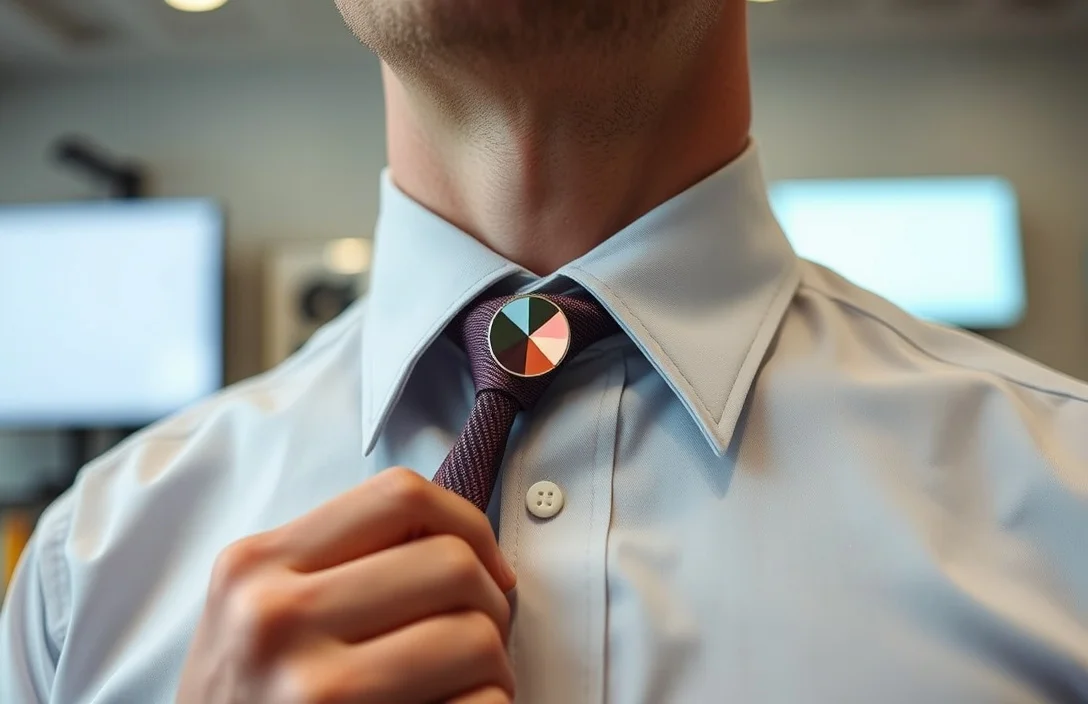
Collar tie pin placement is crucial. Position it between the collar points, about 1 inch above the knot, and thread it through both layers of fabric. This locks the collar and tie into a single, coherent plane, creating a neat, steady line from chin to chest.
Key Takeaways
- Placement matters. Position the pin between the collar points, about 1 inch above the knot.
- Thread through both layers. Ensure the pin passes through outer and inner collar to secure it.
- Knot alignment. A classic four-in-hand or half-Windsor works best for a consistent line.
- Fabric-friendly choice. Lightweight cottons and blends work best; avoid thick oxford or heavy twills.
- Finish coordination. Match metal tone with cufflinks or belt buckle for a cohesive look.
- Removal discipline. Remove the pin before taking off the shirt to prevent snagging.
How to Wear a Collar Tie Pin

A collar tie pin should feel like a natural extension of a well-made outfit, not a gimmick. Start with the basics: a shirt with a classic spread collar, a standard tie knot, and a pin long enough to pass through both collar layers. The pin’s backside should sit flush against the inner layer, holding the two collar points and the tie in place.
Choose a simple gold or silver pin with a slender profile for a timeless look. For light-colored shirts, a bright metal serves as a deliberate accent, while a darker finish blends seamlessly with darker shirts. Consistency matters more than flash; the pin should draw the eye, not shout at it.
- Choose the pin and check the clasp. Pick a pin with a secure back clasp and a length long enough to pass through both collar layers without sticking out.
- Prepare the shirt and tie. Button the shirt to the top, tie your knot, and align the collar points evenly.
- Select a knot that aligns well. A four-in-hand or half-Windsor knot works best with a collar pin because the knot sits near the middle of your collar.
- Position the collar points. Spread the collar points evenly for symmetry; the distance between points should feel balanced for your face and frame.
- Locate the pin position. Place the pin between the collar points, roughly 1 inch above the knot; mark a mental target if helpful.
- Insert the pin from outside. Thread the pin through the top and bottom layers of the collar at the marked spot, then secure the back clasp against the inside.
- Final checks and adjustment. Look in a mirror to confirm the line from chin to chest is straight; adjust the knot and collar as needed.
Your goal is clean lines, not a hardware show. If the knot shifts during the day, a quick readjustment is acceptable; aim to minimize tweaks. A well-set pin stays put through a normal workday and should feel comfortable rather than pinching or snagging the fabric.
Choosing the Right Pin for Your Shirt
Different collar pins and mechanisms serve different needs. The wrong choice can feel bulky, snag the fabric, or lose its position. Start with a straightforward, secure pin designed for shirt collars, and scale up to more decorative options only after mastering basic placement.
Two factors drive your choice: how the pin attaches to the collar and how it looks with your shirt fabric. A through-pin with a backing clasp is the most secure option for standard dress shirts. It passes through both collar layers and is locked by a small back piece on the inside. If your shirt fabric is delicate or the collar is very thin, a thinner pin prevents puckering. A collar bar or clip-on option sits between the two collar points without piercing the fabric; it’s easier to manage but can feel looser and may shift with movement. Magnetic variants offer ease of use but can read as casual or less secure for very formal outfits.
| Pin Type | How it Works | Best For | Pros | Cons |
|---|---|---|---|---|
| – | – | – | – | – |
| Through-pin (classic collar pin) | Threaded through both collar layers with a back clasp | Standard dress shirts with mid-weight fabric | Strong hold; clean line | Can damage very thin fabrics; requires precise placement |
| Collar bar / clip | Sits between collar points with a small bar or clip | Delicate fabrics; quick adjustments | Easy to remove; no holes in fabric | Less secure; can slip if knot shifts |
| Magnetic collar pin | Two magnets align the collar points with pin through the fabric | Casual or non-traditional looks | Easy on/off; no fabric piercing | Weaker hold on thick fabrics; reads as casual |
| Decorative / jeweled pin | Similar mechanism to a standard pin with a prominent head | Statement outfits; evening wear | Adds personality; can complement cufflinks | Bulky heads may clash with certain ties or lapels |
As you start out, go with a simple through-pin or a discreet collar bar. Save heavy, ornate designs for outfits with ample contrast or events with a clear aesthetic. If unsure about fabric compatibility, test the pin on a small, inconspicuous area first and watch for puckering or pulling after you move.
Common Mistakes to Avoid
Simple mistakes can derail your look quickly. Avoid rushing the setup; a moment’s pause makes a big difference. Common missteps are easily avoided with a clear routine and a mirror check.
- Wearing a pin on a shirt without a true spread collar. If the collar points don’t converge naturally, the pin will look misaligned and feel awkward.
- Using the wrong knot. A knot that sits too high or too low relative to the pin makes the line off-center and unbalanced.
- Pinning too high or too low. Extreme positions distort the jawline and neckline; aim for roughly midway up the collar.
- Choosing a bulky or ornate pin for a lightweight shirt. Heavy pins over thin fabric look disproportionate and can create puckers.
- Forcing the pin through compromised fabric. If the collar is frayed or stiff, the pin will snag or leave marks.
- Wearing a pin with a casual or casual-dress tone. In highly formal settings, a pin that looks too flashy can clash with the expected standard.
A few simple checks save headaches. Position the pin so the top edge sits flush with the collar points, never blocking the knot, and adjust if you see any misalignment in the mirror. If unsure about the collar’s balance, pin the point closest to the knot first, then check the other side for symmetry.
Troubleshooting Common Issues
Even with careful setup, issues can arise. Most problems revolve around movement, fabric compatibility, or misalignment. A quick set of fixes keeps you from redoing the entire look.
- Pin slips during wear. Reinsert and confirm the back clasp is fully seated; consider a thicker back if the fabric allows.
- Fabric puckering around the hole. Try a thinner pin or a less aggressive pass through the collar; test on a less visible area first.
- Knot shifts as you move. Recheck alignment in the mirror; consider tightening the knot slightly or adjusting the collar points to balance weight.
- Pin leaves marks or impressions. Ensure you’re not forcing the pin; if marks appear, switch to a lighter-weight fabric or a collar bar for less piercing.
- Collar points wobble after removing the pin. Recenter and repackage the collar; ensure the shirt is fully buttoned before leaving the house.
Most issues boil down to fit and fabric. If you regularly encounter puckering, switch to a lighter fabric with a pin designed for delicate collars. If you need flexibility, try a collar bar instead of a through-pin for everyday wear.
Outfits: Style Pairings and Real-World

Pairing a collar tie pin with the right outfit is about balance. The goal is to add a controlled highlight that coordinates with the rest of your wardrobe. Here are three practical templates you can adopt.
- Formal business formal: Navy or charcoal suit, white shirt with a classic spread collar, standard tie. Use a slim silver or gunmetal pin that matches cufflinks. This combination reads conservative but clearly intentional.
- Business professional with a touch of character: Gray suit, light blue shirt, and a slightly patterned tie. Choose a pin with subtle contrast – gold on blue or silver on gray – to pick up on the tie’s accents.
- Evening or smart-casual event: Dark blazer, crisp white shirt, no-tie option or a narrow knot. A small, unobtrusive pin in a polished finish adds refinement without drawing too much attention.
The style is a conversation between the pin, the knot, and the overall line of your outfit. If you’re new to wearing a collar pin, start with a neutral metal and a modest knot to learn how the piece behaves during daily movement. Once confident, you can experiment with finishes, sizes, and pairing accents.
Alternatives and Modern Variations
If you’re unsure about a traditional pin, there are practical routes that preserve the look without forcing a pin into the fabric. A collar bar, clip-on variant, or a magnetic option can deliver a similar silhouette with different interaction points.
- Collar bar. A small bar between the points that holds the collar flat without piercing fabric; it’s safer for delicate collars and easier to adjust on the fly.
- Clip-on variant. A minimalist approach that achieves a clean line and is forgiving on movement; ideal for beginners.
- Magnetic collar pin. Fast and reversible, though it may require caution in magnetic-sensitive environments; best for casual or business-casual settings.
Each alternative has a distinct feel. For very formal events, a classic through-pin with a quiet finish remains the most traditionally accepted option. For everyday wear, a collar bar or clip offers reliability with less risk of damage or misalignment.
Care, Maintenance, and Storage
Proper care keeps pins looking sharp and prevents rust, tarnish, or snagging. Cleaning is simple but requires a gentle touch.
- Clean after wear with a soft cloth; wipe away oils and sweat to prevent tarnish on metal finishes.
- Store pins in a dedicated box or pouch to prevent scratching or tangling with cufflinks or tie bars.
- Inspect backing clasps regularly for wear; replace worn backs to keep the pin secure.
- Avoid leaving pins in areas with moisture or high humidity; metal can corrode over time.
- For decorative pins, consider a light coating of clear lacquer to protect intricate details from tarnish.
A simple routine – wipe, dry, and store – extends the life of your collar pins and keeps them looking intentional rather than neglected.
Practical verdict and next
A well-placed collar tie pin is a quiet but powerful upgrade – subtle, functional, and stylish when you respect the basics: correct placement, a secure back, and a knot that sits well with the collar. Start with a classic through-pin and a medium-weight shirt, then test similar looks with a collar bar for comfort. Your next step is to pick one pin in a neutral finish and practice at home in front of a mirror; once you’re confident, add a second pin or explore more decorative options for special occasions.
FAQ
How do I position a collar tie pin correctly?
A: Place the pin between the collar points, roughly 1 inch above the knot, and thread it through both collar layers. The back clasp should hold firmly against the inside of the shirt to prevent movement.
Is a collar tie pin appropriate for all dress codes?
A: It suits most business and formal environments when kept subtle and matched to other metals in the outfit. For very casual settings, a pin can feel out of place or overly formal.
What materials are best for a collar tie pin?
A: Plain metal finishes – silver, gold, or gunmetal – work well with most shirts and ties. For white or light shirts, a brighter finish often reads as a stronger accent; for dark shirts, a darker finish tends to blend.
How do I remove a collar tie pin safely?
A: Gently back the pin out from the outer layer, then slide it clear from the inner layer. If the pin is stubborn, loosen it slightly by moving the back clasp before removing.
What should I do if the pin leaves a mark on the collar?
A: If marks occur, switch to a thinner pin or a collar bar that doesn’t pierce as deeply. Let the fabric recover before wearing again, and consider a fabric-safe lubricant or stain remover if needed.
A collar tie pin should feel like a precise flourish, not a burden. With careful placement, the right knot, and fabrics that accept the pin gracefully, you’ll add a clean, confident note to your look. Practice with a mirror, pick a finish that aligns with your accessories, and you’ll be ready for everyday wear and special occasions alike.