How To Use Collar Pin Bar? A Step-by-step Tutorial
Using a collar pin bar
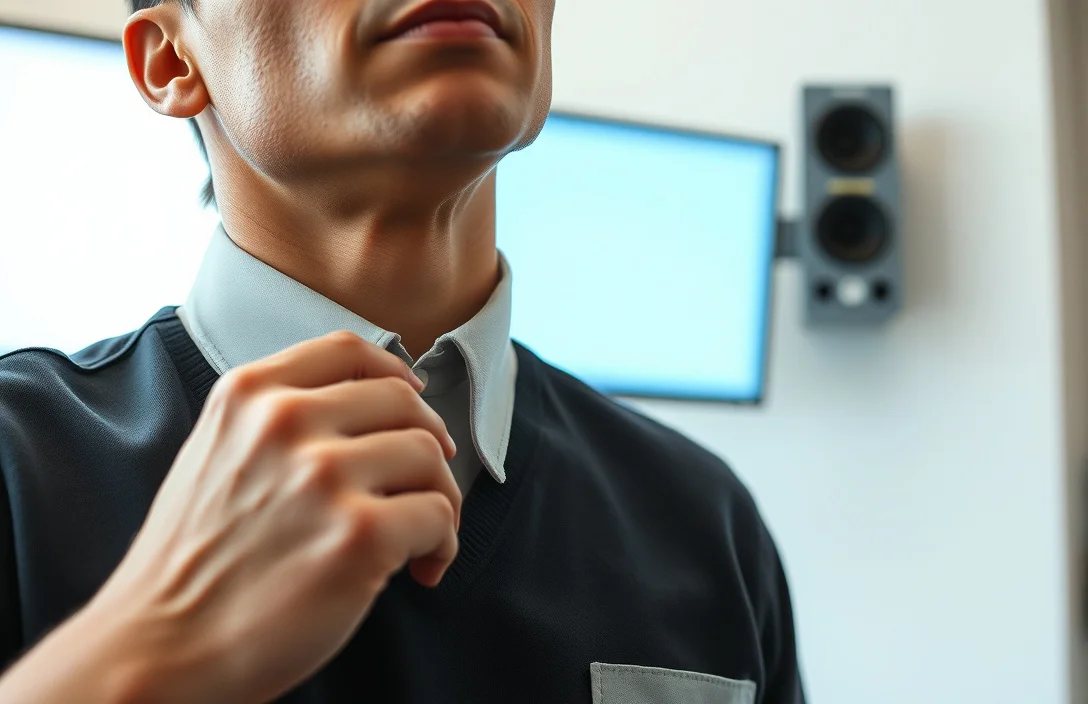
Using a collar pin bar sharpens a dress shirt’s silhouette when done correctly. Gather a compatible bar, a clean shirt, and a mirror. You’ll learn how to position the bar, adjust height for a clean line, and remove it without damaging fabric. The goal is a subtle lift that keeps the collar neat from boardroom to casual evenings.
Collar pin bar. A collar pin bar sits across the collar points and anchors the fabric with two ends. Align it with the points, slide it into position, and test the tension; the lift should be slight enough to create a clean line without puckering.
Key Takeaways
- Right device fit. Choose a collar pin bar designed for your shirt width; most bars fit standard dress shirts.
- Hand hygiene first. Wash and dry hands before handling to avoid transferring oils to collars.
- Position precisely. Align the bar with the collar points and center it before securing.
- Secure gently. Apply even pressure to avoid fabric puckering; test with light tug after placement.
- Remove safely. Release the bar in reverse order after wearing to prevent collar damage.
- Check fit with a jacket. Wear a shirt and jacket together to ensure the bar remains hidden and the collar line stays clean.
Prerequisites and setup
A collar pin bar is a small rigid device that works best with shirts designed to accommodate it. Confirm your shirt has the right structure or holes for the bar you own, and inspect the fabric for wear. If your shirt is loosely woven or particularly delicate, pace your use or skip the bar entirely.
Having a clean workspace helps. Lay the shirt flat on a stable surface, and position a mirror at eye level. This lets you watch how the bar sits when you adjust the collar line. If you’ve never used a collar pin bar before, test on a spare shirt first. The goal is to establish a comfortable lift that looks natural under your outfit.
If you’re unsure about which type of bar to buy, start with a simple, reversible design. You want something that can be removed quickly and without leaving marks. After you’ve confirmed the bar fits your shirt style, you can begin practicing the placement and removal routine. This reduces the risk of damage or misalignment in real wear.
Step-by-step usage
Assess the shirt and bar. Fabric weight, collar width, and whether there are built-in holes or an alternative mounting mechanism guide how you proceed. Prepare the tools: a collar pin bar, clean hands, and a mirror. This prep reduces snagging and stretching.
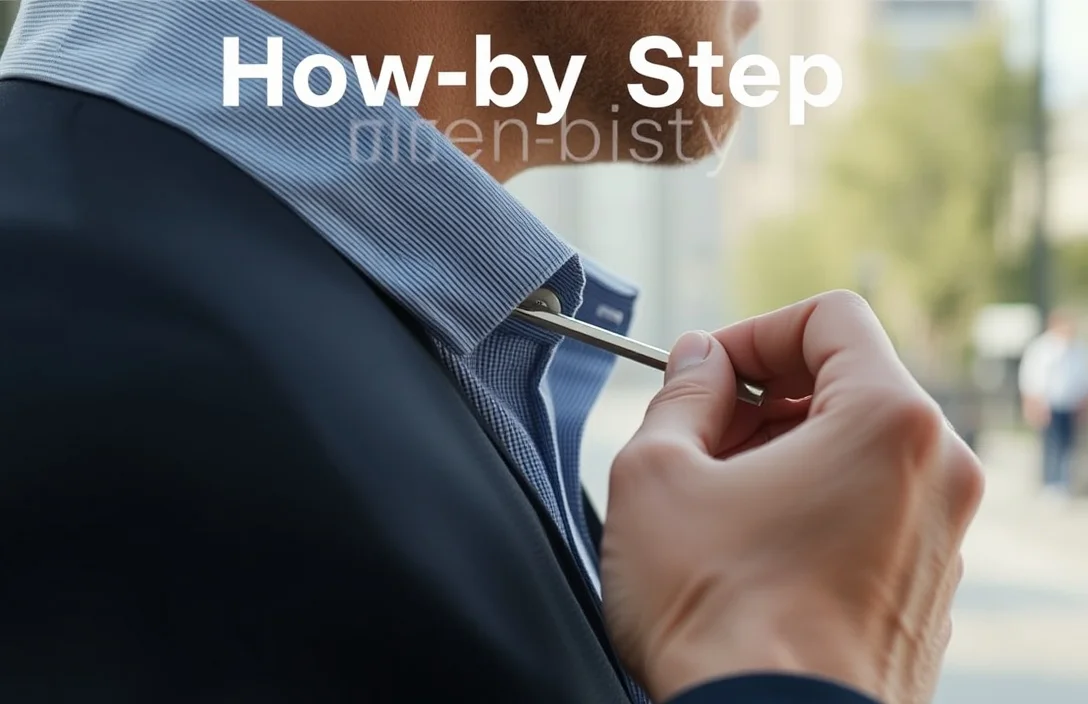
1) Choose the position. Decide how high you want the lift and how visible you want the bar to be when you’re standing upright. A midline lift across the collar points is typical for a crisp, professional look.
2) Align with the points. Place the bar so the ends align with the tips of the collar points. Centering matters for a balanced silhouette.
3) Engage the ends. Depending on design, push the ends through holes or secure hooks behind the collar. Do not force; if it won’t seat, back out and re-align.
4) Check tension. Gently test by pressing on the bar with a fingertip. The collar should rise slightly but not bunch or warp the fabric.
5) Inspect from all angles. Look in the mirror from the front and side to ensure the line is straight and the bar is tucked neatly behind the jacket line.
6) Adjust as needed. If the lift is too strong or too soft, reposition the bar a notch up or down and re-test.
7) Remove with care. When you’re done wearing the shirt, reverse the steps slowly to avoid snagging.
In practice, repeat this sequence a few times to build familiarity. A subtle lift should be all that’s needed for a clean look under a blazer or suit. If you notice puckering or fabric distortion, remove the bar and try a lighter height or a different type of bar. Consistency comes with practice, not force.
Variations and types
Common collar pin bar designs fit different shirt constructions. Compare options to pick the right tool for your wardrobe.
| Type | How it works | Pros | Cons | Best For |
|---|---|---|---|---|
| Through-hole bar | Pins pass through small holes in the collar and lock behind | Very secure; low profile | Requires compatible holes; can damage delicate fabrics | Standard cotton or poplin shirtsClip-on bar |
| Interlocking bar | Bar engages with two interlocking pieces | Adjustable tension; durable | May be bulkier | Custom fits or thicker fabricsIn most wardrobes, a simple through-hole or clip-on design covers the majority of needs. If you frequently swap shirts, a clip-on variant reduces risk to fabric and speeds up the process. For heavier fabrics, an interlocking design may provide more consistent tension across the collar. |
When choosing, consider your shirt’s collar geometry and how you wear it day to day. A bar that’s easy to remove and reinsert saves time during busy mornings. If you plan to wear a suit, test how the bar behaves under a jacket sleeve and shoulder line to ensure it remains hidden.
Fit and shirt compatibility

Not all shirts are collar pin friendly. Shirts with reinforced collars and horizontal pleats at the collar band typically tolerate bars well. Delicate fabrics like silk or very lightweight cotton can show marks if the bar is too tight or if the ends press too hard. Start with a conservative lift and increase only if the look remains crisp and comfortable.
Collar height matters for overall appearance. A higher lift can push the line of the shirt into view under a jacket, while too little lift leaves the collar flat and unpolished. The relationship between the bar and shirt placket is key: you want a natural, clean line that remains comfortable across movement, not a rigid, cookie-cutter look.
For example, if you wear a dress shirt with a well-constructed collar, a collar pin bar can help maintain a sharp line through meal-service or a long meeting. The bar should not alter the shirt’s drape or create tension on the buttons. If you notice any buckle or pull, remove the bar and reduce the height or switch to a lighter design.
Troubleshooting
Problems with collar pin bars usually come down to fit, placement, or material stress. Start by removing the bar and rechecking the alignment. If the bar shifts during movement, you may be using a too-long or too-tight design for your collar type.
- If the fabric puckers around the collar, back off the lift by one notch and re-test.
- If the ends leave an imprint after you remove the bar, you might be pressing too hard or using a design that’s overly aggressive for the fabric weight.
- If the bar slips when you bend your neck, consider a clip-on or interlocking design with a more secure grip.
- If you see visible marks on the collar, switch to a gentler design or a shorter bar length.
In practice, most issues disappear with small adjustments. Re-align, test, and compare in the mirror. When in doubt, switch to a less aggressive design for everyday wear and reserve the stronger setup for special occasions.
Maintenance and care
Keep collars and bars clean to prevent residue from transferring to fabric. Wipe the bar with a soft cloth after wear and store it in a protective pouch or box to avoid bending. If your bar has metal parts, wipe away any moisture to prevent corrosion and inspect for stiffness before reuse. Regular checks ensure the mechanism remains smooth and reliable.
Rotate through a few shirts to gauge how a given bar performs under different fabrics. If you notice persistent marks or wear, consider exchanging the bar for a softer or lighter design. A well-cared-for bar lasts longer and preserves the integrity of your collars.
Maintenance routine in practice: wipe down after each wear, keep in a dedicated drawer, and avoid placing it with metal jewelry that could scratch the finish. With proper care, a collar pin bar becomes a reliable tool for sharp, consistent collar lines.
Next steps and practice
Set aside 20 minutes this weekend to practice with a spare shirt. Start with a simple, sturdy bar and a clean mirror. Focus on consistent alignment with the collar points and on achieving a subtle lift that remains invisible under a jacket.
As you practice, note which shirts respond best to the bar and which do not. Build a quick reference guide for your wardrobe: the bar height, the shirt type, and any tweaks that improve the look. With repeat use, the process becomes faster and the results more predictable.
Take action now: if you own multiple collars, test two bar heights and track which combination gives the cleanest line for each shirt. Then, update your morning routine to include this check before you tie a tie or slip on a blazer.
FAQ
What is a collar pin bar used for?
A collar pin bar lifts and aligns a shirt collar. It sits across the collar points and uses two ends to secure the fabric, producing a clean, defined line when worn properly.
Is a collar pin bar safe for all shirt fabrics?
Safety depends on fabric weight and weave. Heavier fabrics handle bars better, while delicate weaves may show marks or puckering if the bar is pressed too firmly. Always test on a spare shirt if you’re unsure.
How long can you wear a collar pin bar during the day?
Wear it for the duration you wear the shirt; remove it when you change shirts or won’t be in a setting that requires a crisp line. Do not wear the bar for extended periods if you notice fabric strain.
What are common mistakes when using a collar pin bar?
Common mistakes include misalignment, overtightening, choosing a bar that doesn’t fit the collar width, and leaving marks on the fabric after removal. Always test fit and adjust before extended wear.
Are there alternatives to collar pin bars?
Yes. Alternatives include collar stays, clip-on collar bars, or simply none. Each option changes how the collar sits and how visible the device is under outerwear. Choose based on fabric, shirt style, and how permanent you want the look to be.