
How To Resize A Seiko Collar And Pin Watch Band?
You can resize a Seiko collar and pin band at home in under 45 minutes using standard tools. Start by identifying your band type, measuring your wrist, and deciding which links to remove to keep the clasp centered. A precise job ensures that the clasp sits square against your wrist with no gaps.
To resize a Seiko collar and pin watch band, remove equal numbers of links from both sides of the clasp and reseat the collar and pin. Handle the pins with care to keep them flush and secure.
- Tools and setup. Use a pin-pusher, small hammer, bracelet holder, ruler, and loupe to prevent bending pins.
- Measure accurately. Record your wrist circumference and determine how many links to remove from each side for a centered clasp.
- Remove evenly. Take out the same number of links from each side to maintain a balanced clasp position.
- Preserve collars. Keep collars and pins organized to prevent slippage during reassembly.
- Test fit and finish. After reassembly, check clasp alignment and ensure pins sit flush.
Identify Your Band Type
Seiko collars and pins come in two common systems. The pin-and-collar system uses a thin pin that passes through linked holes, capped by collars. The screw-link system requires a tiny screwdriver to back out each link. Identifying your system is crucial for selecting the right tools and method.
Hold the bracelet flat. If you see tiny screws in the side of each link, you’re dealing with screw-links. If there are smooth pin holes with small cylindrical collars at the ends, it’s a pin-and-collar system. The collar guides the pin during removal.
If you’re unsure, don’t attempt removal yet. A wrong move can damage the pin or strip a screw slot. Take a moment to identify the edge link type and match your toolkit to avoid mistakes.
Tools and Setup
You don’t need specialized gear to resize a Seiko band, but having the right basics is essential. A reliable setup includes a bracelet holder or sturdy vise, a pin-pusher for pin-and-collar links, and a precision screwdriver for screw-links. A small hammer helps seat collars without bending, and a magnifier or loupe ensures you can see tiny parts.
Work on a soft mat or microfiber cloth to prevent scratches on the case or crystal. If the band is tucked under a stainless-steel case back, keep the area clean and stable to avoid slippage while pushing pins. Label any removed links or collars to maintain the original order. A clean, well-lit workspace enhances precision.
Essential tools include:
- Pin-pusher or push pin tool
- Thin precision screwdriver (for screw-links)
- Small hammer
- Bracelet holder or clamp
- Ruler or caliper for exact measurements
- Loupe or magnifier
- Soft cloth and a tray for organizing parts
Measuring and Planning
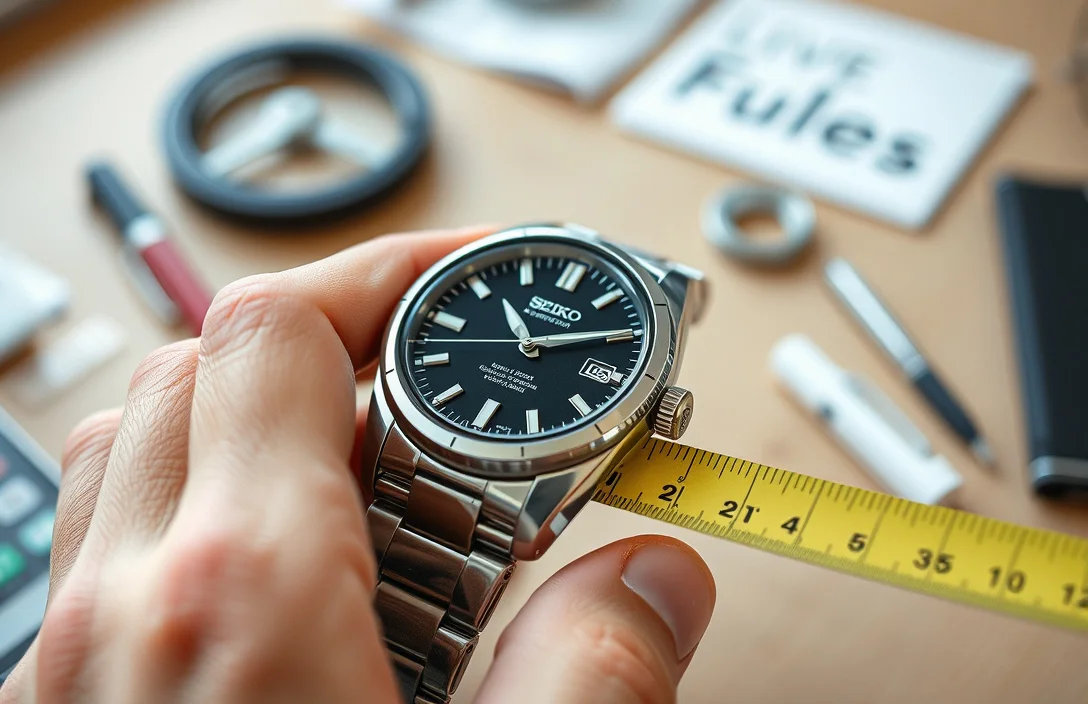
Accurate resizing starts with measurement and a clear plan. Measure your wrist with a flexible tape or string, then lay it flat to note the exact circumference. Decide how many links to remove to keep the clasp centered over your wrist.
Consider the clasp position and symmetry. If you remove two links from one side, remove two from the other as well. This keeps the clasp balanced and prevents the watch from tilting. Count the links to remove on each side before using any tools.
For example, if your wrist measures 6.5 inches and the bracelet has 14 links across the clasp, you might remove two links from each side to center the clasp. If the clasp isn’t centered after a dry fit, pause and remeasure. Small adjustments are crucial for comfort and wearability.
Pin-and-Collar Resizing
Pin-and-collar bands use a thin pin that passes through holes in each link, held in place by a collar. Align the bracelet in the holder so the pin hole is accessible and the collar is ready on the outboard side.
Step 1. Position the bracelet in the holder and locate the pin you need to push out.
Step 2. Use the pin-pusher to push the inner pin from the link until it protrudes.
Step 3. Gently remove the pin and slide the collar away from the joint.
Step 4. Lift out the target link while keeping the collars organized.
Step 5. Reconnect the links by aligning holes and reinserting the pin from the inside out, then snap the collar back into place.
Step 6. Repeat on the opposite side for symmetry.
Take care not to push the pin through the outer surface of the link. If the pin resists, back off slightly and try a different angle. Avoid forcing the pin, as this can damage the link hole or bend the collar. After removing the desired number of links, reassemble from the inside out and ensure the joint sits flush.
Screw-Link Resizing
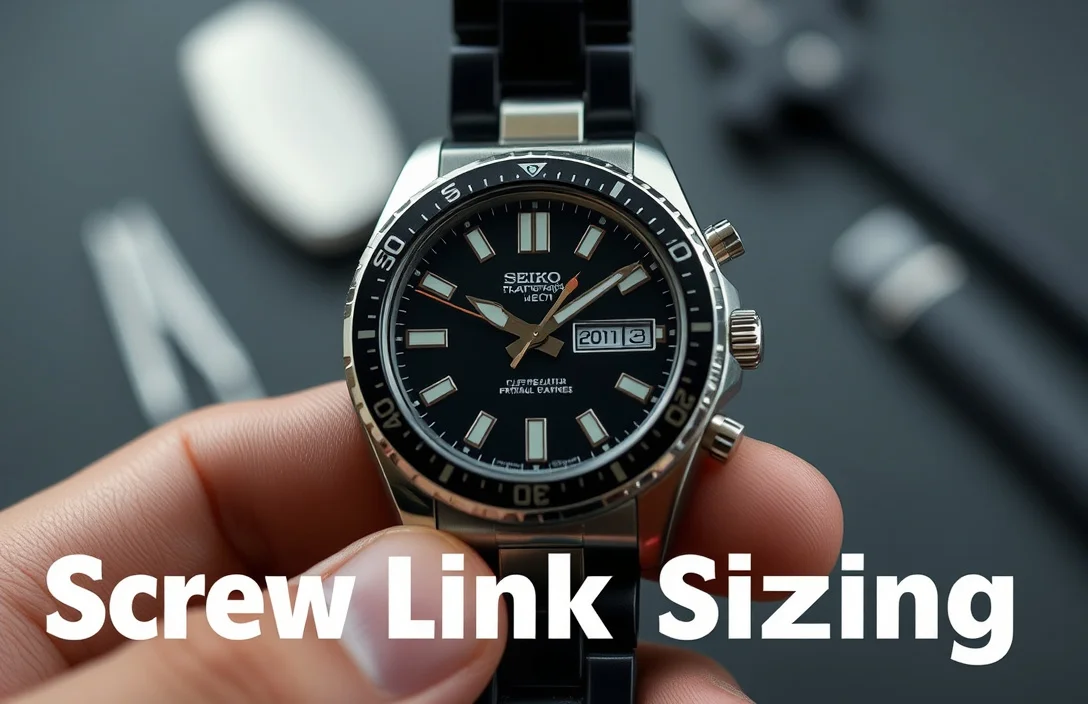
Screw-link bands use screws to hold each link in place, which can be quicker but requires the right screwdriver. The goal remains to remove an equal number of links from each side to preserve clasp centering.
Step 1. Identify the first screw securing a link.
Step 2. Use a thin precision screwdriver to back the screw counterclockwise until it disengages.
Step 3. Remove the screw and slide out the adjacent link pair.
Step 4. Repeat as needed to reach your target length.
Step 5. Reinstall the screws and tighten them by hand, then snug with a tool.
Step 6. Check clasp alignment and ensure all screws sit flush.
If a screw head chews or resists, stop and switch to a new screw or reseat the link before continuing. Avoid overtightening, which can strip the thread or crack the head. After resizing, perform a dry fit and tighten each screw to ensure everything stays locked in place during wear.
Reassembly, Fit Check, and Finish
With the links removed, reassemble the bracelet by reversing the removal steps. Start by reinserting the inner links on both sides, then reseat the collars or screws. Aim for a flush fit across every joint to prevent any roughness at the seams.
Try the watch on with the clasp in your usual position. If the clasp sits off-center, recheck your link counts and adjust by one link per side if needed. Cycle the clasp several times to ensure nothing loosens and the band remains secure. Wipe away fingerprints and inspect for burrs on any exposed edges.
A correctly resized band should feel balanced and sit evenly on your wrist. If you notice gaps near the collar or a pin that protrudes, stop and reassess. Take new measurements and repeat adjustments with smaller changes to avoid overtightening or removing too many links.
Troubleshooting and Maintenance
Even with care, issues can arise during resizing. Common problems include a pin or screw that feels loose after assembly or a collar that slips, leading to a wobbly joint. Usually, rechecking alignment and reseating components with gentle pressure fixes these issues.
If the band binds or refuses to close, inspect each joint for burrs or misaligned holes. Dirt or tiny metal shavings can affect how cleanly the pin fits. Clean each joint with a soft brush and a touch of isopropyl alcohol on a lint-free cloth, then reassemble. Finally, verify clasp tolerances by opening and closing several times.
For ongoing care, avoid exposing the bracelet to harsh chemicals. Rinse it with warm water after saltwater exposure and dry thoroughly. Periodic checks every few months keep the band in good condition and prevent sudden failures during wear.
When to See a Jeweler
If you struggle to remove pins or screws without damaging the band or if the collar slips after resizing, seek professional help. A jeweler can resize the band accurately to your wrist measurements and replace worn collars or screws. They can also adjust micro-links that are not easily accessible at home.
Signs that you should stop DIY resizing include uneven wear around the pin holes or visible bending around the collar. In those cases, a professional assessment can prevent sharp edges or weakened band integrity. A proper resize will feel secure and comfortable from the first wear.
Quick Reference
| Name of system | How it’s adjusted | Tools required | Typical time | Risk if done carefully |
|---|---|---|---|---|
| Pin and Collar | Push pin out, remove collar, reassemble | Pin-pusher, hammer, bracelet holder | 15-30 minutes per side | Low if you don’t rush; higher if pins bend |
| Screw-Link | Unscrew links, remove, reattach | Precision screwdriver, tweezers | 10-25 minutes per side | Low if you keep screws aligned; higher if threads strip |
FAQ
How much does it cost to resize a Seiko collar and pin watch band?
Resizing at home costs nothing if you already own the tools; otherwise, a jeweler typically charges between $15 and $40 for a simple mid-sized adjustment, depending on the shop and band complexity.
How long does the process take for a typical band?
A standard resize takes about 30 minutes for a pin-and-collar system and 20 to 40 minutes for screw-links, including measuring and test fitting. A precise, balanced result may take longer if you need to recheck measurements.
Can I resize a Seiko band without removing any links?
Yes, if your band uses micro-adjustments on the clasp or a removable link near the clasp. However, not removing any links usually only helps with minor adjustments or snugging the fit.
What is the safest way to avoid damaging pins or collars?
Work on a stable surface with a bracelet holder. Use the correct tool size, push pins straight, and avoid forcing components. If a pin or screw resists, stop, realign, and try from a fresh angle.
Are screw-link bands easier to resize than pin and collar bands?
Screw-link bands are generally easier for precise adjustments because you can add or remove individual links without disturbing collars, but you still need the correct screwdriver size and careful torque to avoid stripping screws.