How To Wear Ems Collar Pins: Tips For Perfect Placement
EMS collar pins add a crisp insignia touch to EMS uniforms. To wear them securely, you need a clean shirt, the right backing, and a simple positioning routine you can repeat every shift.
Key Takeaways
- Left-side placement: Place on the left collar, about 1/4 inch from the edge.
- Forward orientation: Logo faces outward when upright.
- Secure backing: Use a clutch or fixed backing that fits the pin to prevent loss.
- Fabric compatibility: Choose backings that won’t snag delicate fabrics and replace worn posts.
- Carry spares: Keep an extra backing and a spare pin in a pocket for emergencies.
- Care after wear: Wipe with a soft cloth and store in a pin case to resist tarnish.
Understanding EMS Collar Pins
EMS collar pins signal affiliation, rank, or role within an EMS team. The typical design is a small metal or enamel badge with a post that slides through the collar and a backing that locks on the post. Pins come in finishes – silver, brass, gunmetal – and enamel colors that match agency branding. The key is consistency: a uniform look across all members completes the professional appearance. In practice, you’re not dressing for fashion so much as presenting a dependable, professional image. Incorrect alignment, loose backings, or worn posts can ruin the effect. The best approach is a simple routine you repeat each time you dress for duty. The routine keeps you from guessing and reduces the chance of losing a pin during a shift.
Prerequisites and Tools
Have these ready before you start: the EMS collar pin, a compatible backing (clutch, post, or magnetic, depending on the pin), a clean shirt with a smooth collar, a small mirror, and a spare backing tucked in your pocket. If the pin is enamel, make sure the surface is free of dust that could scratch the finish.
Inspect the collar for snags, lint, or loose threads. A clean angle makes insertion easier and protects the fabric from damage. If you’re wearing a tie, verify the tie knot won’t interfere with the pin’s position. The goal is a flat, centered pin with no tilt when you look straight ahead.
How to Attach EMS Collar Pins
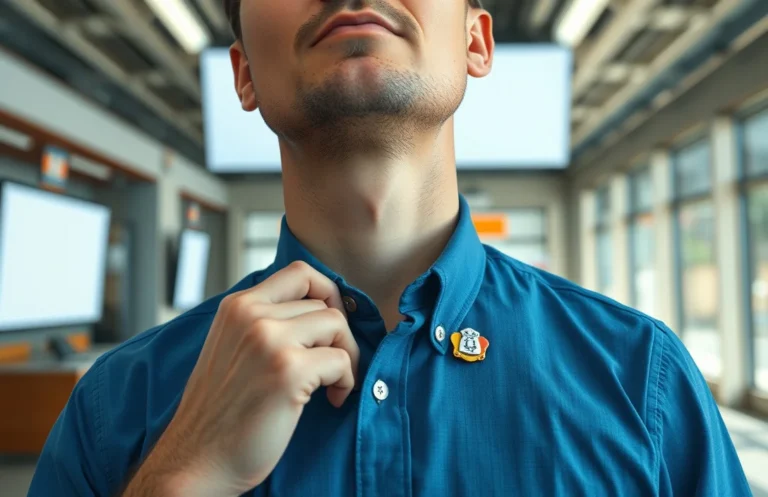
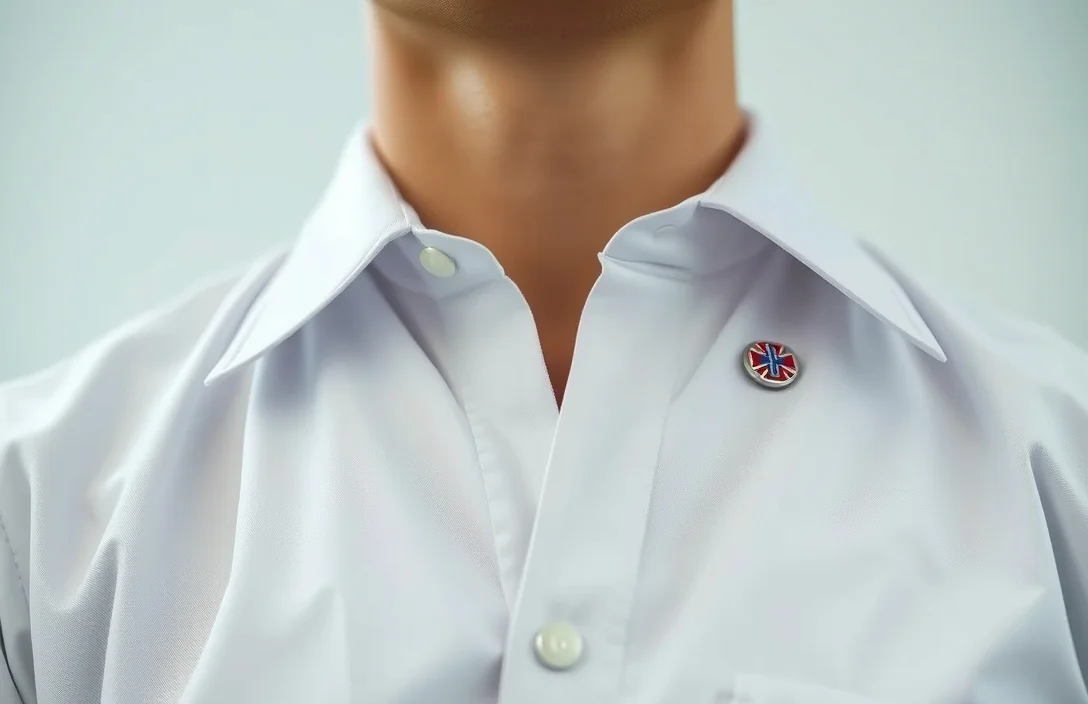
Place the pin on the left collar, centered between the edge and the first button. Prepare the collar by smoothing the left edge to reveal a clean surface.
Insert the post: align the post with the fabric so the emblem sits squarely on the collar face. Hold the pin with your non-dominant hand, keeping a light grip to avoid bending the post. The post should be perpendicular to the fabric for a clean backing.
Attach the backing: slide the backing onto the post until it sits flush against the collar. If you use a clutch backing, press it until you hear a click, then test with a gentle tug. If you rely on a magnetic backing, bring the magnet near enough to engage the post without forcing the magnet through the fabric.
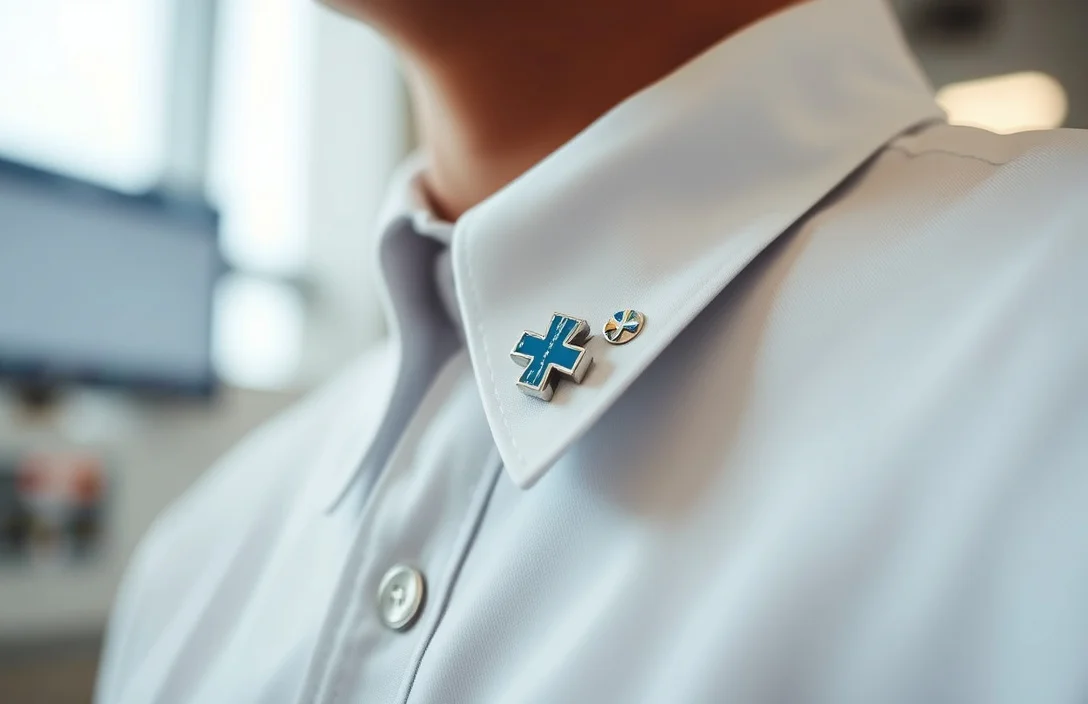
Verify alignment: stand in front of a mirror, ensure the emblem faces forward and sits evenly. The top edge should align with the collar seam; repeat on the other side for symmetry. If it tilts, remove and retry with fresh alignment.
Final check and adjust: examine from multiple angles. Confirm there’s no fabric puckering, no gaps between the backing and post, and no snagging on other clothing elements. If anything looks off, remove the backing, reposition, and reattach with careful, even pressure.
Practice makes reliability. If you’re swapping pins for different shifts or roles, keep the same alignment habit and verify each time before stepping out.
Variations and Pairings
Pin choices vary by material, size, and finish, affecting visibility and wear. Enamel pins offer color contrast and branding fidelity, while plain metal pins fade less over time and resist chipping. The pin’s backing style matters just as much as the pin’s face: screw backing, clutch, magnetic, or a safety pin style each has a different security profile and fabric impact.
Dress code compatibility matters more than you might think. A tight knit or moisture-wicking fabric can cling to the back of a pin, causing wobble or tugging. In hot environments, a lighter metal with a lower profile reduces friction and snag risk. If you wear a polo or short-sleeve uniform, a low-profile backing reduces chance of visibility and snagging on sleeves.
Here’s how to choose:
- Backing Type: Clutch back
Pros: Simple, inexpensive, easy to replace.
Cons: Can loosen if thread or post wears; less secure than screw backs.
Best For: Daily wear with moderate movement; reliable in standard jerseys.
- Backing Type: Safety pin style
Pros: Very secure if installed properly; good for thicker fabrics.
Cons: Can leave small puncture marks; bulkier than others.
Best For: Heavy coats or outerwear where additional security helps.
- Backing Type: Magnetic back
Pros: Quick to attach; no holes in fabric.
Cons: Can slip on thicker or metallic fabrics; weaker during vigorous activities.
Best For: Dress uniforms or environments with minimal metal interference.
- Pin style: Enamel or metal face
Pros: Clear branding; durable finishes.
Cons: Enamel may chip if struck; metal can be heavier.
Best For: Visible insignia on dress shirts and uniforms.
Pairing tips:
- Color match the pin finish to the metal accents on the uniform to create a cohesive look.
- If you wear a tie, ensure the pin sits below the knot and does not press into the tie fabric.
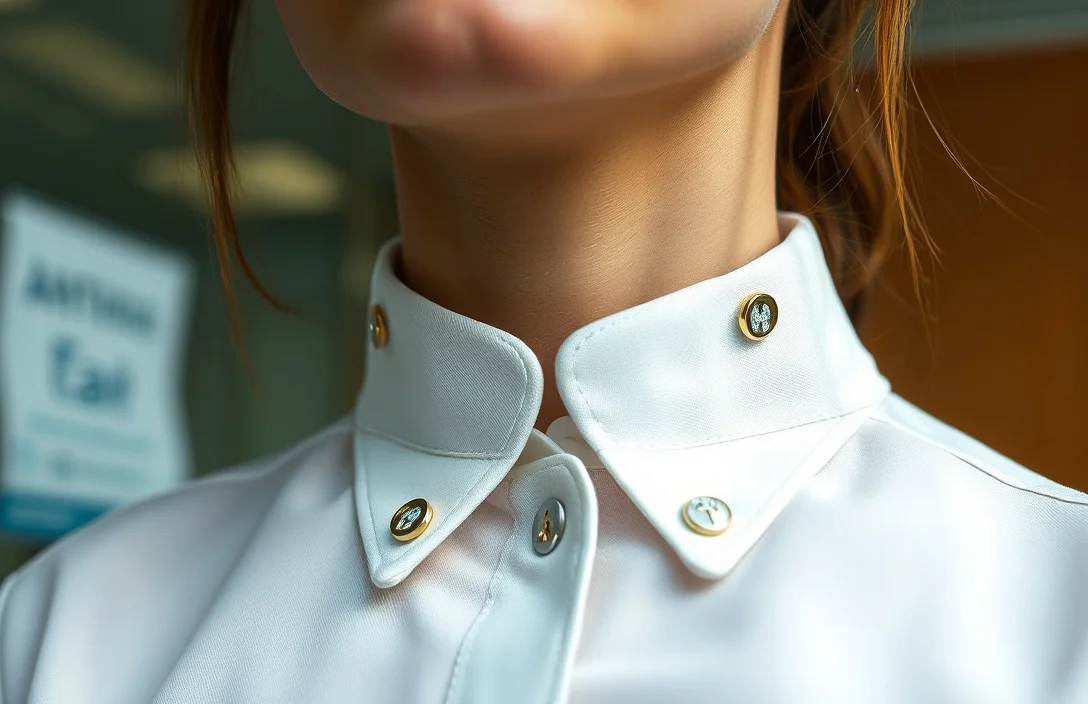
- For multi-pin insignia, keep spacing consistent and align pins to mirror each other across both collars.
Care and Maintenance
Keep EMS collar pins looking sharp with simple care. Wipe surfaces with a soft, lint-free cloth after shifts to remove sweat and oils. If tarnish begins, use a mild jewelry cleaner or a damp cloth with a tiny amount of dish soap, then dry thoroughly. Store pins in a dedicated box or pouch to prevent scratching or tangling with other hardware.
When removing a pin, do it gently to avoid pulling threads from the collar. If you notice any looseness in the backing, replace it promptly. Replace worn posts or damaged backings to maintain the pin’s stability. A small maintenance routine – clean, inspect, replace as needed – extends the life of the insignia and keeps the uniform looking professional.
Troubleshooting
If a pin won’t sit flat, check the backing fit and the collar surface. A slightly warped collar edge can tilt a pin; re-seat on a flat area and reattach. If the pin keeps turning, verify that the backing is secured and that the post isn’t bent. Bent posts must be replaced to restore proper alignment.
For lost backings during a shift, carry a spare backing and a tiny multipack of pin posts. If a backing refuses to slide on, verify the post diameter matches the backing hole and apply gentle pressure to seat. If the pin is prone to snagging, switch to a lower-profile backing and ensure the collar fabric is clean.
In practice, routine checks reduce most issues to a quick fix. A quick visual inspection before leaving the locker room catches misalignment or loose backings, preventing embarrassment on the floor.
In Practice: Real-World Scenarios
Scenario one: A paramedic team wears enamel EMS collar pins on lightweight polo shirts. The left collar holds a small emblem with a clear forward orientation. A clutch backing suffices, and a spare backing sits in a uniform pocket. The pins stay flat through rapid patient transport and machine vibrations.
Scenario two: On colder shifts, technicians wear thicker turnout collars with stronger fabrics. A magnetic backing provides quick changes with minimal fabric damage. The pin’s finish is selected to resist heat exposure and maintain visibility under bright ambulance lighting. The team’s standard is to align both pins to mirror each other, maintaining a symmetrical look.
In both cases, the key is consistency and practicality. The right backing, placement, and care routine translate to a tidy appearance that communicates professionalism under stress.
Next Actions and Buying Guide
Decide your backing preference first. If you expect lots of movement or rough fabrics, a clutch or screw-back offers the most security. For dress occasions or minimal fabric wear, magnetic backings work well. Check the pin’s size and finish against agency branding and uniform color.
Inventory a small kit: a spare pin, 2-3 spare backings of the chosen type, a soft cloth, and a compact pin case. Practice positioning in front of a mirror until you can repeat the same alignment without thinking. If you’re purchasing for a team, standardize the pin type and backing across all members to preserve a uniform appearance.
FAQ
How do I know where to place EMS collar pins?
EMS collar pins belong on the left collar, centered between the edge and the first button, about 1/4 inch from the edge. This ensures the emblem faces forward and stays visible during standard patrol or transport activities.
Are magnetic backings safe for EMS uniforms?
Magnetic backings are convenient but can slip on thicker fabrics or when metal objects are nearby. Use magnetic backings only if your uniform fabric and environment support secure retention, and have a backup backing available.
Can I wear EMS collar pins with polo shirts?
Yes, if the polo has a clean collar and enough stiffness to hold the pin. Keep the pin low-profile to reduce fabric snagging and verify the emblem sits flat when you stand.
How do I remove a stubborn pin without damaging the shirt?
Gently back the backing off rather than pulling the pin straight out. If the fabric grips the post, slide the backing along the post while maintaining light pressure, then lift away.
What should I do if a pin backing comes off during a shift?
Carry a spare backing and a small toolkit or patch. Replace the backing as soon as possible and recheck the alignment to prevent further loosening. If repeated, switch backing type to something more secure.