
How To Attach Tie Pin Collar? A Step-by-step Tutorial
Attaching a tie pin keeps your knot sharp and the tie in place all day. You need a clean shirt, a pin sized to your tie, and a steady hand. Here’s a practical method that covers placement, alignment, and safe removal. Expect about two minutes once you know the steps.
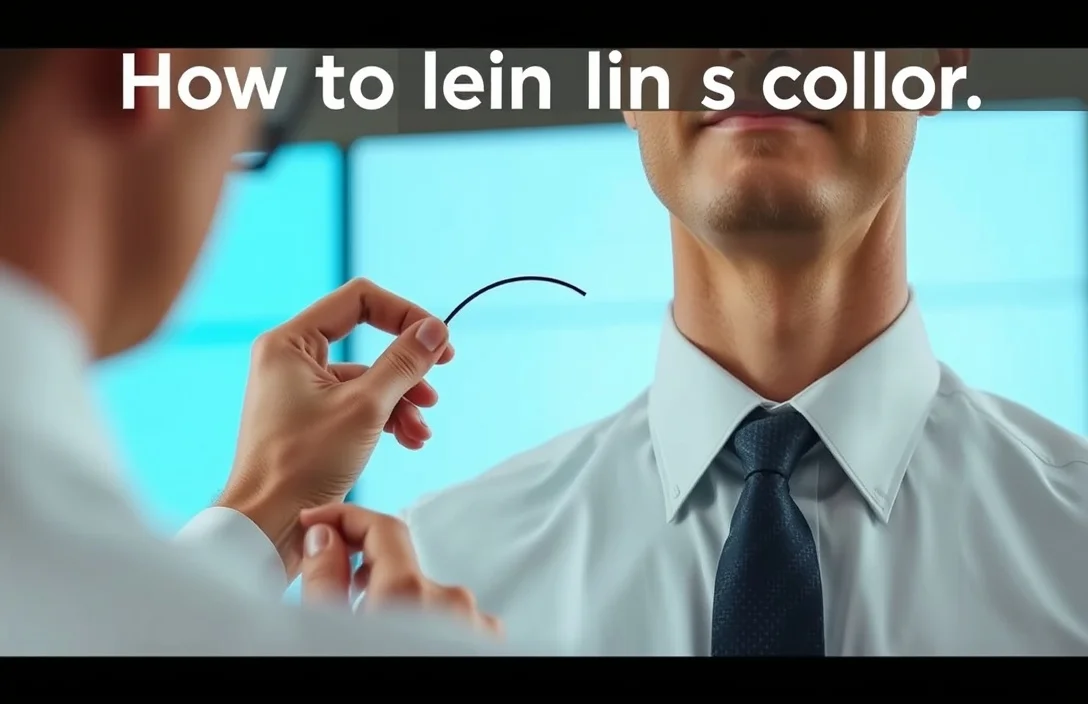
Slip the pin from the front, feed it through the tie and the shirt, and align it horizontally about 2.5 inches below the knot. The back clasp locks the pin behind the placket, keeping it in place and preserving symmetry.
Key Takeaways
- Tools you need. A clean shirt, a standard tie pin, and a mirror to align precisely.
- Placement rule. Place the pin about 2.5 inches below the knot for most collars.
- Horizontal orientation. Run the pin parallel to the knot.
- One clean insertion. Insert front to back in a straight line to avoid snagging.
- Removal plan. Lift the back of the pin and slide out slowly to prevent snags.
- Practice helps. A quick mirror check after each adjustment ensures symmetry.
Tools and prerequisites

A pin that matches your tie width makes alignment easier and reduces bulges. Most tie pins are 1.5 to 2 inches long, which fits standard collar plackets without protruding. The space between the placket and knot should stay clean, with no tugging that distorts the tie.
Wear a collared shirt with a crisp front placket for the best results. Practice in front of a mirror with a loose tie first, then tighten it to your normal wear level. The goal is to keep the knot centered and the fabric free from creases at the insertion point.
Checklist for setu
- Clean shirt and fresh tie
- Pin length 1.5-2 inches
- Mirror for alignment
- Optional: magnifier or good lighting for tiny pins
With the right tools, choose the pin type. The choice affects how you position the pin and how confident you’ll feel during the day.
Choosing the right pin
Tie pins come in a few styles, but the practical choice hinges on how you plan to pass the pin through the shirt and tie. A standard tie pin passes through the tie and the shirt placket, holding both layers in place. A collar pin anchors the collar itself and is less common for modern dress shirts. For most office wear, a traditional tie pin through both fabrics is the simplest, most reliable option.
Material and finish matter. Stainless steel resists tarnish and feels sturdy; brass pins pair well with brown or gold-tone hardware but can scratch more easily. If you’re new, start with a stainless steel pin and practice alignment on a spare shirt before using it with a pressed favorite.
Placement depends on collar type and knot size. A shallow knot on a slim tie sits closer to the knot, while a larger knot may require a pin a bit lower to clear the tie.
| Type of pin | Best use | Pros | Cons |
|---|---|---|---|
| Tie pin | Through tie and shirt placket | Keeps knot centered; stable in motion | Requires precise alignment; risk of snagging shirt |
| Collar pin | Anchors the collar itself | Very secure collar stay; clean silhouette | Not suitable for all collars; can be uncomfortable for some wearers |
| Clip-style pin | Clips onto tie without piercing | Easy removal; adjustable | May not hold as firmly; visible clip edge |
Most readers opt for a standard tie pin for everyday wear. If you wear a very stiff or delicate collar, test a collar pin on a spare shirt to see how it feels and sits when you move.
Step-by-step attaching process
Prepare your space and posture. Stand in front of a mirror, knot centered, and the shirt placket flat. Align the tie so the fabric lies smoothly, with the knot at the top and the pin path running horizontally. A misaligned insertion reads in the mirror.
Follow these steps in order
1) Check alignment. Confirm the knot is centered and the placket lies flat.
2) Place the pin at the target height. Position it about 2.5 inches below the knot for most collars.
3) Start from the front. Insert the pin through the tie first, then through the shirt placket behind it.
4) Monitor the path. Ensure the pin travels in a straight line with no weaving or angling.
5) Verify horizontal orientation. The pin should run parallel to the knot; a tilt looks off.
6) Secure the back. Let the catch lock behind the placket and gently tug on the tie to confirm stability.
7) Do a final check. Look for any fabric bulge and confirm the knot sits square with the collar.
You’ll find a rhythm after a couple of attempts. If the knot shifts during insertion, stop, smooth the fabric, and reinsert with a slower, steadier hand. The goal is a quiet, clean line that doesn’t distract from your outfit.
If you’re new, never force the pin. If you encounter resistance, back out, reorient, and try again with a softer, flatter path. This reduces the risk of bending the pin or snagging fabric.
Collar types and pin placement
Collars influence how high or low you place the pin and how the pin interacts with the fabric. A standard point collar with a medium-width knot sits well with a pin about 2.5 inches below the knot. A spread collar can tolerate a slightly lower pin to maintain proportion.
For a button-down collar, test whether the pin sits cleanly without causing tension on the fabric. If the collar edges curl or pucker, consider using a shorter pin with a smoother shaft. On very slim collars, a pin that’s too long or thick can look outsized; switch to a shorter pin or a lighter approach.
Placement variations by collar type
- Point collar: Place the pin 2.5 inches below the knot for a balanced look.
- Spread collar: Slightly lower placement can preserve proportion with a wider knot.
- Button-down collar: Test to avoid edge bulging; a shorter pin helps.
A quick visual check helps. Stand tall and look in the mirror. The pin should form a straight line with the knot centered above it. If you see tilt or pulling, remove and redo with a calmer path.
Troubleshooting and common mistakes

Even with care, people stumble. The most common missteps involve height, alignment, and fabric fit. If the knot shifts during the day, the pin may be too high or too low, or the fabric isn’t gripping.
Avoid these typical errors
- Pinning too high near the knot, causing tilt when you move
- Pinning through only the tie, not the shirt placket, allowing sliding
- Using a thick or long pin on a slim collar, creating a visible bulge
- Angling the pin, creating an uneven line
- Forcing the pin through delicate fabrics, risking runs or snags
If the pin feels loose, reinsert with a straighter, slower path and ensure the back clasp engages. A loose pin shifts during a phone call or quick movement. For very thick ties, choose a slightly shorter pin to reduce pushback and glare.
Maintenance, removal, and care
When you remove the pin, hold the back clasp and pull from the front. Don’t yank; a straight pull preserves the pin and fabric. After removal, inspect for frayed threads or small snags. A quick press with a warm iron or steam restores the crisp appearance.
Store pins in a small metal box or a dedicated jewelry tray to prevent bending and misplacement. Clean pins with a soft cloth to remove oils that can dull the finish. If you notice rust or corrosion, replace the pin.
Styling and variations
Tie pins aren’t the only option. A tie clip sits across the front of the tie and uses a spring mechanism; it doesn’t pierce fabric and is safer for thinner materials. Some people prefer collar pins anchored to the collar for a vintage look when used correctly.
Pairing tips
- For a classic look, pair a polished metal tie pin with a crisp white shirt and a solid color tie.
- If your tie has a bold pattern, keep the pin simple and understated.
- For formal events, match the pin finish to cufflinks and belt buckle for a cohesive metal palette.
In practice, the simplest route for daily wear is a traditional tie pin. If you’re experimenting, keep the pin placement consistent and the line visually clean. Subtle differences in placement can shift the overall balance of your outfit.
Practical verdict and next
For most dress codes, the traditional tie pin placed roughly 2.5 inches below the knot and run horizontally through both the tie and the shirt is reliable. Start with a stainless steel pin, practice in front of a mirror, and keep the path straight. Then try it with your go-to shirt and tie, adjusting placement only if the knot shifts when you move.
FAQ
How much does a tie pin cost?
Typical price range is $8 to $40 for a stainless steel or brass pin; higher-end finishes can push above that. Start simple and upgrade only if you want a specific metal or embellishment.
How long does it take to attach a tie pin?
Two to three minutes is normal for first-timers; with practice, you’ll reduce that to under a minute for a routine setup.
Is a tie pin safe for all collars?
No. Some collars are too delicate or thick for a comfortable pin; always test on a spare shirt first and choose a pin length that feels comfortable.
Can I use a tie clip instead of a pin?
Yes. A tie clip secures the tie without piercing the fabric, offering a forgiving alternative when you’re unsure about pinning.
What are common mistakes when attaching a tie pin?
High or low placement, pinning through only the tie, and angled insertion are the main missteps; verify alignment in a mirror before moving.