How To Wear Collar Pins Men? A Complete How-to With Tips
Collar pins deliver an instantly sharper collar line and a cleaner base for your knot by lifting the points and keeping them aligned. They work best with shirts featuring compatible collar designs and ties that don’t distract from the pin itself. With a little practice, you’ll cinch your look into a purposeful, refined silhouette.
Key Takeaways
- Best collar types: Collar pins work best with medium to narrow spread collars that accommodate holes or reinforced paths between points.
- Pin length matters: Most pins are 1.5-2 cm long; match the length to the distance between your collar points.
- Placement height: Position the pin about 0.4-0.6 inches above the knot for a clean line.
- Compatibility checks: Shirts without holes or reinforced paths between points require alternatives like a collar bar or clip.
- Dress-code fit: Reserve collar pins for semi-formal and formal outfits, not casual shirts.
—
What collar pins are and who should wear them
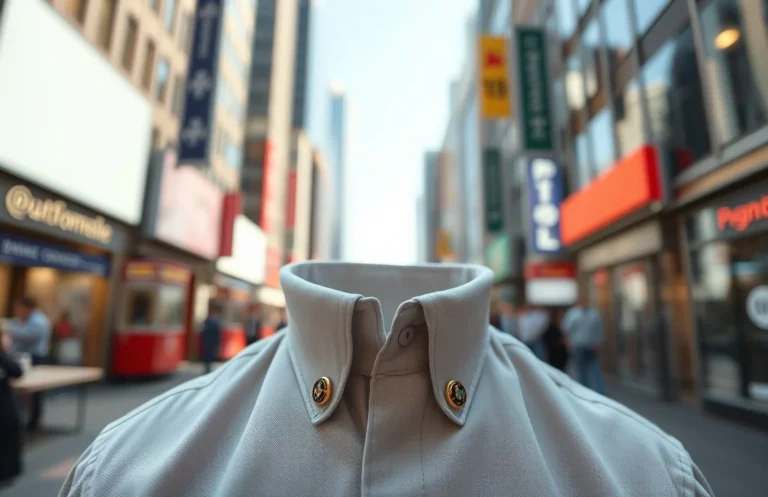
Collar pins are small metal devices placed between the two points of a dress shirt collar, pulling the points closer together and lifting the fold under the knot. The visible portion rests on the outside, creating a crisp, uninterrupted line that accentuates the tie and the face.
They add a traditional touch. For a classic, elegant look at formal events or polished business outfits, a collar pin can be a strong finishing move. They aren’t appropriate for every scenario; casual shirts, polo shirts, or very relaxed outfits usually skip the pin. Aim for precision and restraint: a single, well-placed pin that guides the eye to the knot and the shirt’s structure.
Collar pins suit shirts with a defined space between collar points and either pre-cut holes or a reinforced fabric path to guide the pin. If your shirt lacks holes or a solid path, a collar bar or clip can mimic the same effect without damaging fabric. The pin should never bend or distort the collar; puckering or fabric pulling indicates you’ve picked the wrong shirt or pin length.
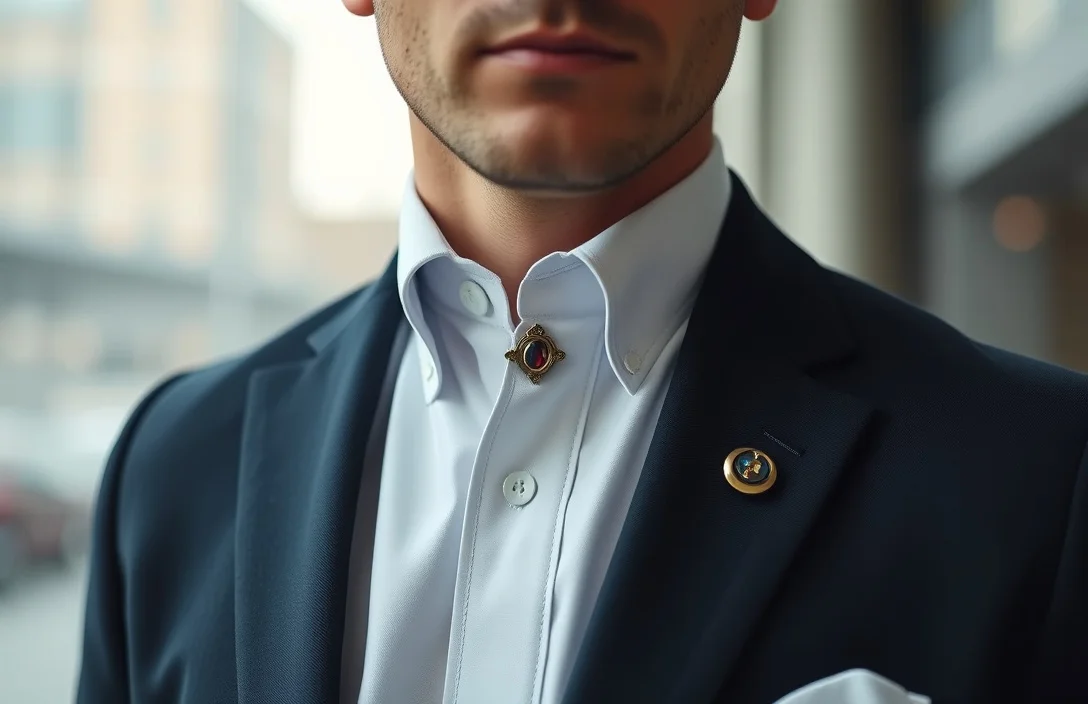
In a formal office setting, a man wearing a dark suit, white spread-collar shirt, and a conservative knot can gain a reputation for clean style with a single pin. The pin lifts the collar and anchors the knot, creating a disciplined, symmetrical line that appears intentional and refined.
Collar pins work best with shirts designed to accommodate them and pair most cleanly with a solid, standard tie knot. If unsure, test on a dress shirt you don’t mind experimenting with or opt for a collar bar as a safer alternative.
—
Shirts and collars: compatibility matters
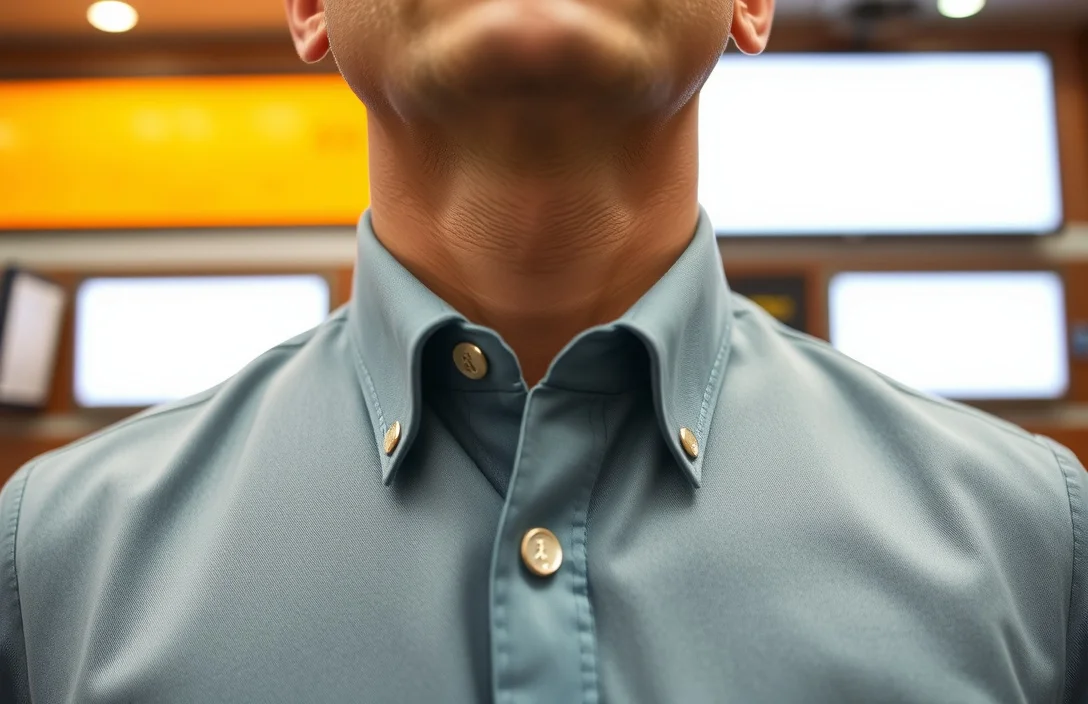
Shirts designed for collar pins usually feature a defined space between the collar points and either pre-formed holes or a reinforced path to guide the pin. A pin inserted through holes sits flush with the collar, while one inserted through a reinforced path requires careful alignment to avoid snagging fabric.
If your shirt lacks holes or a clear path, you can still achieve a pin look with a collar bar or clip that connects the two points. These alternatives don’t lift the collar as much as a pin does, but they preserve the sharp line and prevent the points from spreading outward. When shopping, check for the distance between points and the presence of small holes or reinforced channels.
The best shirts for collar pins have a medium spread, a crisp collar stand, and sturdy fabric. Pin orientation should be symmetric, so both points move inward equally. If the collar shape changes after insertion, the pin may be too long or the shirt fabric too flexible.
For example, a well-pressed white dress shirt with a 3.5 cm point spread can accommodate a pin cleanly, especially when paired with a Knights knot or half Windsor tie. If in doubt, try a practice run on a shirt you don’t mind wearing to work or an evening event.
Your shirt selection sets the stage for success. Pick collars with a defined gap and compatible hole or path features, then choose a pin that matches the space exactly. If the shirt can’t support a pin, don’t force it – the result will look forced rather than purposeful.
—
How to pick the right pin and setup
Pin choice hinges on length, material, and the fit between collar points. A good pin is robust enough to stay put but not so long it distorts the collar or becomes visible from above the knot.
Material matters: steel or brass pins resist bending and corrosion; chrome or nickel plating adds a polished finish. If you’re sensitive to skin, avoid pins with rough edges or thick tips that could irritate the neck during long wear. A mid-weight stainless steel pin with a smooth finish provides the best balance of durability and comfort.
Length is the next variable. A pin that’s too long will push the collar outward or press against the tie; too short and it won’t reliably hold the points together. The ideal length sits roughly between the distance of your collar points. If the distance is about 4.4-5 cm, a pin around 1.5-2 cm in total length is usually appropriate. For broader spreads, consider a longer option that still clears the knot.
The pin’s diameter should be enough to stay in place but not so bulky that it crowds the fabric. A slim profile reduces the risk of snagging on tie fabric or shirt seams. When inserting, aim for clean entry through the spaces between points – avoid forcing the tip into thick fabric or through the collar layers.
For example, a 1.8 cm pin on a shirt with a 4.5 cm point spread yields a crisper result. The tie knot sits snugly on the pin, and the collar maintains symmetry even as you turn your head. It’s a small detail, but it reads as deliberate, not accidental.
Your setup should include: a clean, pressed shirt, a pin that matches the point spread, and a knot that sits comfortably with the pin visible just beneath the tie edge. If possible, practice in front of a mirror first – the order of operations matters more than the exact instruments you choose.
—
Step by step wearing guide
Prerequisites: press the shirt, choose a collar that supports the pin, and select a knot that leaves space for the pin to peek through. A quiet, confident approach is better than a forced, visible pin that draws attention for the wrong reasons.
1) Choose a shirt with compatible collar features.
2) Check the distance between collar points and pick the pin length accordingly.
3) Align the collar so the points are level and the holes or reinforced path sit squarely.
4) Insert the pin through the holes or path from inside the collar, keeping the pin straight.
5) Attach the front guard or stabilizer if your pin model includes one, then snug it without forcing.
6) Tie your knot as you normally would, ensuring the knot sits close to the pin without crowding.
7) Gently adjust the collar points so the line between them appears even and the knot remains centered.
8) Check in a mirror, looking for symmetry from the throat to the knot and a clean line under the tie.
This sequence keeps the pin aligned and reduces the risk of fabric snag. If the pin shifts during the day, reset it during a quick bathroom break. The goal is a steady, subtle line that doesn’t scream accessory.
With a classic four-in-hand knot on a spread collar, a 1.8 cm pin placed at the base of the knot yields a crisp silhouette that holds the collar in place all day. If you’re wearing a single-breasted suit, the pin helps anchor the entire look without adding bulk at the neck.
Allow a little room for movement. The collar should not feel pinned to the neck; you want a clean line, not discomfort. A well-executed pin remains unobtrusive while enhancing the overall sharpness of your shirt and suit combination.
—
Common mistakes and how to fix them

Mistake 1: Using the wrong shirt or no holes
Fix: Verify there are holes or a reinforced path between collar points before inserting the pin. If not, opt for a collar bar or clip, or skip the pin altogether.
Mistake 2: Pin too long or too short
Fix: Measure the distance between points first, then select a pin within that length range. Reassess after the knot is tied to ensure visibility is balanced.
Mistake 3: Rough handling during insertion
Fix: Use a gentle, straight entry and avoid forcing the pin through multiple fabric layers. A slightly angled approach is more forgiving for some shirts.
Mistake 4: Poor knot choice for visibility
Fix: Pair a pin with a medium or larger knot, such as a half Windsor, so the pin has a natural resting place that doesn’t vanish behind the knot.
Mistake 5: Overlooking care and maintenance
Fix: Wipe pins with a dry cloth after wear and store in a small jewelry case to prevent bending and corrosion.
Mistake 6: Pin is visible above the knot
Fix: Adjust height so the pin sits just beneath the tie edge; if necessary, switch to a shorter pin or a different shirt model.
The biggest misstep is forcing a pin into a shirt that can’t support it. If you can’t achieve a clean, symmetric line after two attempts, stop and reassess with a different shirt or accessory. A pin should elevate the look, not dominate it.
When done right, people notice the finish rather than the tool. The collar line stays aligned as you talk, lean, or move, and the knot sits centered without any tugging on the fabric. That balance separates a confident, classic look from a trendy but awkward one.
—
Types of collar pins and when to use them
| Type | Best For | Pros | Cons | Typical Price (USD) |
|---|---|---|---|---|
| Hole-based collar pin | Shirts with pre-drilled holes between collar points | Clean entry; secure hold | Requires compatible holes; can wear out fabric if misused | 15-40 |
| Through-hole collar pin | Shirts with reinforced path or hidden slit | Very secure; highly lifts effect | Needs precise alignment; not universal | 20-50 |
| Collar bar | Any shirt; substitutes pin for lift | Easy to use; adjustable width | Does not lift as much as a pin; visible bar | 10-30 |
| Collar clip | Casual to semi-formal; quick fix | No holes needed; fast to fit | Less formal; can look bulky | 5-25 |
A pin that matches your shirt’s features is essential. If your collar lacks the required holes or path, a collar bar or clip will deliver a clean line without risking fabric damage. The bar approach works well for a less dramatic lift, while the pin options deliver a stronger vertical emphasis under the knot. Price ranges vary by material and brand, but you’re typically looking at a modest midrange for quality pieces.
Choose based on your typical dress code. For strict business formal environments, a neat hole-based pin that precisely aligns with your collar points is worth the extra care. For weekend weddings or semi-formal events, a collar bar may give you a sharper look with a simpler routine.
—
Maintenance, care, and removal
Care starts with storage. Keep collar pins in a small jewelry case or a dedicated compartment in a drawer. This protects the finish from scratches and prevents misplacing the pin in daily use. Cleaning is simple: wipe with a soft, dry cloth after wearing, especially if you’ve had light sweat buildup around the neck. For plated finishes, avoid abrasive cleaners that can dull the shine.
Removal is easy but should be deliberate. Gently lift the pin from inside the collar to avoid bending the points, then store it away. If fabric snagging occurs, inspect the collar points for pulled fibers and trim stray threads with small scissors. Regular inspection helps you notice wear on the holes or path and decide when to retire the pin or switch styles.
Improve your results by handling them like a fine tie pin. The pin should be a clean element of the outfit, not a visible fault. With careful storage and occasional replacement, you maintain a crisp, durable look that lasts beyond a single season.
—
Outfit pairings and occasions
Pairing matters as much as the pin itself. A tie is nearly required to showcase the pin, and a medium to full Windsor knot often frames the pin nicely without crowding the space between collar points. Reserve collar pins for more formal or semi-formal settings, including weddings, business formal events, and upscale dinners. For daily office wear, ensure the pin remains discreet so it does not distract from your overall silhouette.
Match your shirt color with the pin’s finish to avoid harsh reflections. A brushed steel or nickel finish pairs well with charcoal, navy, or black suits, while brass or antique finishes complement earth tones and warm browns. If your event calls for a very clean look, a polished chrome pin can subtly reflect light and highlight the knot’s geometry.
For example, at a formal dinner, a white dress shirt with a spread collar and a metallic pin can elevate the overall impression. Ensure your suit and tie present a unified surface so the pin integrates rather than competes. A pin should feel like a deliberate choice, not an afterthought.
The goal is consistency: a pin that supports your collar and knot without drawing attention away from your face or the suit. When done well, your look reads as polished and intentional rather than accessorized or contrived.
—
FAQ
What are collar pins and why should I consider using one?
Collar pins lift and align the collar points, creating a crisp line under the knot. They’re most effective with medium to narrow spread collars and holes or reinforced paths between points; they raise the collar by about 0.4-0.6 inches, making the knot appear more substantial.
Can I wear collar pins with any shirt?
Not every shirt supports a collar pin. Look for shirts with a defined space between collar points and either pre-drilled holes or a reinforced path. If holes aren’t present, consider a collar bar or clip as an alternative that still achieves a sharp line.
How do I remove a collar pin safely?
Gently lift the pin from inside the collar, then slide it out straight. Avoid pulling at an angle to prevent fabric stretching. After removal, wipe the pin with a dry cloth and store it in a protective case to prevent bending and scratches.
What knot works best with collar pins?
Medium to larger tie knots like the half Windsor or full Windsor frame the pin nicely and keep the knot visually connected to the collar. A pin placed correctly should be visible just under the tie edge, not buried in the knot or behind the collar.
Are collar pins appropriate for everyday casual wear?
No. Collar pins are a formal or semi-formal accessory and work best with dress shirts and tailored suits. For casual shirts, skip the pin to avoid looking overdressed or out of place in relaxed environments.
—
Practical verdict and next steps: If you want a sharper, more intentional business or formal profile, start with a collar pin on a compatible shirt and a modest Windsor knot. Choose a pin with a length that matches your collar point distance, and keep the finish aligned with your suit’s metals. If the shirt lacks holes or a clear path, opt for a collar bar or clip instead. Practice once in front of a mirror, then test in low-risk environments before wearing to a high-stakes event.