How To Wear A Collar Pin With Chain?
Wearing a collar pin with a chain
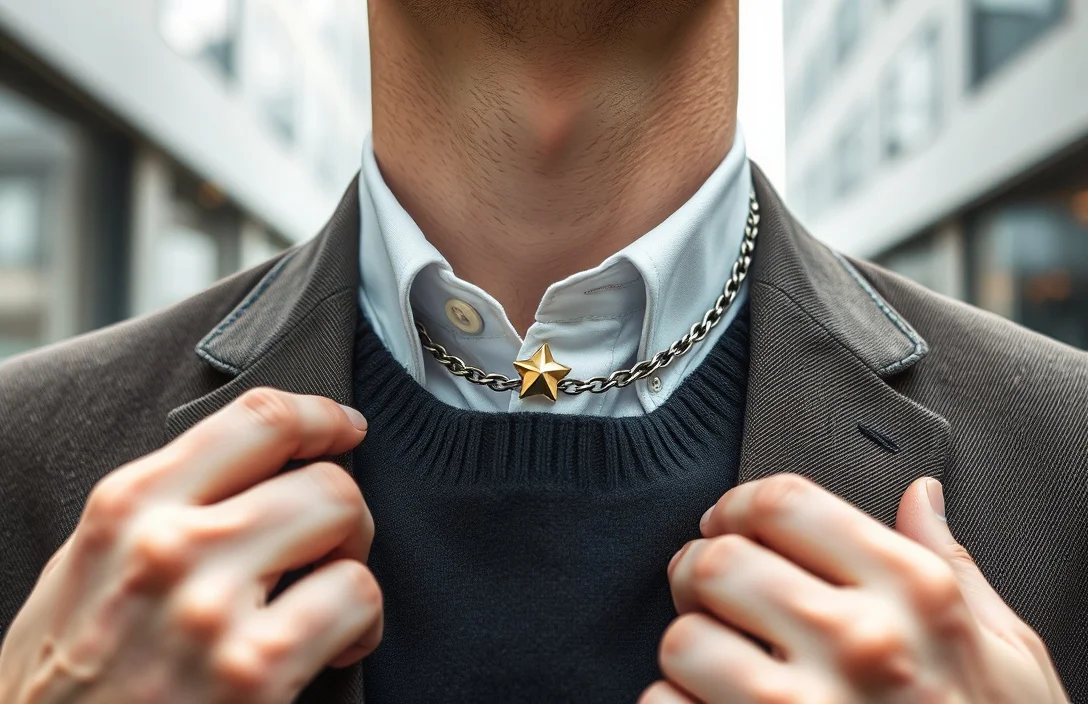
A collar pin with a chain creates a crisp collar line, a controlled knot, and a tidy silhouette. Prerequisites: a stiff collar, a pin designed to couple with a chain, and a mirror to verify alignment.
Slide the pin between the collar points, then anchor the chain to a fixed point so the collar stays raised and the knot stays clean. The chain drapes softly, not pulling the pin or distorting the shirt. With practice, the look stays quiet, intentional, and suitable for formal or vintage-inspired outfits.
Key Takeaways
- Right width matters. Use a pin that fits the collar spread; standard dress shirts typically need a 14-16 mm pin.
- Chain length matters. The chain should drape under the knot or to the top button without pulling the collar.
- Precise placement counts. Place the pin between the collar points roughly midway up the neck for symmetry.
- Anchor the chain securely. Attach the chain to a fixed point so it stays put.
- Check in a mirror. Confirm equal collar lift, a smooth line, and a tidy knot.
- Care after wear. Wipe dry and store flat to prevent bending.
What you need to get started
Start with a well-made shirt and a sturdy collar. Use a clean, pressed shirt and a collar that can hold a pin between its points without bunching. Pair a pin with a compatible chain and choose a short, discreet chain that won’t swing or weigh down the knot. Have a mirror handy, and know where your knot sits relative to the pin.
If you’re new to this, practice on a shirt you’re comfortable ironing. A stiffer collar helps the pin grip naturally between the points. Don’t force the pin; if you feel resistance, back off and reposition. The goal is a clean silhouette, not a puckered collar edge.
Choosing the right collar pin with chain
The collar spread, the pin’s back mechanism, the chain’s attachment, and the metal finish determine the fit. A pin that’s too long sets the collar edge away from the neck; too short can pinch and tilt the points. The chain should attach securely to the pin and anchor to a fixed point – usually the top button or the knot of the tie – without pulling.
For most dress shirts with standard spreads, brass or stainless steel pins with a short, discreet chain work best. Attach the chain to the top button or the tie knot so it doesn’t distort the collar. For very wide spreads, choose a pin designed for a larger gap, or ask a tailor about a slightly longer pin. Comfort and symmetry trump showmanship; a clean line matters more than a dramatic pose.
In practice, test different chain lengths by anchoring the chain to the top button first, then to the knot, to see what looks most natural. If the chain pulls even slightly, shorten it or change the anchor point. The look is confident when the line is straight and the knot stays centered.
| Item | Material | Chain Type | Best For |
|---|---|---|---|
| – | – | – | – |
| Collar pin with chain | Brass, stainless steel | Fixed, small loop at the pin end | Formal shirts with classic collars and vintage styling |
For most shirts with standard spreads, brass or stainless steel pins with a short, discreet chain work best. The chain should attach to the top button or the tie knot without creating tension that distorts the collar. If your collar has a very wide spread, choose a pin designed for a larger gap, or consult a tailor about a longer pin. Comfort and symmetry matter more than showmanship; a clean line is essential.
In practice, test different chain lengths by starting at the top button, then trying the knot, to see what looks natural. If the chain pulls, shorten it or switch the anchor point. The look is confident when the line is straight and the knot remains centered.
how to wear it
Prepare the shirt and pin. Ensure the collar is clean and pressed, with the top button unbuttoned. Hold the shirt at chest height to see the collar spread clearly. The goal is a balanced, upright collar that holds its shape when the pin is placed.
1) Unbutton the top button. This gives access to anchor points and prevents the chain from binding.
2) Align the collar so both points sit evenly. A level line across the tips signals symmetry.
3) Insert the pin between the collar points at your chosen height. It should slide in with light resistance and stay without bending.
4) Clip or thread the chain onto the pin’s end. Ensure a secure attachment.
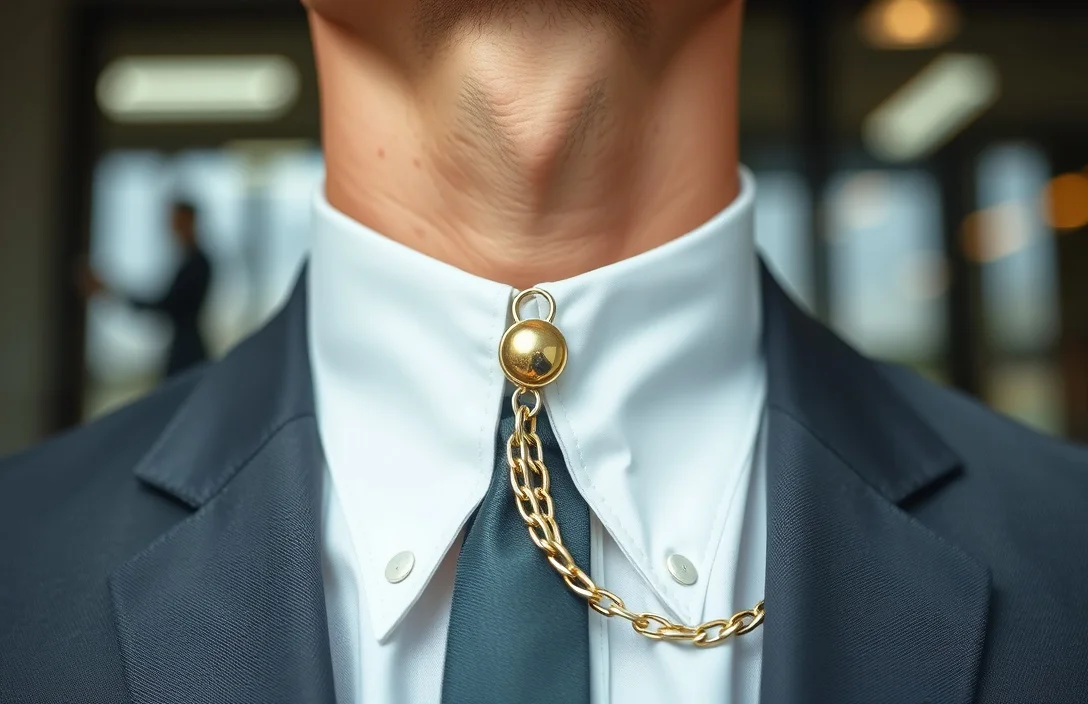
5) Anchor the chain to a fixed point. Use the top button or the knot, whichever keeps the chain taut but not tight.
6) Adjust the chain length for a natural drape. The end should rest near the base of the tie or just below the knot.
7) Check the mirror. The collar lifts evenly, the pin is centered, and the chain sits unobtrusively under the knot. Tweak as needed.
With a proper setup, the collar sits higher and the knot stays crisper. If you wear a peak-lapel suit, align the pin so the chain stays hidden while stabilizing the collar. For very formal events, you’ll notice the collar holds its shape through movement.
Examples: outfits and occasions
- Formal evening: white shirt, black suit, pin with chain, and a black tie. The chain anchors to the top button, elevating the collar and giving the knot a clean silhouette. Subtle on camera, especially with warm lighting.
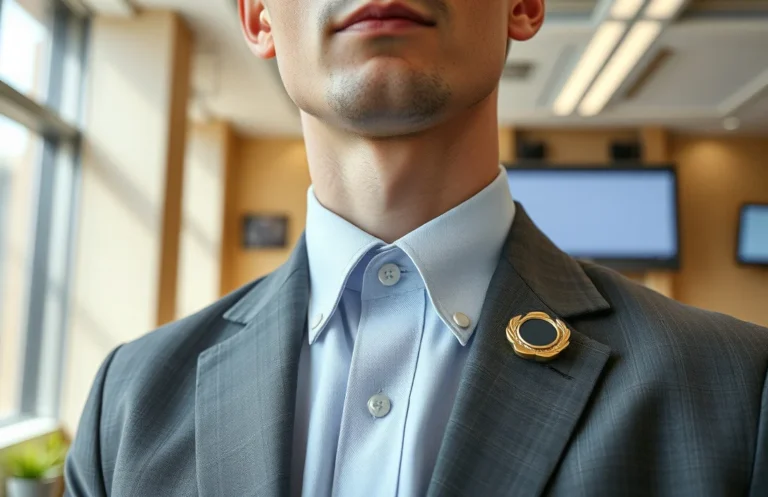
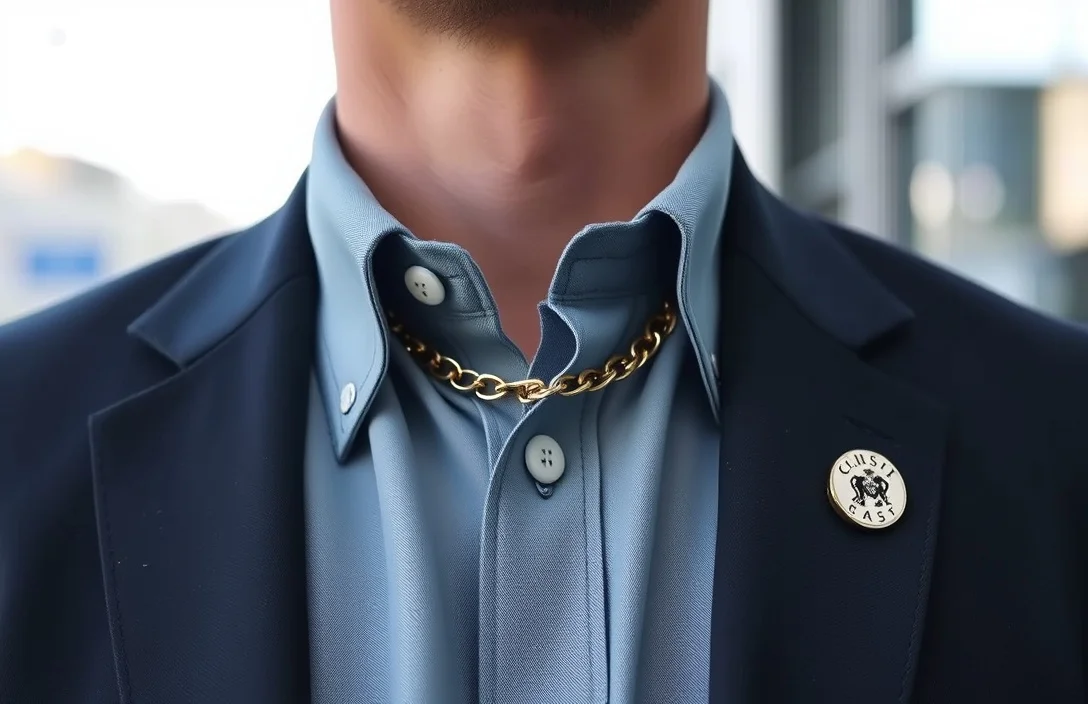
- Daytime business: light blue shirt, charcoal blazer, pin with a short chain, no tie. Subtle edge, professional look with personal style. Avoid too-wide pins for casual fabrics to prevent stiffness.
Outfit ideas:
- Formal evening: white shirt, black tie, pin with chain, tailored suit.
- Daytime business: light blue shirt, dark blazer, pin with a short chain, no tie.
- Vintage-inspired: pin with chain on a high-contrast shirt with a three-piece suit.
For photos, the chain line should run straight from the pin toward the anchor point without curving. The result is a single, clean axis that stays sharp from multiple angles. The key is control: the chain should not swing or snag as you move.
Troubleshooting
Common issues fade with a few quick fixes. If the pin tilts, reinsert it at a slightly different height and reattach the chain. If the chain is too taut and pulls the collar downward, shorten the chain or switch the anchor to the knot. If the chain is too loose, tighten the anchor or use a shorter chain to keep it secure.
Fabric snagging at the pin site happens too. If insertion meets resistance, switch to a thinner pin or adjust the angle. If the chain catches on fabric when you turn, the chain is likely too long – use a shorter length and confirm the anchor is tight. If the chain shows under the edge, adjust the knot or collar height to hide it.
Checklist for quick fixes:
- Pin remains centered and vertical.
- Chain anchors to top button or knot without pulling.
- No fabric puckering around the pin.
- Chain drapes softly and stays clear of seams.
Care and maintenance
Finish wears with time. After wearing, wipe the pin and chain with a soft cloth to remove oils and fingerprints. Dry thoroughly to prevent tarnish, especially brass. Store flat or in a small jewelry box to avoid bending. Check the chain attachment periodically and reattach any loose links.
Rotate pins if you have several collars to avoid overstressing one piece. Avoid moisture, chlorine, or sweat that can corrode finishes. A quick polish before storage helps preserve the look. When you travel, wrap the chain in a soft cloth to prevent tangling or bending.
Next actions: making it part of your wardrobe
Start with one clean, well-fitted shirt and a pin with a short chain. Practice in front of a mirror to confirm your comfort height and anchor point. Once you nail the setup, document your preferred combination (shirt, pin, chain, anchor) so you can reproduce the look quickly for events or workdays. If you want to experiment, try a slightly longer or shorter chain length on a less formal shirt to gauge how it affects your silhouette.
Verdict: a collar pin with chain adds a precise, personal touch when used thoughtfully. Begin with a simple setup, verify alignment in a mirror, and keep the chain anchored and unobtrusive. With a little practice, you’ll elevate standard dress shirts without looking fussy.
FAQ
Do I need to remove the tie before inserting the pin?
Loosen and re-tie if needed to keep the knot clean; you don’t have to remove the tie, but the collar should be free enough to insert the pin without bending.
How do I know which pin width to choose?
Choose a width that fits the collar spread without forcing the collar apart. For standard shirts, 14-16 mm is typical, but check your collar gap.
What if the chain is too long or too short?
If the chain pulls the collar, shorten it or anchor at the knot. If it hangs too loose, lengthen it or use a different anchor point to prevent tangling.
Can I wear a collar pin with chain with a tie clip?
Yes, but ensure the chain does not conflict with the tie clip or shift the tie. Test in a mirror and adjust the anchor so both sit cleanly.
What’s a common mistake to avoid?
Avoid pinning too high or too low; the look suffers when the pin is off-center or the chain tugs the collar. Symmetry and light tension are the keys.