
How To Remove Pin And Collar Links From A Watch?
Removing pin and collar links lets you resize a metal bracelet quickly, saving you a trip to the jeweler. With the right tools and a steady hand, you can add or remove links in under an hour. This guide explains how to identify your pin system, provides step-by-step instructions for push-pin and screw-pin bracelets, and offers reassembly checks along with troubleshooting tips. You’ll achieve a comfortable fit that lasts all day.
Pin and collar links resize a metal watch bracelet in minutes. Identify your pin type first, then decide on the technique: push pins or screw pins. If a pin resists, don’t force it; either switch to a gentler method or consult a professional. A careful, methodical approach keeps the bracelet looking new.
- Identify your pin type. Most bracelets use push pins, screw pins, or split pins; knowing yours guides tool selection.
- Use proper tools. A dedicated watch link kit or pusher, plus a small driver, prevents scratches and damage.
- Work on a soft surface. A microfiber mat or towel minimizes the risk of losing tiny parts.
- Plan your sizing. Remove only the number of links you need and recheck fit before final assembly.
- Test fit safely. Temporarily reattach and wear briefly to confirm comfort and secure attachment.
Tools and Safety
Set up a clean, well-lit workspace on a soft surface like a microfiber mat to minimize the risk of slipping, losing small parts, or scratching the bracelet. Use a bright lamp, a tray for screws and pins, and a clean cloth to protect the case back and lugs. If you wear glasses, put them on; tiny pins are easy to misplace.
Two key safety rules will save you trouble. Never pry on the bracelet with anything sharper than the intended tool, as this can damage the finish or bend the link. Also, don’t force a pin or collar out if it won’t move with gentle pressure. If a pin refuses to budge after several careful attempts, stop and reassess. For stubborn bracelets, a jeweler’s bench vise or a small pin pusher can help, but only if you know the pin type and have the right sizes.
Tools you’ll want within reach:
- Watch link removal tool kit or pin pusher
- Small precision driver set (for screw pins)
- Matte-linish tape or masking tape (to protect finishes)
- Rubber mallet or plastic hammer
- Fine-tipped tweezers and a magnet tray
- Soft cloth or microfiber cloth
- Small pliers or needle-nose pliers
- Optional: magnifying glass or loupe
Keep each tiny component on a dedicated tray. A magnetic tray helps, but avoid magnetic interference near the watch movement. Work slowly and deliberately; the goal is precision, not speed.
Pin Types and Identification
Bracelets come in three common pin systems: push pins, screw pins, and split/pigtail pins. Identifying which one you have is crucial before you touch the bracelet. Push pins are held in by friction and usually sit flush with the link. Screw pins show a tiny slot or head that requires a driver. Split pins rely on a small internal spring mechanism and can be trickier to coax back in.
Two practical identifiers help you decide quickly. Look for a small hole or smooth pin head that sits level with the link for push pins. If you see a slot or a cross-head on the visible pin end, you’re likely dealing with a screw pin. For split pins, you’ll notice a two-part pin with a visible seam on the inside edge of the link.
Pin types at a glance:
| Pin Type | How to Spot | Typical Tools | Risk if Misused |
|---|---|---|---|
| Push pin | Pin head flush with link, no visible head on the outside | Pusher tool, small hammer, precision tweezers | Pins can fly out and scratch the bracelet if pressed too hard |
| Screw pin | Tiny slot or head on the pin end | Precision screwdriver, pin pusher | Stripped head or misaligned screwdriver can damage the pin |
| Split/pigtail pin | Pin appears split or has a small collar on one side | Pusher, needle-nose pliers, sometimes a pin punch | Misalignment can bend the pin or damage the link collar |
Push pins are the easiest for beginners; they typically come out with light pressure when properly aligned. Screw pins demand the correct driver size; using the wrong bit rounds the head and complicates future removal. If you’re unsure, start with the push-pin approach and reassess.
Verify the bracelet type by inspecting the first visible pin at the end link and the inside edge of the adjacent link. If you’re uncertain, don’t force it. A quick photo check against a reference kit can save time.
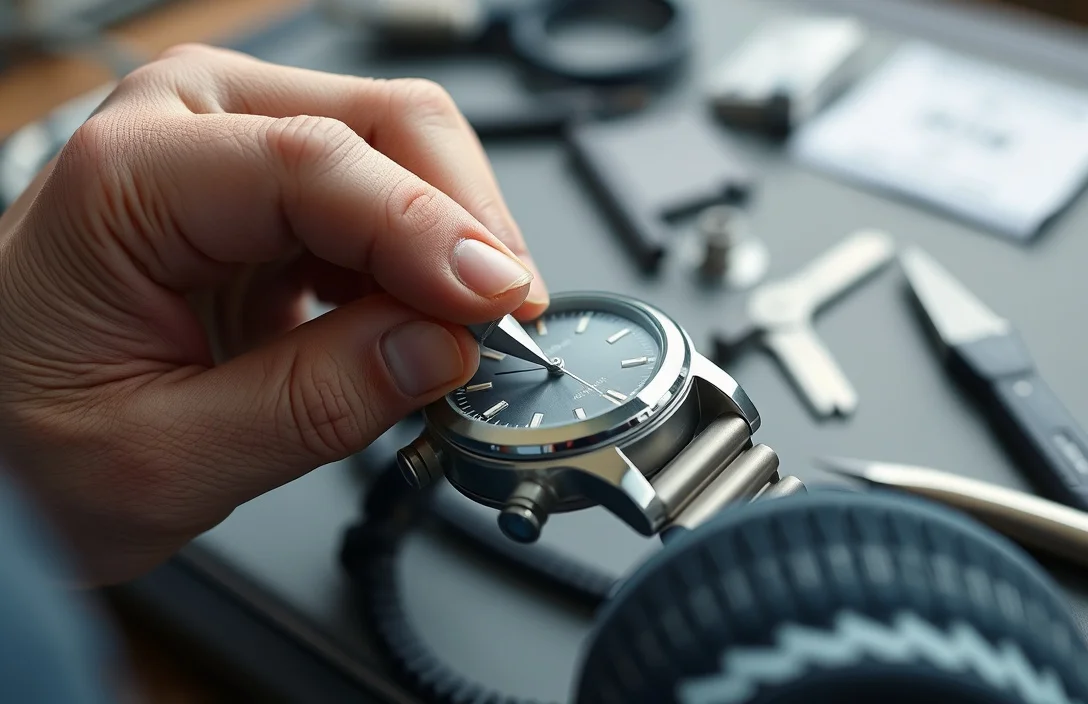
Step-by-Step: Push-Pin Removal
Push-pin bracelets are the friendliest for a first resize. The pin is retained by friction and can usually be driven out with a push tool aligned with the hole in the link.
- Set up and locate the pin. Place the bracelet on the soft surface with the link you want to remove facing up. Look for a small hole or the visible tip of the pin. Align the pusher tool so it sits squarely in that hole.
- Brace the bracelet. Hold the bracelet from the outside with one hand and support the link from the inside with the other. A stable hold minimizes slip and scratch risk.
- Push the pin out gently. Apply straight, modest pressure along the pin axis. Stop as soon as the pin protrudes beyond the link edge.
- Extract the pin. Use small pliers or tweezers to pull the pin out completely. If the pin resists, rotate the bracelet so you’re pushing from the opposite direction and try again.
- Remove the link. Separate the bracelet at the gap created by the removed pin. Place the links on the tray for reassembly.
- Inspect and prepare for reassembly. Check the collar or end of the remaining pin area. If the end looks worn or nicked, consider replacing the pin from a spare kit to avoid future issues.
For example, a typical cheap stainless steel bracelet will shed a pin after a couple of light pushes. If you hear a click and the pin slides out easily, you’re probably good to go. On fancier bracelets, a tiny thread or collar may resist; in that case, stop and move to a more controlled method.
After removing a push pin, recheck the bracelet’s symmetry. If you remove two links from one side, you should add two to the other side to keep the crown area aligned with the case.
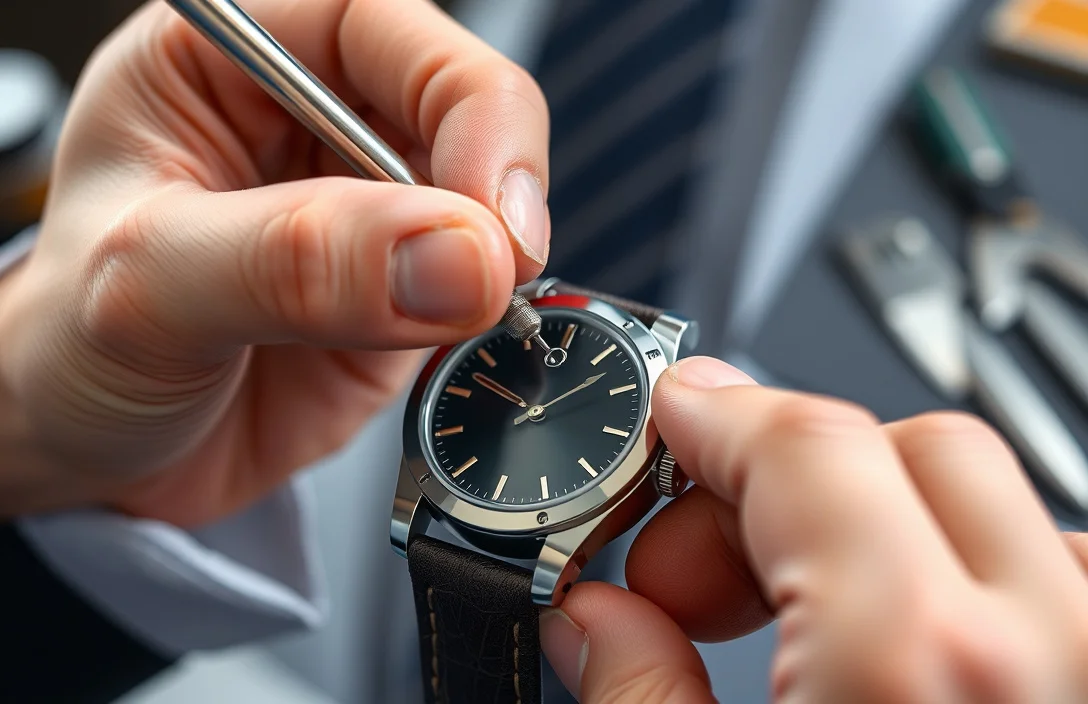
Step-by-Step: Screw-Pin Removal
Screw pins demand precise handling. They are secured with a small head that requires the correct bit. Expect a slower process and protect the finish with masking tape on both sides of the link before you start.
- Confirm the screw pin. Look for a visible slot or a tiny cross-head on the pin end. If you don’t see a slot, stop and reassess; you might have a push pin or split pin instead.
- Secure the bracelet. Place the bracelet on the soft surface and tape the sides of the link gently to keep the tool from slipping.
- Choose the right driver. Use the driver with a matching bit. A wrong bit is the fastest way to strip the head.
- Loosen the pin. Turn counterclockwise slowly; apply even pressure. If the pin binds, back out and re-check alignment rather than forcing it.
- Remove the pin fully. Once the head turns freely, pull the pin from the link with precision tweezers.
- Remove the link. Lift the link away and place it on the tray. Check the remaining links for any nicked edges or burrs.
- Reinstall on the other side or replace with two new links as needed. Always test the fit before final reassembly.
Screw pins often require a couple of turns to release. Do not over-torque; a little progress each time reduces the risk of head stripping. If the pin refuses to move, stop and try a fresh driver or seek professional help to avoid damaging the bracelet.
Reassembly and Sizing Checks
Reassembly centers on equal gaps and secure retention. After removing the necessary links, reinsert the pin to achieve a snug but comfortable fit. Too tight and you’ll strain the bracelet; too loose and it may catch on clothing.
Two essential checks guide a confident finish. First, reinsert the pin so the collar sits flush against the inner link. A protruding collar invites wear and may kink the link. Second, test the closure by clasping the bracelet and gently flexing the band to ensure no pin is loose or protruding. If you can lift a corner or feel play, recheck the pin and collar alignment.
Before final assembly, dry-fit the bracelet on your wrist. Wear it for 5-10 minutes to verify comfort and stability. If you notice any movement, adjust by removing or adding links as needed. Always recheck the fit after wearing briefly; heat or movement can affect how tight the pins sit.
A practical checklist helps you avoid a do-over. Confirm both sides have equal link counts, verify the clasp locks securely, and inspect the pin edges for burrs or scratches. If any of these fail, you might need to remove a link and start again with a more careful approach.
For example, a mid-range stainless steel bracelet often benefits from a light coat of watch oil on the pin before reinserting. This reduces friction during reassembly and makes future resizing easier. Remember that if the bracelet uses a split pin, reassembly should follow the reverse sequence of removal.
Troubleshooting and Advanced Scenarios
Pins that resist, collars that bite, or bracelets that show wear at the link ends require patience. If a pin refuses to come out after several careful attempts, stop and switch to a different method or tool. A stubborn pin can indicate a mismatched size or a damaged collar.
Common fixes:
- For stuck push pins, switch to a screw-pin driver if the pin has a hidden head. Alternatively, apply a tiny amount of silicone-safe oil and retry with a gentler push.
- For worn collars, replace the entire pin assembly rather than forcing a reinserted old pin. Worn collars can damage the link and make future resizing impossible.
- If you’re dealing with vintage plating or a specialty link, consider professional help. A jeweler can preserve the finish and ensure the bracelet remains stable after resizing.
Most issues stem from misalignment. When you misalign the pusher or driver, you introduce burrs or scratches that propagate with wear. A steady hand, good lighting, and a patient approach reduce errors dramatically. If you’re uncomfortable with any step, take a break, re-evaluate, and consider professional service for stubborn or valuable pieces.
A quick pro tip: keep a small magnet near the workspace to locate fallen pins quickly. Use non-magnetic tweezers to pick up tiny parts without leaving fingerprints or smudges. If you scratch the bracelet, stop and reassess; a single scratch can ruin resale value or aesthetics.
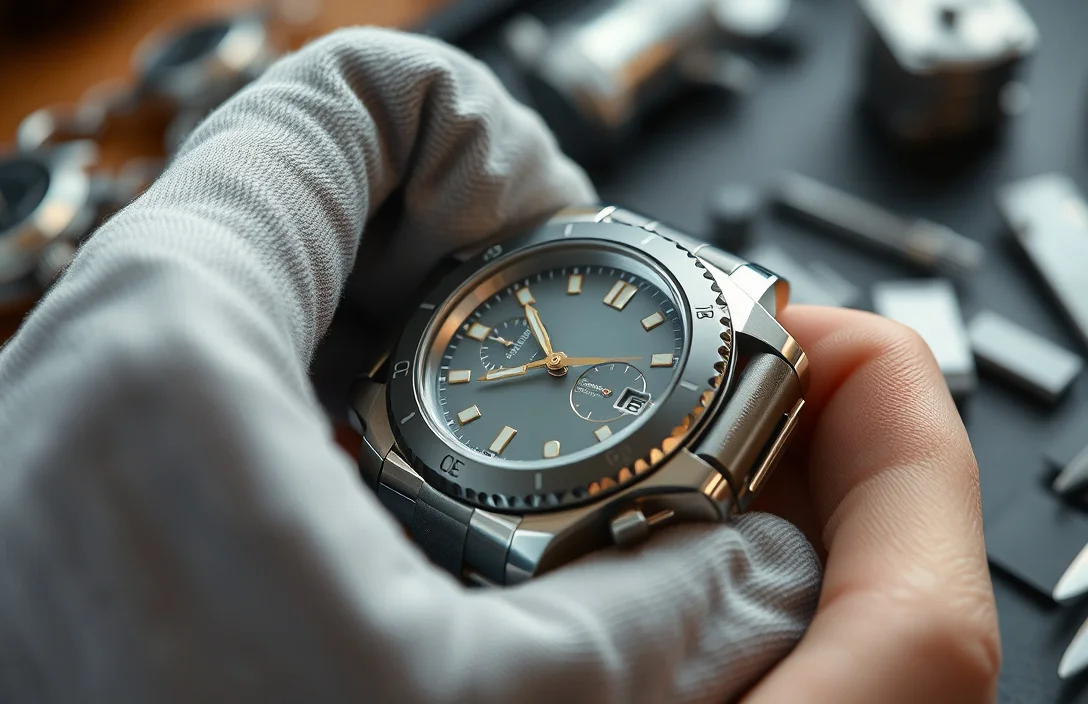
Care and Maintenance After Resizing
After resizing, wipe the bracelet with a soft cloth to remove fingerprints, oil, and dust. Check the fit again after wearing for a day; temperature and body movement can shift the perceived fit. If you notice pin play or loosening, recheck the pin’s seating and consider replacing worn collars.
Look ahead to future sizing needs. If you plan more adjustments, consider investing in a proper watch link removal kit with the right mix of pushers and mini screwdrivers. Practice on inexpensive bracelets first, and reserve more complex work for tools designed for precision jewelry work. With care, you’ll keep the bracelet looking and functioning like new.
Next actions:
- Gather a dedicated watch kit and a soft workspace.
- Practice on a cheap bracelet to build confidence.
- Avoid forcing pins; choose the correct method for your pin type.
- If a link, collar, or pin shows wear, replace rather than reuse worn parts.
FAQ
Can I resize a watch bracelet at home, or should I go to a pro?
Resizing at home is feasible for push-pin or simple screw-pin bracelets with the right tools. If the pin is stubborn, the collar shows wear, or the bracelet is vintage or precious, a jeweler is a safer option. Expert help is warranted for complex or high-value pieces.
How long does the whole resizing take for a typical push-pin bracelet?
A simple resize takes about 20-40 minutes once you’re familiar with the process. You’ll spend more time if you need to switch to a screw-pin method or replace worn collars. Practice short sessions to build speed safely.
What if I can’t find a pin or it won’t come out?
Double-check the pin type and ensure you’re using the correct tool. If you’re unsure, stop and re-evaluate rather than forcing the pin. Identifying push pins versus screw pins is the critical first step.
Which tools are worth buying for a beginner?
A dedicated watch link removal kit with pushers and a set of small precision screwdrivers is best. A small rubber mallet and masking tape protect finishes. Invest in a proper kit to avoid damage or frustration.
What’s the biggest mistake beginners make?
Using the wrong tool or applying excessive force on a pin can scratch the bracelet or bend the links. Take it slow, verify alignment, and avoid forcing pins. Go slow and verify alignment before each push.