
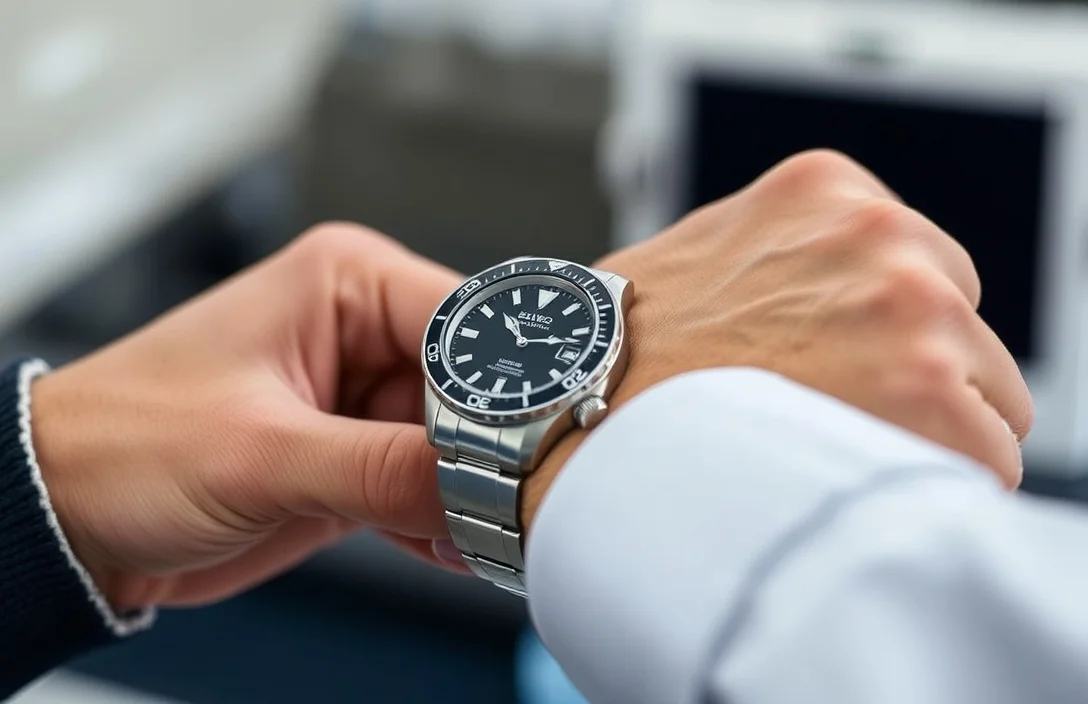
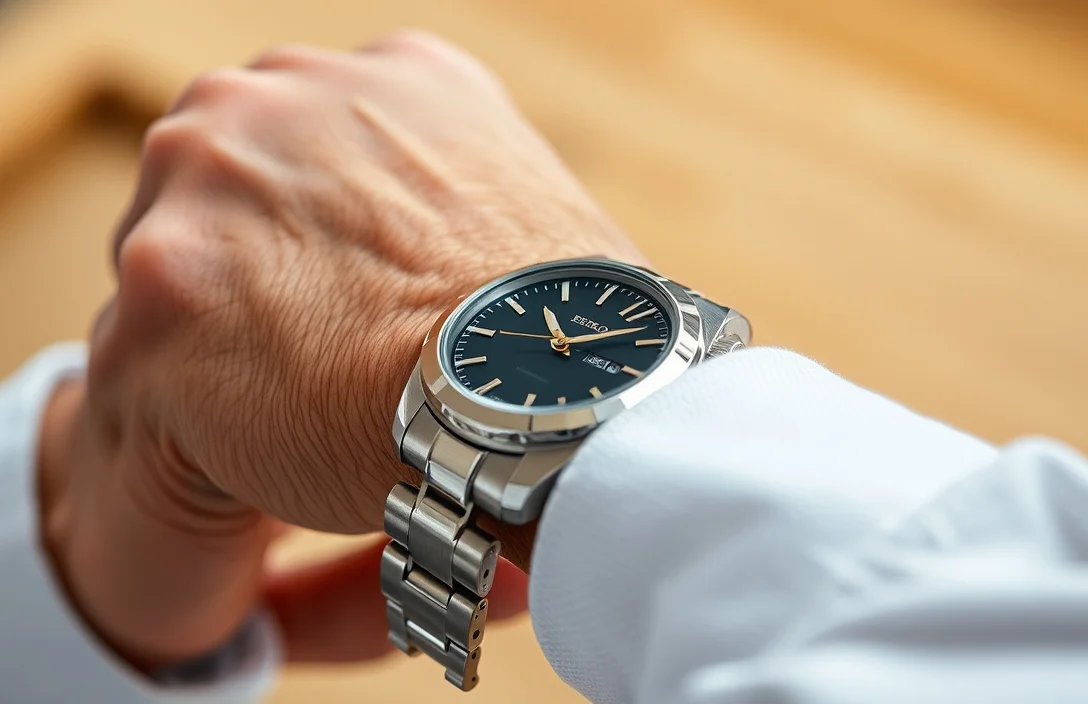
How To Adjust Seiko Pin And Collar Bracelet?
If the bracelet feels tight or loose, you can dial in the perfect fit by removing or adding links. The Seiko pin and collar design uses tiny pins with a shoulder that seats inside each link, allowing for length adjustments in measured steps. When done correctly, the clasp sits centered, the watch rests comfortably, and the finish stays pristine.
Seiko pin and collar bracelet adjustments rely on careful pin removal, collar retention, and precise reassembly. Remove an equal number of links from each end to keep the clasp centered. Use proper tools, push pins straight, and verify fit with the clasp closed before wearing. This approach ensures the watch remains comfortable and the bracelet secure.
- Plan symmetry. Remove an equal number of links from each side to keep the clasp centered.
- Use proper tools. A pin pusher and soft mat prevent slips and scratches during pin removal.
- Push pins straight. Misaligned pins can bend collars or misalign holes.
- Re-seat collars. Keep collars with their pins during reassembly to secure links.
- Test fit before sealing. Close the clasp and wear-test the length for 15-30 minutes.
- Avoid losing parts. Work over a tray and return pins and collars immediately.
What You Need Before You Start

Know your target length before touching the bracelet. Wrap it around your wrist with the clasp centered and note how many links to remove. If unsure, remove one link, test the fit, and repeat. This precise approach saves time and keeps the band balanced.
Tools are crucial. Small parts can easily disappear into carpet fibers or gaps in your work surface. A clean, bright work area makes tracking pins and collars easier. Use a soft mat or a watch holder to prevent scratches and keep the bracelet from rolling away.
- Tools you’ll want:
– Pin pusher or a dedicated pin-removal tool
– Small hammer or plastic mallet
– Bent-nose pliers for control when grabbing pins
– Soft bracelet holder or folded microfiber cloth
– Fine-tipped tweezers or a small tray to hold collars
– Magnifier or loupe for examining small details
A tidy setup matters. Lay out a shallow tray for each collar and pin so you can see where every piece goes during reassembly. Mark a mental “movement plan”: how many links to remove, which side to start from, and how you’ll reinsert the pin.
Identify Which Links to Remove
Start at the ends of the bracelet. To keep the watch balanced, remove links from the outermost ends first. If you’re unsure, remove one link from each end and test the fit with the clasp closed. This minimizes the chance of an asymmetrical look or a lopsided clasp.
Look for removable links. Seiko pin and collar bracelets typically have a visible pin with a small collar inside each link. The pin passes through both sides of the link, and the collar sits flush in the hole. The link adjacent to the clasp is usually a good starting point since you can gauge how the bracelet behaves after a single removal.
For example, if you need to shorten the band by two links, plan to remove one link from each end. If you must take three off, remove one from one end and two from the other, but try to keep the overall balance so the clasp remains centered when worn. This symmetry rule keeps the watch facing forward when you look at it from the wrist.
Remove the Pin and Collar
Position the bracelet on the soft mat with the removable link’s pin accessible from the side you’re pushing. Align the pin pusher with the pin head, then push gently. A straight, controlled push is critical; a skewed push can shear the pin or push into the collar, complicating reassembly.
Once the end link’s pin begins moving, use the pliers to slide it out completely. Keep the collar with the adjacent link, as losing it can lock the next link in place. If the pin feels stubborn, use a finer-tipped tool or re-align the pusher’s angle before applying more force. Move slowly; you’re dealing with tiny parts that don’t forgive rough handling.
To illustrate, when removing a single link at the clasp side, push the pin out until a little shoulder becomes visible, then pull the pin free and set the collar aside with the pin. Repeat for the next link if you’re shortening by more than one. For longer adjustments, plan in steps rather than a single all-at-once removal.
- How to Avoid Common Pitfalls:
– Keep collars with their pins in small labeled piles to prevent cross-mixing.
– If the pin won’t budge, stop and re-check alignment; a crooked push invites damage.
– Don’t reuse a bent or nicked pin; a damaged pin can fail under wear.
Reassemble the Bracelet
Reassembly is the reverse of disassembly. Start by aligning the two bracelet sections so the holes line up cleanly. Insert the collar into its link first, then slide the pin through the hole. The pin should sit flush on both sides; if you feel resistance, you’re not perfectly aligned. Remove the pin and realign before trying again.
A controlled push from the outside of the link helps seat the pin without bending the collar. If you can’t push the pin fully flush, stop and check alignment again. A partially seated pin can snag on clothing or loosen over time. After all pins are seated, gently tug each link to ensure nothing moves unexpectedly.
After a medium-length adjustment, you should have a bracelet that sits comfortably with the clasp fully closed and no gaps between links. If you notice binding or rough edges, recheck the first and last links you worked on; the point of failure is usually out of alignment.
- Reassembly Checklist:
– All pins flush on both sides
– Collars seated with no protruding edges
– No visible gaps between any two links
– Bracelet closes cleanly with the clasp centered
Clasp Micro-Adjustment and Fine Tuning
Clasp micro-adjustment allows for subtle length changes without removing links. Seiko deployant clasps often feature several tiny holes or a slide mechanism for small increments. If your bracelet has micro-adjust holes, use a small pin or the clasp’s adjustment tool to shift to the next hole. Test fit with a light shake and a quick wrist movement to confirm.
Mental Checklist for Micro-Adjustment:
- Identify the exact micro-adjust position you want to try.
- Move in small, incremental steps (one hole at a time).
- Recheck fit with the clasp closed, then wear for a few minutes.
- If you over- or under-adjust, revert to a known reference hole and retest.
If satisfied with the micro-adjustment, you’re nearly done. If unsure about the clasp behavior, re-check the main links first. The goal is a balanced, comfortable fit with a secure clasp.
Common Issues and How to Fix Them
Pin stuck or collar misalignment is a common headache. If a pin refuses to move, don’t force it. Realign and retry with a straighter push. A pin that exits at an angle can catch on the edge of the link, making reinsertions difficult. If a collar pops out, gather the collars and pins, and start over with clean alignment.
Long-term wear can lead to minor looseness or squeaks between links. This usually indicates a pin or collar wasn’t fully seated. Recheck the ends first; a small misalignment there can propagate through the bracelet. If the bracelet feels loose after reassembly, remove a link or two, re-seat the pins, and test again. Aim for a snug but comfortable fit that doesn’t pinch skin or hair.
- Troubleshooting Quick Reference:
– Pin won’t push out: Re-align the tool and apply steady pressure.
– Collar pops out: Remove the pin, re-seat the collar properly, reinsert the pin.
– Clasp binding: Inspect the last link near the clasp for misalignment.
– Tools slipping: Switch to a softer mat or a more stable hold.
Maintenance, Care, and Next
Cleaning the bracelet after adjustment prevents grime from hiding under pins. Wipe with a soft cloth, then rinse links gently with warm water to remove sweat and oils. Dry thoroughly to prevent corrosion, especially on pin and collar surfaces. If cleaning the watch head separately, avoid soaking the movement; just rinse the bracelet and dry.
Set a practical maintenance interval. Check the bracelet every few weeks for looseness, especially if you wear the watch daily or during heavy activity. If signs of wear emerge, consider a professional inspection to ensure the integrity of the pin, collars, and clasp. When in doubt, a pro can re-tension the links and reseat collars with the right tools and torque.
| Situation | At-home Feasibility | Notes |
|---|---|---|
| Shorten by 1-2 links | High feasibility | Use proper tools; symmetry matters. |
| Shorten by 3+ links | Moderate feasibility | Plan carefully; consider professional help for accuracy. |
| Clasp micro-adjust needed | High feasibility | Use micro-adjust positions if available. |
| Major damage or corrosion | Low feasibility | Seek a watchmaker for safe service. |
You can adjust most Seiko pin and collar bracelets at home if you proceed slowly, stay organized, and test fit with the clasp closed. Next step: gather a pin pusher, soft mat, and a small parts tray, then measure how many links to remove and begin with one link from each end.
FAQ
Can I adjust a Seiko pin and collar bracelet at home?
Yes, with the right tools and careful handling. Use a pin pusher, keep collars paired with their pins, and work on a soft surface to avoid damage. Don’t force a pin if it won’t move; recheck alignment and try again.
What tools do I need for this adjustment?
Essential tools include a pin pusher, small hammer or mallet, bent-nose pliers, soft bracelet holder or microfiber cloth, and a small parts tray. Magnification helps when handling tiny collars.
How long does the process typically take?
Plan for 20-40 minutes for a careful, measured adjustment. It’s faster if you’re only removing one link and have experience, but take your time to avoid misalignment.
What if the pin won’t come out?
Don’t force it. Reposition the tool for a straight, centered push. If it still resists, recheck the angle and try again. A crooked push can damage the collar and the link.
Should I take it to a professional?
If you’re removing many links or encountering repeated resistance, a professional watchmaker is the safer choice. They can re-tension links and reseat collars with the proper torque, reducing the risk of future loosening.