
How To Remove Pin And Collar Bracelet?
Removing a pin and collar bracelet is a precise task that can be completed in minutes with the right approach. You’ll need a clean workspace, good lighting, and a small toolkit. The goal is to detach the pin without bending the metal or scratching the finish. This guide shows how to safely and efficiently remove a pin and collar bracelet.
Pin and collar bracelet removal relies on identifying the release type, then applying gentle pressure to disengage the pin. Most designs fall into three categories: push-fit, screw-thread, and spring-loaded collars. Use the correct tool and avoid brute force.
Key Takeaways
- Know the design: Pin and collar mechanisms vary; plan for three common types: push-fit release, screw-thread, and spring-loaded collar.
- Use the right tool set: A 1.0 mm to 1.5 mm precision screwdriver and nylon-jaw pliers minimize scratches.
- Limit force to avoid damage: If resistance exceeds 0.5 N, pause and reassess.
- Protect the bracelet finish: Work on a soft cloth and avoid metal-on-metal contact.
- Inspect for lost components: After removal, confirm the pin, collar, and any screws are accounted for.
- Know when to stop: If the piece shows deformation or rust, seek professional help.
Identify the clasp type and readiness
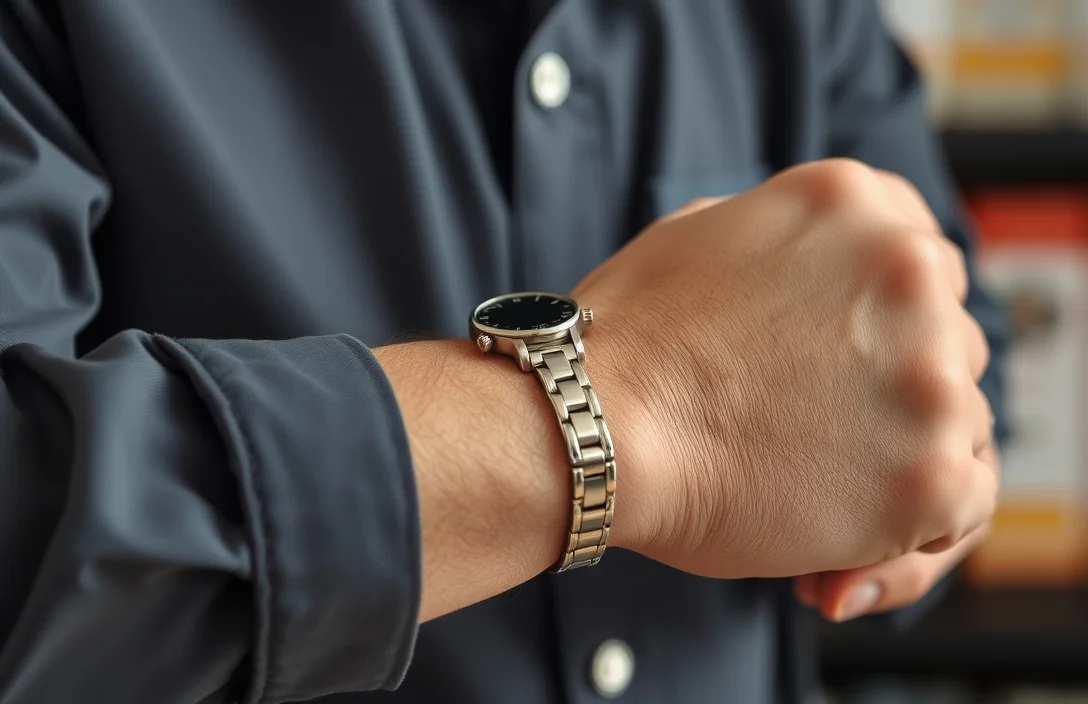
Inspect the bracelet under bright light. Most pin and collar designs rely on a pin that slides inside a collar and a small release mechanism to free the pin. Look for a tiny set-screw, a slotted head, a push button notch, or a smooth collar that rotates or slides. Recognizing your design dictates the safe approach.
If the bracelet feels brittle or shows signs of wear, treat it as delicate. A forced move can bend the pin, scratch the metal, or loosen stones. In that case, pausing to consult a jeweler is wiser than risking permanent damage.
For example, a common push-fit design uses a spring-loaded collar that must stay aligned; the pin slides out with minimal pressure on the collar. A screw-type design requires a small head and a precision screwdriver. A spring-loaded latch may need you to press a hidden notch while pulling the pin free. Knowing your design simplifies the process.
If unsure, take a photo from multiple angles. An image helps if you later decide to visit a shop. Bring the photo or the bracelet itself to a professional if any step feels beyond your comfort zone.
Tools and safety gear
A tidy workspace is essential. Clear a flat, non-slip surface and lay down a microfiber cloth to protect the finish. Have a small dish for tiny parts and a light source that won’t cast glare on shiny metal. Keep a pencil, tape, or marker handy to note orientation if needed.
Stock the right tools. A jeweler’s precision screwdriver set (1.0-1.5 mm sizes) handles tiny screws, while nylon-jaw pliers grip delicate edges without marring. A soft wooden or plastic prying tool helps with gentle lifting, avoiding metal-on-metal leverage. A loupe or magnifier assists in seeing tiny notches or heads.
Tools table
- Tool: Precision screwdriver (1.0-1.5 mm)
– What it does: Frees small screws on screw-type releases without marring.
– Best case: Clean, unthreaded access; minimal slip risk.
– Cautions: Use the correct size to avoid cam-out.
- Tool: Nylon-jaw pliers
– What it does: Grips small pins or collars without scratching.
– Best case: Gentle torque and steadiness.
– Cautions: Avoid squeezing too hard; protect soft metals.
- Tool: Gentle prying tool
– What it does: Lifts without bending tiny parts.
– Best case: Works around a recessed notch or release tab.
– Cautions: Do not force into tight gaps.
- Tool: Soft cloth and lubricant (tiny drop)
– What it does: Reduces friction and protects finishes.
– Best case: A tiny dab of graphite-free lubricant if metal is dry.
– Cautions: Wipe away excess to prevent residue on skin or stones.
- Tool: Magnification (optional)
– What it does: Reveals small set screws or pins.
– Best case: Clear sight of the release mechanism.
– Cautions: Not strictly necessary but very helpful for micro-work.
Keep your non-dominant hand steady on the bracelet while you work with the other. This stabilizes the piece and reduces the chance of accidental slips. If you don’t have all the tools, improvise carefully and test fit after each small move.
Step-by-step removal
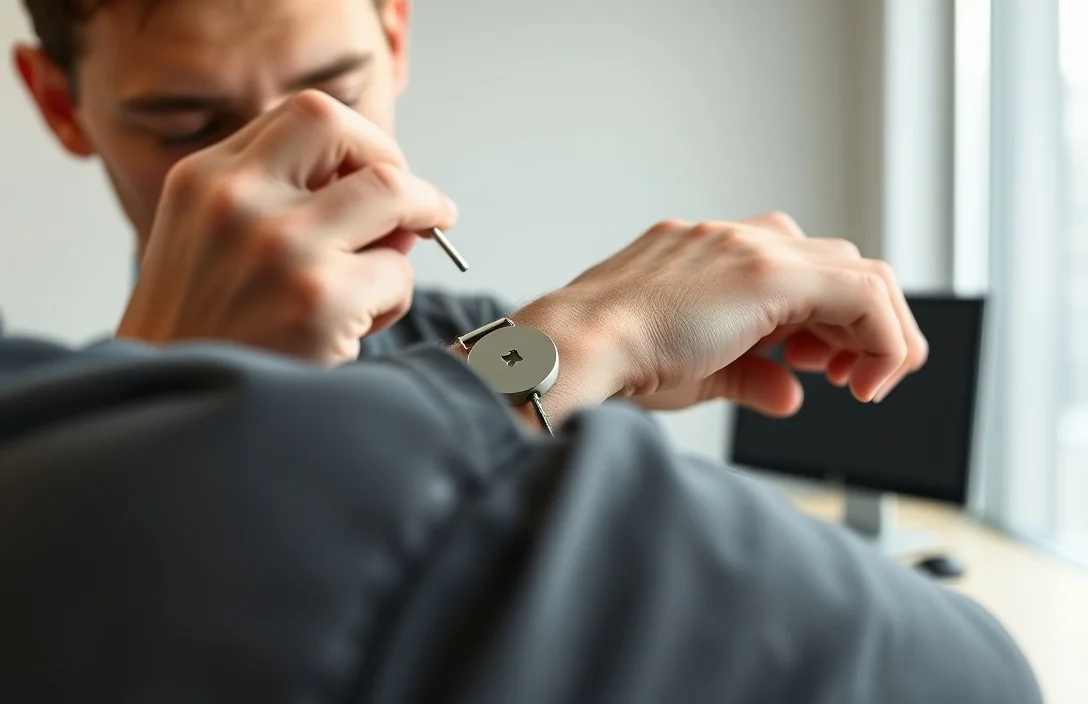
Align your approach with the exact release type. For push-fit or spring-loaded collars, your move will be light and directional. For screw-type designs, focus on a precise turn without stripping.
- Identify the release point. Locate any notch, screw head, or button; this guides your first move.
- Stabilize the bracelet. Rest the piece on the cloth, keeping your hand steady to avoid twisting the band.
- For screw-type, apply the correct screwdriver size and turn counterclockwise until you feel resistance drop. Don’t force.
- For push-fit, find the release notch and press lightly while guiding the pin outward with a blunt tool or tweezers.
- For spring-loaded, depress the collar’s latch area while pulling the pin straight out. Keep motion smooth and aligned.
- Pause when you feel resistance or hear creaking. Reassess orientation and tool fit; a misaligned angle invites damage.
- Once the pin is free, slide the collar back and off the pin. Keep the components in the same orientation for reassembly.
- Inspect all parts for wear. If the pin edge is nicked or the collar shows deformations, stop and set the piece aside for professional service.
You may encounter three common scenarios: a small screw head needing a precise turn, a push-fit design requiring a gentle pull, or a spring-loaded collar needing simultaneous pressure on the collar and steady traction on the pin. If any step feels uncertain, pause and verify alignment before proceeding.
For example, if the collar rotates to lock the pin, hold the bracelet steady, rotate the collar to expose the release notch, then use a fine tool to release the pin, keeping your pull straight and controlled. This reduces the risk of bending the pin or collar.
Special cases: locked or stubborn pins
Some designs resist removal due to corrosion, thread wear, or previous repairs. Start with light lubrication on the interface if the parts are dry, using a very small amount of graphite-free lubricant. A dry surface can seize, especially on older pieces.
For stubborn pins, use a two-step approach: first, loosen any visible screws or threads with the correct tool, then attempt the pin release again. Never apply pliers directly to a delicate pin or if the finish could be scratched. The goal is a gentle, patient release, not a forceful yank that could stretch or snap the bar.
When a lock or retention mechanism is damaged or missing, stop. Forcing a solution can lead to larger issues, including loss of stones or the need for a full bracelet replacement. In these cases, a professional appraisal is the fastest route to a clean, safe outcome.
For practice, work on a spare or less-valuable bracelet first. Once you’re confident, shift to your primary piece. This habit reduces anxiety and increases precision.
Reattaching and resizing after removal

Reassembly is the reverse of removal, and timing matters. Ensure the pin aligns with the collar’s groove before sliding it in fully. For screw-type designs, thread in gently with even pressure until it seats fully, then test the fit by moving the collar a few millimeters to confirm it’s not loose.
If resizing or adjusting the bracelet, prepare the appropriate tools and a soft, clean surface. A delicate bracelet may require professional sizing, especially if stones or links are involved. When in doubt, schedule a quick visit to a jewelry professional rather than risking damage to irreplaceable parts.
After removal, note the orientation of the collar and pin. Place them back in the same order you found them. If the assembly feels out of alignment, don’t force it. Take a moment to realign and try again. Quick checks – like ensuring the pin sits flush and the collar fully seats – prevent future loosening.
Common mistakes and safety tips
- Forcing components through tight openings can cause bending, scratching, or misalignment.
- Using metal tools on soft finishes invites mars and dulling.
- Skipping a magnifier on tiny pins increases the risk of slips and misreads of tiny notches.
- Over-lubricating can attract dust and debris, complicating later reassembly.
- Ignoring a stubborn mechanism can mask a bigger problem, like a bent pin or damaged collar.
- Rushing increases the risk of dropping small parts and losing them.
Work slowly, cleanly, and deliberately. If you’re unsure about any step, stop and reassess. The smallest misstep can turn a neat DIY into a costly fix.
When to seek professional help
If you see corrosion, a bent pin, damaged stones, or a collar that won’t release despite correct technique, call a jeweler. A professional has micro-tools, the right lubricants, and the experience to avoid damage while ensuring the clasp remains functional. Do not pry deeper into a design that resists removal; you risk cracking the metal or loosening stones.
Another red flag is a design you cannot positively identify. If uncertain whether a screw or push-release exists, or if the release mechanism appears non-standard, it’s safer to stop and ask for help. The time and cost of a professional repair are often less than repairing a damaged bracelet after a DIY misstep.
For example, if the bracelet is antique or contains precious stones, opt for a professional assessment. The risk of irreversible damage is too high to gamble with.
Next actions and practical verdict
Confirm the design, assemble the right tools, and proceed with a patient, measured approach. If any step feels off, treat it as a signal to pause and reassess. The most durable results come from a calm, methodical process rather than brute force. After successfully removing the pin and collar, take notes on the mechanism for future reference and consider keeping a dedicated tiny parts tray for storage.
In short: identify, prepare, and proceed with controlled steps. If anything seems risky, don’t force it – call a professional. Your bracelet’s look and longevity depend on careful handling.
FAQ
How much force should I use when removing a pin?
Use just enough force to free the pin, generally under 0.5 N for delicate pieces; if resistance remains, stop and recheck alignment or tool fit.
Can I use household tools for this task?
No. Household screwdrivers or blades can slip, scratch, or bend parts. Use a precision jeweler’s set and nylon-jaw pliers to minimize damage.
What if the collar won’t release?
Pause and re-examine the mechanism. Look for a hidden notch, a small screw, or a spring-loaded latch. If it’s stubborn after careful retries, seek professional help.
How long does removal typically take?
For a first-time attempt on a standard design, 10-20 minutes is typical; with practice, most removals take 5-10 minutes and fewer interruptions.
Is there a risk of losing tiny parts?
Yes. Always work over a soft cloth with a small parts tray. Keep track of the pin, collar, and any screws; losing a piece can derail the entire repair.