How To Attach A Collar Pin? In 8 Easy Steps
A collar pin delivers a clean, elevated line by threading through the two collar buttonholes and resting the decorative ends on the outside. This small touch sharpens a formal look, but it only works with shirts that have proper buttonholes at the collar. Prep the shirt, pick a pin that fits, and you’ll add a confident finish in under a minute.
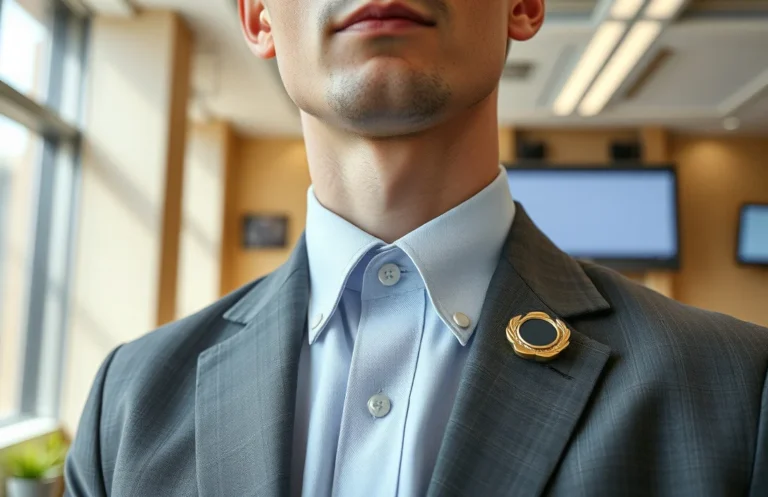
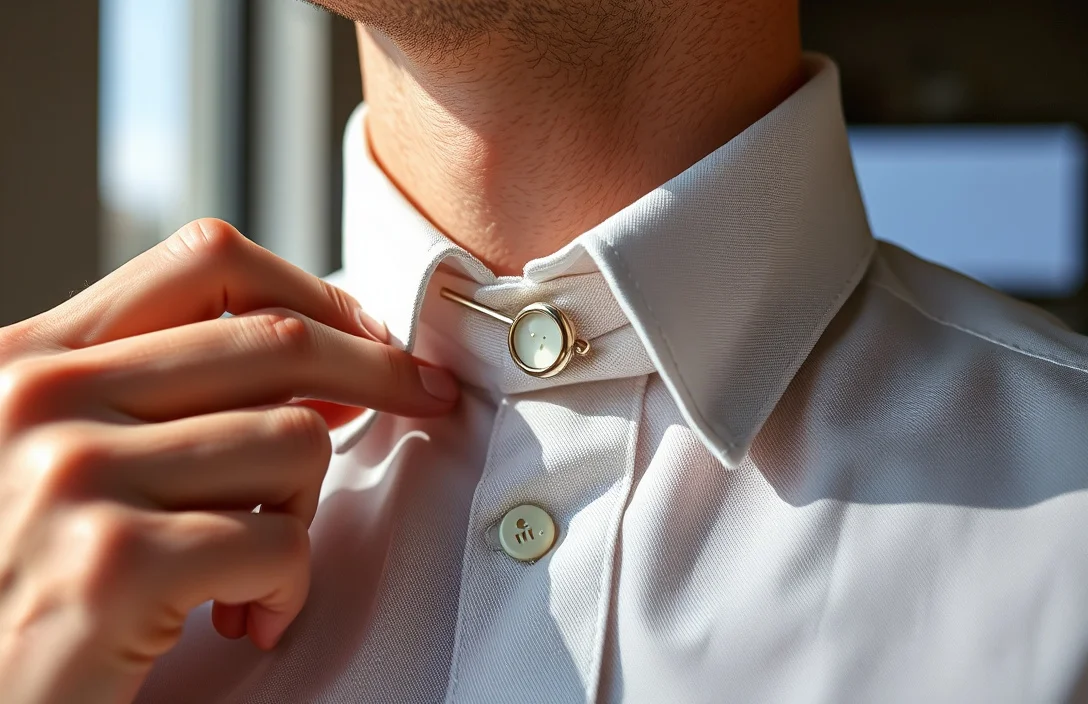
Collar pin placement is straightforward: thread the pin through the two buttonholes on the collar from the inside, then rest the ends on the outside. The pin should sit level with the collar and hold the points neatly, with the tie knot peeking between the collar tips. Keep the ends flat and parallel for the best effect.
Key Takeaways
- Right width matters. Use a collar pin that matches your shirt width to avoid crowding.
- Align before you push. Ensure the two buttonholes line up so the pin rests flat.
- Careful handling. Don’t force through stubborn holes; rotate slightly if needed to avoid fabric tears.
- Use a mirror. Verify the ends sit evenly and the tie knot remains visible.
- Remove if discomfort. If you feel pin pressure on the skin, take it off and adjust.
- Avoid cheap pins. Low-quality pins bend easily and can snag fabric.
Understanding Collar Pins and Their Use
A collar pin is a small metal bar with ends that rest on the outside of your collar. It threads through the two buttonholes at the collar points to hold the collar together and lift the tie knot slightly. This heritage touch signals a classic, formal aesthetic. If the shirt lacks proper buttonholes, a collar pin isn’t usable as described here.
Use it for dressy occasions where a crisp, intentional line matters. It works best with traditional spread or point collars on a white or pale blue shirt and a standard necktie. In casual settings, skip the collar pin; the effect can feel forced or flashy. Repeatedly forcing a pin through delicate fabric can leave marks.
You’ll prep the shirt one minute before you need to look polished. Loosen the top button for access, and have a mirror handy. With the right pin, results are immediate: a tighter collar line and a more defined knot. This detail elevates the entire look but is not a substitute for a properly tailored shirt.
Selecting the Right Collar Pin
Choose a pin that matches your shirt width and collar style. A misfit pin looks off and can push the collar out of alignment. Stainless steel is durable and budget-friendly; silver or gold finishes add a dressy edge but cost more and require more care. For most everyday formal wear, a simple, polished stainless steel pin is a solid choice.
Materials matter for comfort and safety. A smooth, well-finished pin reduces snag risk and skin irritation. If you have sensitive skin, opt for a nickel-free option to minimize reaction potential. Some pins include tiny caps on the inside to prevent edge contact; these can add comfort but aren’t essential.
Match your shirt’s collar shape to the pin design. A classic spread or point collar benefits from a pin that lies close to the collar edge. If your shirt’s fabric is lightweight or prone to creasing, consider a lighter pin and shorter length to reduce pressure on the fabric. Always check for burrs or sharp edges before wearing.
| Style | How it works | Best for |
|---|---|---|
| Classic collar pin | Threaded through two buttonholes; decorative ends sit outside | Formal shirts with spread or point collars |
| Collar bar | A straight bar across the front, often sits behind the tie knot | Modern looks; wider collar gaps |
| Clip-on stay | Clips onto the inside of the collar; no buttonholes required | Quick, casual adjustments; when holes are damaged |
Test a few options on a spare shirt before wearing them to an event. A well-chosen pin feels invisible when worn correctly and only becomes noticeable to others when you look deliberate in a good way. If you’re unsure about the right length, start with a shorter pin and adjust after trying.
Attaching a Collar Pin
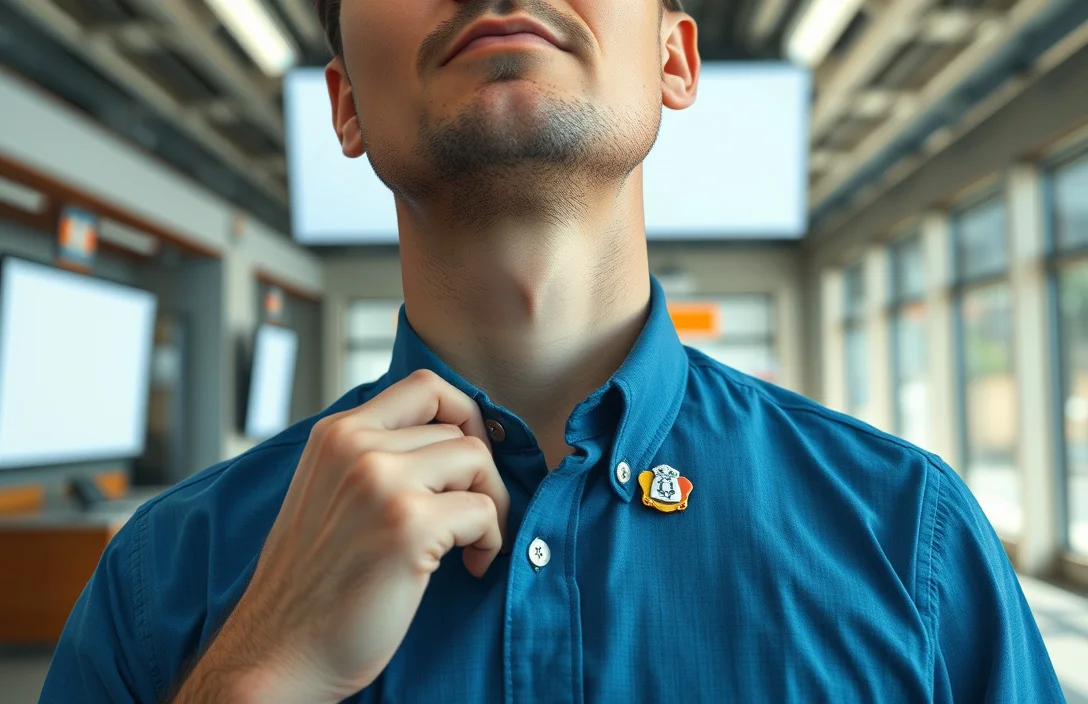
Prep the shirt first. Loosen the top button or two for collar access without pulling on the tie. Remove any jewelry that might snag the fabric, and choose a pin with a smooth finish for a clean, comfortable insertion.
Line up the two buttonholes on the collar. The holes should sit opposite each other at the tips of the collar. If the holes are misaligned or the fabric feels stiff, pause and adjust the shirt until you have a clear path. With the holes visible, the pin can pass through smoothly from the inside to the outside.
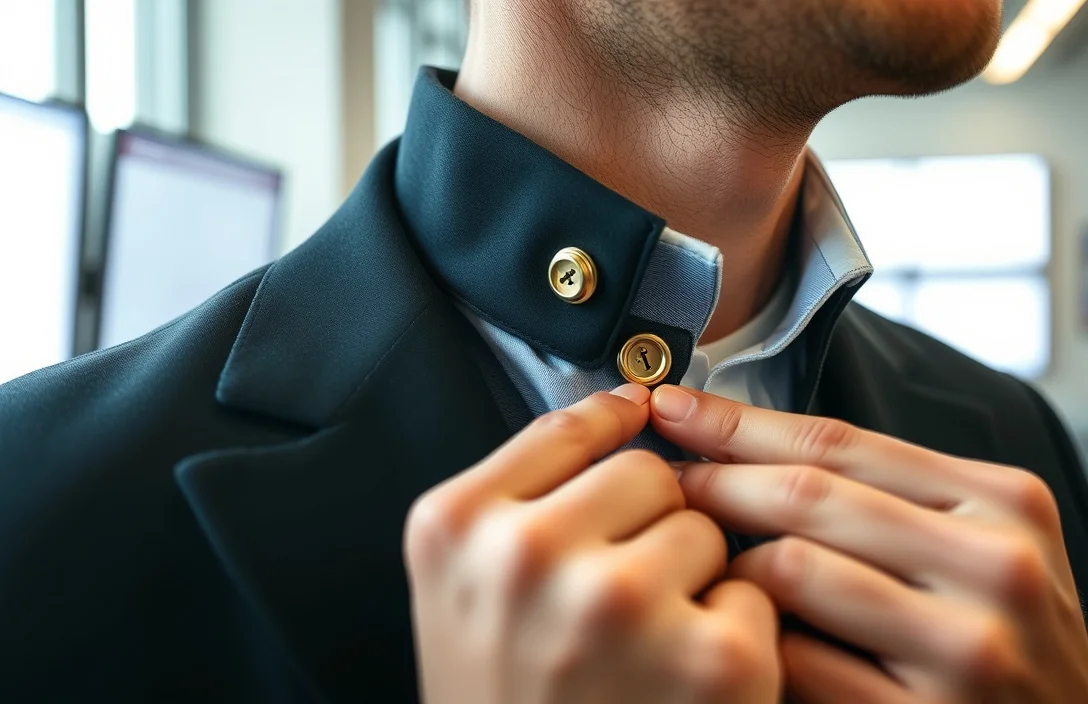
- Hold the shirt steady with one hand and the collar pin with the other. Start from the inside of the collar, near the placket, and guide the pin toward the first buttonhole.
- Push the pin gently through the first buttonhole. Repeat with the second buttonhole until the pin is fully threaded through both holes.
- Slide the pin until the decorative ends sit flush on the outside of the collar. The ends should be parallel and level with the collar edges.
- Check alignment in a mirror. The knot of your tie should peek neatly between the collar points, not obscure the ends.
- Adjust height if needed. The decorative ends should rest just above the knot, not tipping the collar forward or backward.
- Verify fabric integrity. If the fabric shows strain or the pin feels bulky, reinsert with a shorter pin or a different style.
- Fasten the look. Ensure the end pieces are secure and won’t shift during movement. A slight press with the finger can help seat the pin.
- Final check. Look straight ahead; the collar should appear evenly elevated and the knot clearly visible between the points.
If the holes tighten or the fabric catches, stop and realign. For a first attempt, practice on a backup shirt or in front of a mirror. You want a clean look that remains comfortable through the event. With a bit of patience, you’ll be able to attach it seamlessly.
Troubleshooting Common Issues
A pin that won’t pass cleanly through the holes often indicates resistance. Rotate the pin slightly to align with the fabric’s weave rather than forcing it straight through. For delicate fabrics, a tiny amount of pressure is enough; pushing hard risks tearing the collar.
A pin that sits crooked usually results from misaligned buttonholes or an uneven collar. Reinsert from the inside, adjust the collar’s orientation, and try again. If the ends aren’t parallel, you likely pulled the pin through at an angle. Re-seat until the ends sit flat and parallel across the collar.
A pin that leaves marks or pokes the skin is too long or thick for your shirt. Remove the pin and switch to a shorter or slimmer option. For skin comfort, also consider a pin with a rounded end and a smoother finish. If marks remain, you may need to choose a different shirt or collar style for future wear.
A stiff collar may resist pin insertion. Soften the area by gently flexing the collar with your fingertips before attempting the insertion. If you still encounter resistance, stop and try on a different shirt or a different pin style. Aim for consistent results, not a compromised look.
Style, Etiquette, and Practical Guidance

A collar pin complements a formal, tailored aesthetic. It pairs well with a classic spread or point collar and a standard necktie. Reserve it for business formal or black-tie events where a polished, deliberate detail matters. On casual days, skip the pin; the effect can feel out of place.
To preserve the look, handle the pin carefully. Avoid pulling it across rough surfaces or brushing against jewelry that could snag the fabric. Store your pins in a soft pouch or a small box to prevent scratches. If you wear a lot of metal, keep a dedicated pin for shirt collars to avoid scratching other garments.
Care and maintenance are simple. Wipe the pin with a soft cloth after wear to remove oils or perspiration. If you notice tarnish on silver or gold-tone finishes, use a gentle metal cleaner suitable for the material. Store away from humidity to minimize corrosion. Regular inspections for burrs or rough edges help keep the look pristine.
If you regularly wear a collar pin, consider rotating pins with different styles to extend the life of each piece. A single well-chosen pin can last years with proper care, while multiple options provide flexibility for different shirts and occasions. The key is consistent, careful handling and a quiet confidence in your look.
Next Steps and Practical Actions
If you’re new to collar pins, buy a basic stainless steel pin to learn the technique. Practice on a spare shirt and check the results in various lighting conditions. Once comfortable, add a second pin in a different finish for variety.
Try a clip-on alternative if your shirt has damaged buttonholes. A clip-on stay is easier to use and still delivers a crisp line, though it won’t have the same traditional impact. As you gain experience, experiment with different materials and finishes to match your suit and shoes.
Practical next steps: pick a shirt with a clean collar and two intact buttonholes, choose a suitable collar pin, practice at home, and then wear it to a dressy event. A well-executed collar pin is a subtle but powerful cue that you pay attention to detail. For a sharper look, combine a crisp shirt with a well-tied tie knot and a pinned collar.
FAQ
Do I need a special shirt to wear a collar pin?
A: Yes. You need a dress shirt with two buttonholes at the collar. If your shirt lacks proper holes, a collar bar or clip-on stay is a safer alternative. Two buttonholes are essential for the traditional pin technique.
Can a collar pin damage the fabric?
A: It can if you force it or insert at an angle. Use a smooth, well-finished pin and pass through the holes gently. If you feel resistance, stop and realign. Misalignment is the main cause of fabric damage.
How do I remove a collar pin without tearing the shirt?
A: From the outside, push the pin toward the inside while guiding it away from the fabric edge. Then pull it free through the buttonholes. Return the shirt to its normal position and inspect for wear.
What if my shirt doesn’t have the right collar holes?
A: Use a collar bar or a clip-on stay instead of threading through holes. These options don’t require buttonholes and still deliver a sharp collar line.
How long should a collar pin be?
A: The pin should sit flush with the collar edge and not push the collar forward. If it sticks out or causes the knot to disappear behind the collar, it’s too long for that shirt. Adjust by trying a shorter pin or another style.