How To Adjust Pin And Collar Bracelet?
Adjusting a Pin and Collar Bracelet
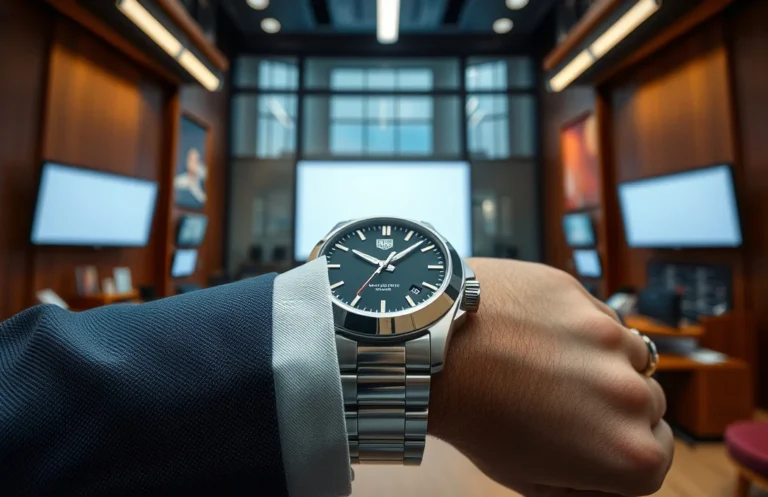
Adjusting a pin and collar bracelet yields a secure, comfortable fit in minutes. You’ll need a clean workspace, a small precision driver or pin punch, and a soft cloth to protect the metal. Seat the pin fully in the collar, then tighten or loosen the collar until there’s no slack and no pinching.
Pin and collar bracelets adjust with one simple trick: slide the pin to release the collar, then rotate the collar to set the fit. After 2-3 deliberate actions you’ll hear a clear click when the pin locks.
Key Takeaways
- Tools you need: precision screwdriver, needle-nose pliers, clean workspace, and good lighting.
- Inspect components: check the pin and collar for burrs or debris before starting.
- Step-by-step pace: move deliberately in three small actions per adjustment.
- Test fit frequently: try the bracelet after each move for a snug, not tight, feel.
- Common snag fixes: if the pin sticks, pause, clean threads, then retry with light oil if approved.
- Record your settings: note the final collar position for consistent future fits.
What a Pin and Collar Bracelet Is
A pin and collar bracelet uses a small pin that inserts into a collar or housing to fix the length. The collar threads or locks onto the pin to hold the adjustment. When you rotate the collar, you change how deeply the pin sits, which tightens or loosens the bracelet around the wrist. This mechanism provides precise control while staying relatively simple to service.
In practice, the collar acts as a locking ring. When the pin is aligned with a slot or notch, the collar can be turned to engage or release the pin’s grip. If debris or burrs exist on either part, you’ll feel resistance or hear a faint grind at the joint. Regular cleaning and gentle handling protect the mechanism from wear that causes slop.
The typical use case is a metal bracelet with a small, removable pin and a threaded or snap-on collar. It’s common in dress watches, some sport models, and vintage pieces. The adjustment process is designed to be reversible, so you can redo the fit if you change wrist size or wear a bulky shirt cuff.
Prerequisites and Safety
Prepare a clean, well-lit workspace before touching any bracelet. A magnifying glass or loupe helps inspect tiny burrs on the pin or in the collar recess. Handle parts with a soft, lint-free cloth to prevent scratches, and only use tools you trust to avoid marring the metal.
Don’t force resistance. If the collar won’t rotate smoothly or the pin won’t seat, stop. Forcing can bend the pin or damage the collar threads, creating looser fits or permanent deformation. When in doubt, recheck alignment and proceed with light, deliberate motions.
Lay out a clean surface, fine-tip pliers or a small precision screwdriver, a soft cloth to protect the jewelry, and a small container to keep tiny components from rolling away. If your bracelet has coatings, avoid aggressive cleaners or metal polishes that could dull finish or remove plating. A few minutes of prep saves frustration during the adjustment.
Tools and Materials
A pin and collar system relies on fine tolerances. If you suspect misalignment, examine the pin for straightness and the collar for a clean thread or track. Debris can mimic wear and throw your measurement off. With a clean baseline, proceed to the adjustment steps confidently.
Tools you’ll typically use include a tiny precision screwdriver, fine-point tweezers, needle-nose pliers, a soft cloth, and a gentle jewelry-safe cleaner. If you have a jeweler’s loupe, use it to check for burrs or threading damage. Always work over a soft mat or a tray to catch small parts that might roll away.
- Tools you need: precision screwdriver, needle-nose pliers, clean workspace, and good lighting.
- Inspect components: check the pin and collar for burrs or debris before starting.
- Step-by-step pace: don’t rush; perform 3 deliberate movements per adjustment.
- Test fit frequently: try the bracelet after each move for a snug, not tight, feel.
- Common snag fixes: if the pin sticks, pause, clean threads, then retry with light oil if approved.
- The collar won’t rotate smoothly. Stop and inspect for burrs or grit. Clean with a jewelry-safe cleaner and a soft brush, then dry completely before retrying.
- The pin won’t engage in the collar. Ensure the pin is straight and fully retracted before aligning with the slot. If the pin is bent, replace it or take the bracelet to a professional.
- The fit is too loose after adjustment. Revisit the collar seating and increase the torque slightly in small increments, testing after each turn.
- The bracelet binds when moving the pin. Remove debris and apply a tiny amount of jewelry-grade lubricant only if recommended by the maker.
- The collar shows visible wear. If threads are worn, avoid further adjustments and seek professional service to prevent further damage.
| Record your settings: note the final collar position for consistent future fits. | Bracelet Type | Typical Closure | Adjustment Approach | Key Note |
|---|---|---|---|---|
| Standard pin and collar | Threaded collar engages pin | Loosen, slide pin, rotate collar to lock | Check that collar seats fully with a soft click | |
| Locking pin with collar | Pin locks via collar notch | Unlock, adjust length, re-lock | Listen for a secure snap when seated | |
| Floating pin with collar | Pin can move freely until collar seats | Align pin with slot, rotate collar | Keep threads clean to prevent misalignment | |
| Micro-adjust pin systems | Small increments via fine threads | Very light turns; test fit after each move | Avoid over-torquing to prevent thread wear |
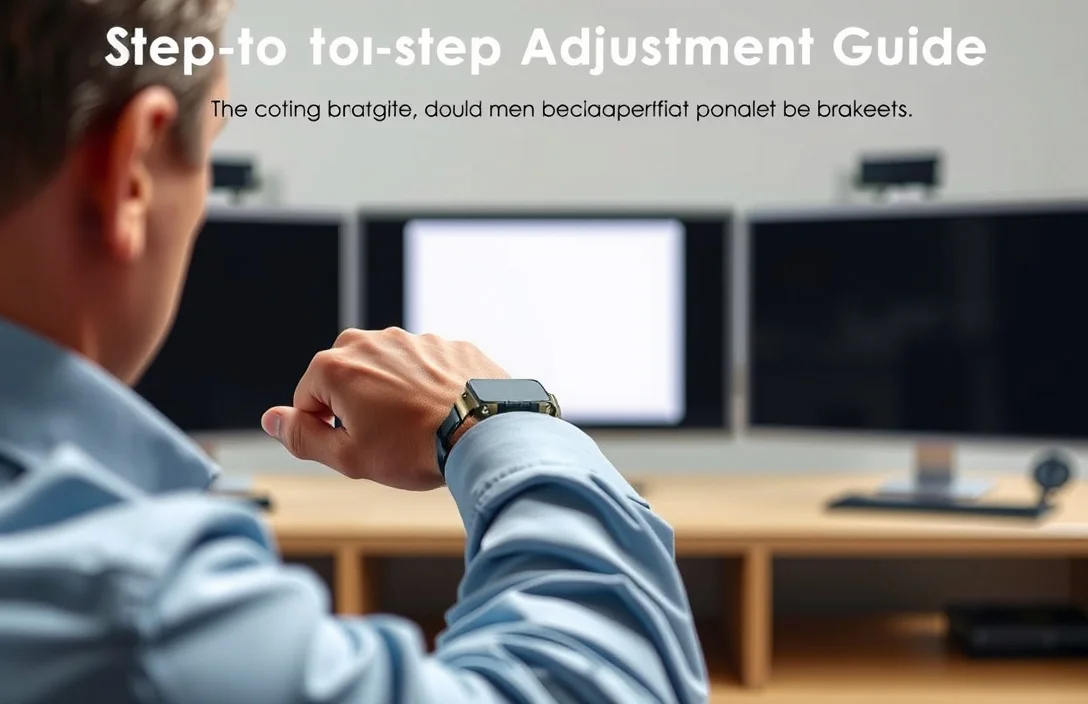
Step-by-step Adjustment Guide
Complete, deliberate steps ensure you don’t miss a detail. Start by inspecting the pin and collar for burrs, then prepare your workspace.
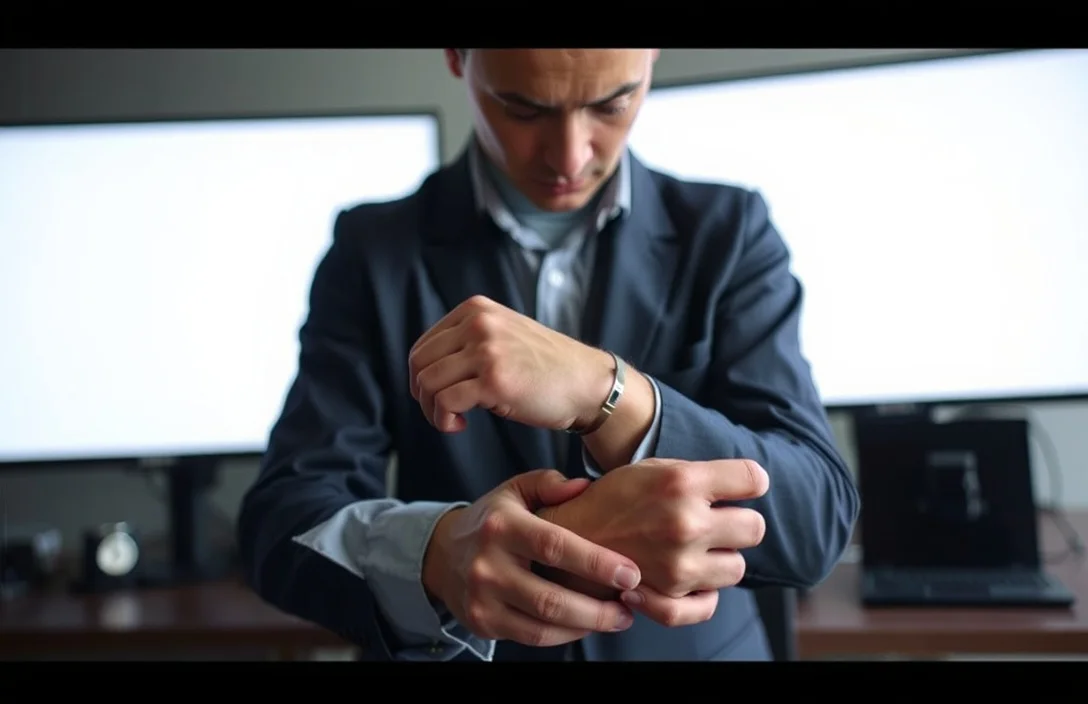
1) Set the bracelet on a stable surface in a bright area. Gently handle the pin with tweezers to avoid bending it, and check that the collar threads are clean. Wipe any rough spots with a clean cloth before proceeding.
2) Release the locking position. Use a precision tool to push or slide the pin just enough to disengage the collar from the locked position. Do not apply force; the goal is a smooth disengagement. If the collar resists, pause and inspect for debris.
3) Adjust the length. Rotate the collar slowly to lengthen or shorten the bracelet. Make tiny, controlled turns and recheck the alignment of the pin with its hole or notch. Stop when the collar seats evenly and the bracelet rests comfortably.
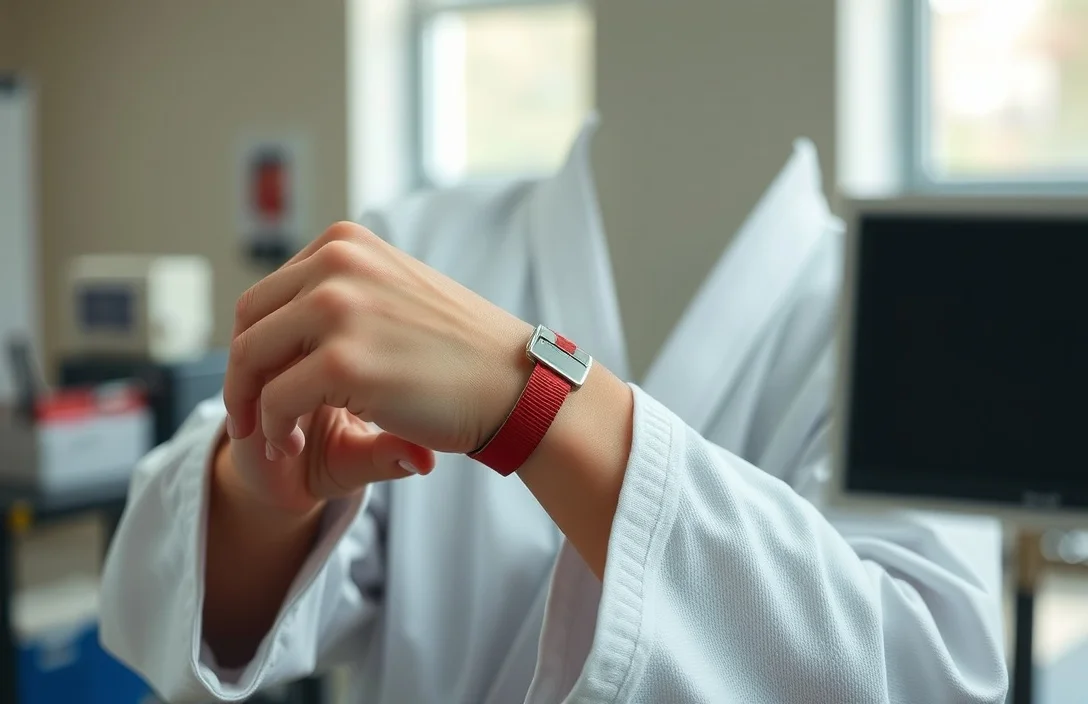
4) Re-engage and test. Push the pin back into the collar until you hear or feel a definite lock. Move your wrist to test that the bracelet stays in place with a light lift but without binding. If it slides too freely, repeat the previous steps with a slightly tighter collar.
5) Verify the fit. Put the bracelet on and perform light daily motions for 1-2 minutes. If it binds or pins, loosen slightly and recheck. Continue with small increments until the feel is right.
In practice, adjusting pin and collar bracelets becomes second nature after a few trials. The key is small, deliberate movements and a test wear after each adjustment. If the collar refuses to seat or the pin tapers at the edge, stop, clean again, and re-evaluate alignment.
Variations by Bracelet Type
Bracelets with pin and collar closures come in several styles, and the adjustment approach evolves with each. The core idea remains the same: align the pin, then set the collar to lock the length. A few common variations require minor tweaks to technique, not a totally new method.
Some collars use a small clip or notch to lock the pin in place. Others rely on a micro-threaded collar that requires very light turns to move in minute increments. Dress watches often feature finely milled collars that reward patient, precise turns. Sport models may have tighter tolerances to prevent accidental loosening during activity.
The adjustment technique is the same across variations: disconnect the lock, adjust length in small increments, then reseat and test. The difference lies in feedback cues – some collars click more crisply, others require a tactile feel of a snug resistance. Practice on a non-valuable piece or a similar model to learn the feel before adjusting an expensive bracelet.
Troubleshooting Common Issues
When things don’t feel right, a calm, methodical approach saves the day. Start by rechecking alignment, then verify there’s no debris in the collar track. If the pin won’t seat, pause and clean both parts before attempting again.
Maintenance and Best Practices
Routine care keeps pin and collar bracelets performing reliably for years. Wipe the bracelet after wearing to remove oils and sweat that can corrode the metal over time. Store it in a soft pouch or on a jewelry stand to prevent nicks on the pin or collar edge.
Periodically inspect the pin and collar for burrs, scratches, or degraded threads. A clean, dry cloth and a soft brush are usually enough. If you notice consistent resistance or slipping, pause and consult a jeweler rather than forcing a repair that could worsen the damage. A small maintenance check every few months is enough for most wearers.
Next actions: practice the steps with a non-valuable piece to build familiarity, then adjust your main bracelet in a controlled environment. If the bracelet is vintage or has unusual hardware, consider scheduling a quick inspection with a professional before attempting a full at-home adjustment.
FAQ
How much time does a typical pin and collar adjustment take?
3-5 minutes if you proceed with small, deliberate motions on a clean workspace. If the pin binds or the collar is stubborn, add a few extra minutes for cleaning and rechecking alignment. Expect a single, well-executed pass to sit correctly once you’re comfortable with the feel.
Can I adjust a pin and collar bracelet at home, or should I go to a jeweler?
Yes, you can adjust at home with the right tools and a steady hand. Use a clean surface, good lighting, and gentle, incremental turns. If you encounter unfamiliar features or suspect damaged threads, consult a jeweler.
What tools are essential for the adjustment?
A small precision screwdriver or pin punch, needle-nose pliers, a soft cloth, and a clean workspace are essential. A loupe helps inspect for burrs and wear, but it isn’t strictly required if you can see the mechanism clearly.
What is the most common mistake when adjusting?
Forcing the collar or pin when resistance is present. Stop, inspect for debris, and clean. Forcing can bend the pin or damage the collar threads, making the fit worse.
Are there alternatives to pin and collar closures?
Yes. Some bracelets use a snap-in pin, magnetic clasp, or additional micro-adjustment mechanisms. These alternatives may require different tools or less manual effort, but the fundamental idea – securely locking the length – remains the same. Follow the manufacturer’s guidance for non-standard closures.
Closing thought: with a calm approach and the right technique, pin and collar bracelets adjust quickly and safely, giving you a precise fit that lasts. Start with a clean workspace, practice on a non-valuable piece, and keep the steps small and deliberate.