How Do You Use A Collar Pin? A Step-by-step Tutorial
A collar pin is a slim metal bar that threads through two small holes near the collar points, pinning them together and raising the collar for a vintage, formal look. It pairs best with traditional dress shirts and properly fitted collars. When used correctly, it creates crisp lines and adds a touch of old-school polish.
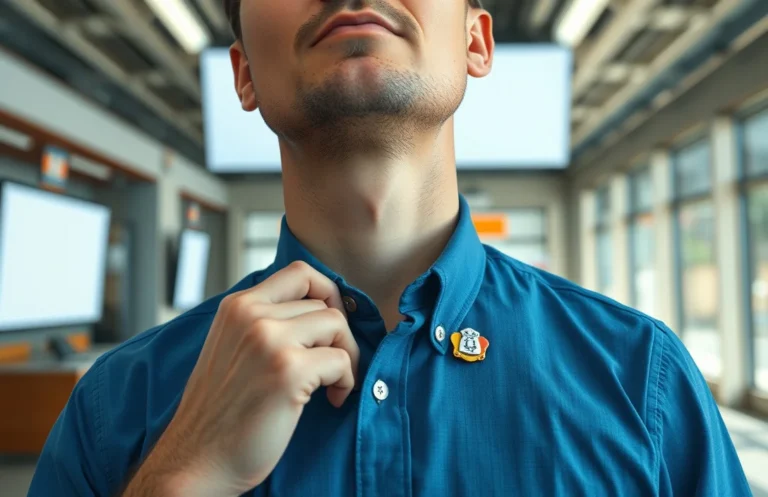
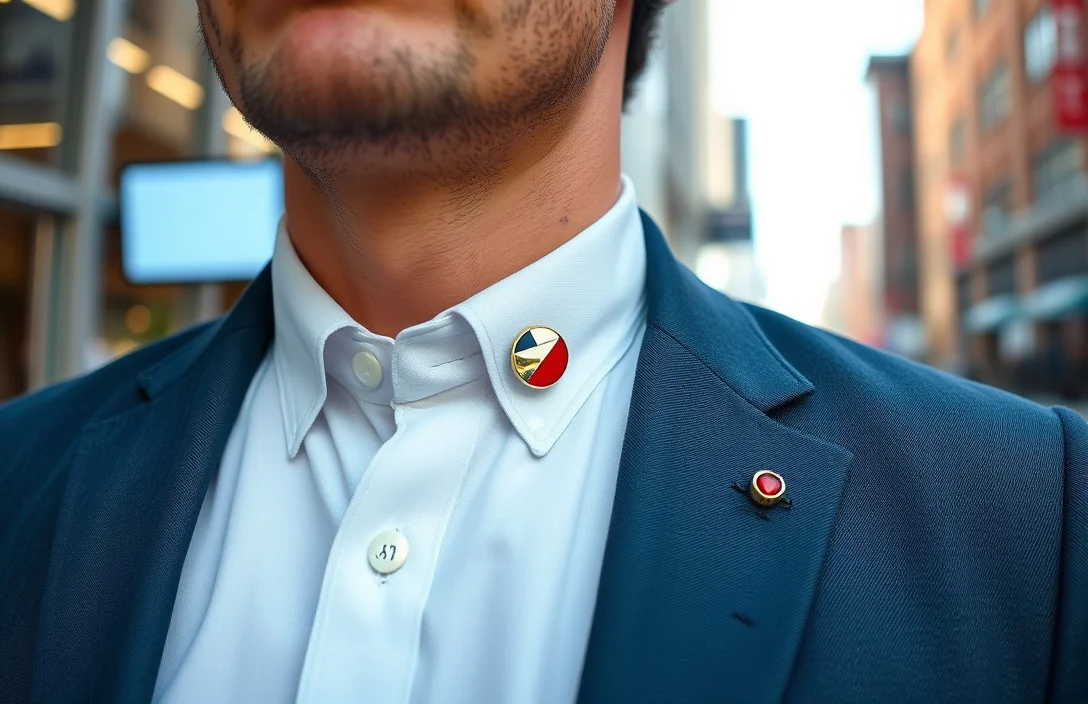
To use a collar pin, slide it through the two holes at the tips of the collar points. The decorative head sits on the outside, just above the knot of your tie, while the opposite end anchors inside the shirt. This effect results in a cleaner, more compact collar that maintains its shape throughout the event. If your shirt lacks collar pin holes, consider a collar bar or clip instead.
Key Takeaways
- Two holes required. A collar pin needs two small holes at each collar point.
- Shirt fit matters. Only shirts with proper collar holes and a compatible spread work well.
- Placement matters. The visible head should sit just above the tie knot.
- Care matters. Remove carefully to avoid pulling threads or tearing the holes.
- Alternatives exist. If holes aren’t present, collar bars or clips provide a similar effect with less risk.
What a collar pin does and when to wear it
A collar pin holds the collar points together and adds structure to a shirt that would otherwise appear soft or overly spread. It creates a defined line from the neck to the tie, projecting a deliberate, formal style. This accessory is not casual and is best suited for dress shirts, avoiding polo or flannel shirts. It’s appropriate for weddings, black-tie events, or formal business meetings when paired with a traditional tie and a well-fitted shirt.
When used correctly, a collar pin slightly raises the collar stand, allowing the knot to sit higher and the points to meet closely. This effect is subtle but significant, working best with collars that have a medium to wide spread. A narrow spread or a shirt without appropriate collar holes can make the pin look awkward or strain the fabric. Reserve collar pins for shirts designed for them, and pair them with a tie and jacket that suit a vintage or refined aesthetic.
Test the look in a mirror before committing. If the pin causes pulling at the collar points or warps the fabric, skip it. The goal is a clean line and comfortable wear, not a stiff appearance. In modern business settings, collar pins remain a niche option, but when styled correctly, they add a distinctive, tasteful finish.
How to tell if your shirt can take a collar pin
Most collar pins require two small holes in the collar points for insertion. If your shirt lacks these holes, a collar pin isn’t suitable. Check for neat, evenly spaced holes that align when the collar is closed. If the holes are stitched shut or missing, skip the pin. Some shirts may be labeled “collar pin ready” or come with removable collar stays; verify compatibility with the shirt model and size before proceeding.
The holes should be small and precise, so avoid shirts with frayed edges or weak fabric around the collar. If your collar has soft fabric or a delicate weave, the pin may cause snags or tearing. In such cases, a collar bar or clip, which exerts less stress on the fabric, is a safer choice. Test the accessory during a trial fitting at home before wearing it in public.
Additionally, assess the collar’s stiffness. If the fabric sags or the points misalign when buttoned, the pin will not sit correctly. A medium-to-light-stiffness collar supports a collar pin without looking forced. If your shirt features very short or sharp collar points, consider different accessories.
Step-by-step: using a collar pin

Insert the pin through the collar points, letting the decorative head rest on the outside, just above the knot. Avoid excessive force that could crease or tear the fabric. Aim for a smooth, secure connection that keeps the points aligned without restricting movement.
1) Inspect the shirt holes. Ensure they’re clean, aligned, and free of fraying. If damaged, don’t use the pin.
2) Align the collar points. Fold the collar so the points touch or sit at the desired spread according to your shirt’s design.
3) Insert the pin from the outside. Push it through the left hole first, then through the right, until it sits securely behind the collar.
4) Check the inside fit. Ensure the pin rests flat inside the shirt and doesn’t press against the skin or tie fabric.
5) Position the head. The decorative head should sit just above the knot of your tie, visible at the front.
6) Tie and adjust. Place your tie, knot snug but not strained, and adjust the collar to keep the points neat.
7) Try active movement. Move your head and neck slightly to confirm the pin doesn’t pinch or cause discomfort. If it does, reposition or skip the pin for that shirt.
Focus on holes, alignment, and gentle insertion. If any step causes resistance or fabric distortion, stop and reassess. This accessory isn’t a fix for poorly fitted shirts; it works best with well-made shirts designed for collar pins.
Choosing the right collar pin and care tips
Material matters. Brass, nickel, or steel pins offer different finishes and weights; heavier pins stay put but can press against the fabric, while lighter pins are gentler on delicate collars. The length should match the distance between the holes; too long and it digs into the collar’s interior, too short and it won’t hold the points together. Opt for a pin with a smooth head to avoid snagging fabric or catching the tie during movement.
Care is crucial because a collar pin interacts with both fabric and hardware. After wearing, wipe the pin with a soft cloth to remove oils and sweat. Check the holes for wear; if you notice fraying or widening, replace the shirt’s collar or skip the pin. Store the pin in a small case to prevent scratches on its finish. If you see rust, pitting, or dulling, replace it; corrosion can stain the fabric and worsen the hole over time.
Best practices include matching the pin’s metal finish to other accessories. If you wear gold-tone items, a gold or brass collar pin creates a cohesive look. For stainless or silver finishes, select a pin that mirrors that tone. The overall effect should be a consistent, deliberate aesthetic rather than mixed signals from mismatched metals.
Alternatives: collar bars, clips, and modern options
| Accessory | How it works | Best for | Pros | Cons |
|---|---|---|---|---|
| – | – | – | – | – |
| Collar pin | Threaded through two holes in the collar points; head sits outside | Shirts with genuine collar holes, vintage or formal looks | Classic, crisp line; subtle height adjustment | Requires holes; can damage delicate collars |
| Collar bar | A bar across the collar behind the tie knot; anchors inside the collar | Most modern dress shirts without holes | Easy to use; less fabric stress | Less traditional; still noticeable |
| Collar clip | Clip attaches to the collar points from the outside | Shirts without holes; casual to formal use | Simple; adjustable grip | Can look toggled or temporary; may pinch fabric |
| No accessory | Leave collar free | Anytime comfort is priority | Maximum flexibility; no risk of damage | Lacks the formal, vintage effect |
For shirts without holes, a collar bar or clip provides a similar silhouette with fewer risks. A collar bar remains hidden behind the knot and adds a clean line, while a clip clamps onto the collar points without penetrating the fabric. Both options are safer for modern shirt construction and for anyone seeking a more versatile approach.
Careful selection matters. Choose an accessory that suits your shirt spread, neck size, and the event’s formality. For daily wear, a clip or bar may be preferable, minimizing fabric stress and reducing the chance of tearing. For weddings or formal events where you want a distinct look, a properly fitted collar pin with a compatible shirt remains stylish.
Common mistakes and troubleshooting
Misalignment is the leading cause of collar pin failure. If the holes don’t line up when the collar is closed, you’ll end up with a crooked line that draws unwanted attention. Examine both sides of the collar before inserting the pin. If you detect misalignment, adjust the collar and reinsert. Don’t force the pin through misaligned holes, as this can damage threads and fabric.
Another frequent error is wearing a collar pin with a narrow spread. A pin positioned too high or too low relative to the knot creates an awkward angle. If unsure, test the look with a staging outfit before a formal event. Comfort is also crucial; if the pin presses against your skin or pulls at the seams, remove it. The goal is a clean line that feels comfortable, not a stiff accessory.
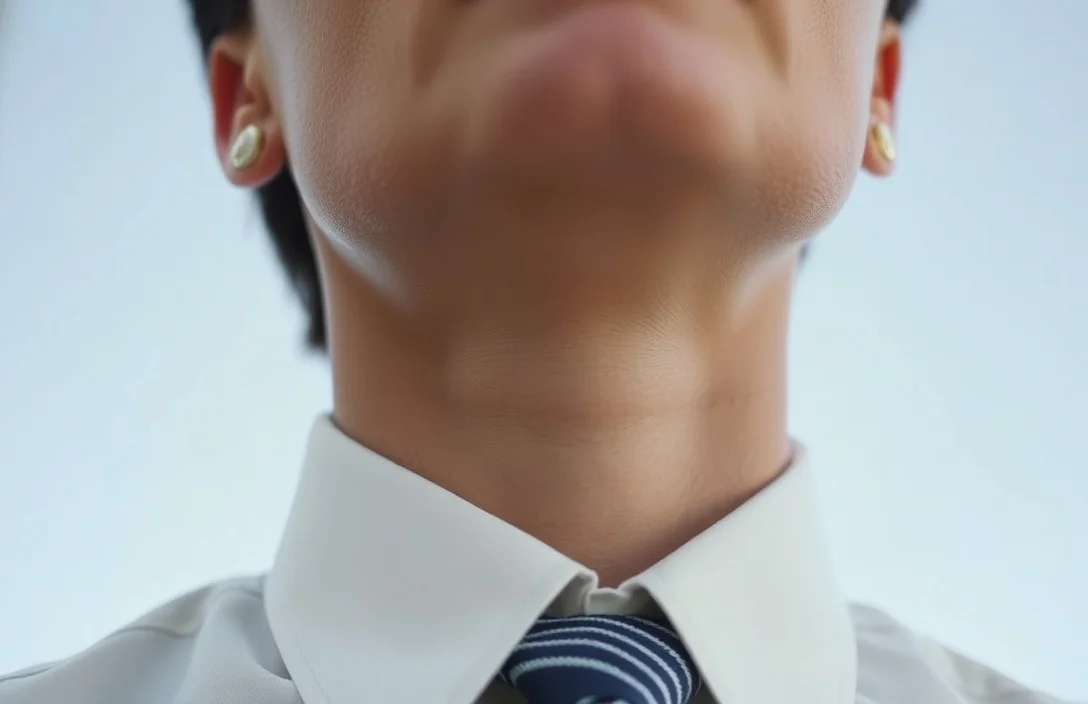
Finally, consider the knot. A bulky tie can push the collar up against the chin, creating discomfort under the pin. If your knot is thick, switch to a slimmer tie or adjust the pin’s position slightly. Achieving the right balance between knot height and collar height is essential for a polished, comfortable look.
when to wear a collar pin
A collar pin signals a deliberate, vintage-inspired style, pairing well with classic suits and formal footwear. It’s not a universal accessory; reserve it for occasions where a refined, old-school aesthetic is appropriate. Skip the pin for business-casual dress codes or casual office days to maintain a relaxed vibe. For weddings, ceremonies, or black-tie evenings, a collar pin can elevate your look when matched with a well-fitted shirt and a conservative, well-knotted tie.
Consider your audience and setting. A collar pin conveys intentionality and tradition, making it less suited for creative industries or casual gatherings. If uncertain, check the look in a mirror before stepping out. The key is to maintain a sharp silhouette while ensuring comfort during movement and conversation.
FAQ
Is a collar pin only for old-fashioned looks?
A collar pin is a vintage-inspired accessory that delivers a crisp, tailored line when worn with the right shirt. It works best with shirts that have two holes at the collar points and a medium to wide spread. If your shirt lacks those holes, consider a collar bar or clip for a similar effect without altering the fabric.
How many holes does a collar pin use on the shirt?
Two holes. The pin passes through the holes from the outside to the inside, with the decorative head visible on the front and the back supported inside the collar. If the holes aren’t present or aligned, don’t force the pin; you risk tearing the fabric.
Where should the pin sit relative to the knot?
About 1 centimeter above the knot. The head rests on the outside, directly above the knot, creating a clean line from the neck to the tie. If the pin sits too high or low, the look shifts away from sharp, vintage sophistication.
Can I wear a collar pin with any shirt I own?
No. Only shirts designed with collar holes at the points will work reliably. If your shirt has a conventional collar without holes, use a collar bar or clip instead to avoid fabric damage and misalignment.
What are common mistakes to avoid when using a collar pin?
Misalignment of the holes, excessive force during insertion, and wearing the pin with a knot that’s too bulky. Each of these can create a crooked line, fabric stress, or discomfort. If you feel anything pinching or pulling, remove and reinsert with care.