
How To Align Collar Pins? A Step-by-step Tutorial
Getting the collar pins lined up correctly instantly elevates your shirt’s silhouette. When done right, the pins hold the collar edges evenly and keep the points crisp under a tie. You’ll need two collar pins, a clean shirt, a mirror, and a flat work surface. Follow these steps to ensure precision every time.
Key Takeaways
- Prerequisites. Use an ironed shirt, two collar pins, a mirror, and a stable workspace for best results.
- Placement rule. Pins must align horizontally across both collar points for symmetry.
- Insertion technique. Insert pins straight through the fabric layers; avoid twisting to prevent damage.
- Check flushness. Pins should lie flat and not protrude when the shirt is worn.
- Common mistakes. Crooked lines or misaligned pins require rechecking before finalizing.
- Care and storage. Store pins in a small jar to prevent loss and corrosion.
What collar pins are and how they work
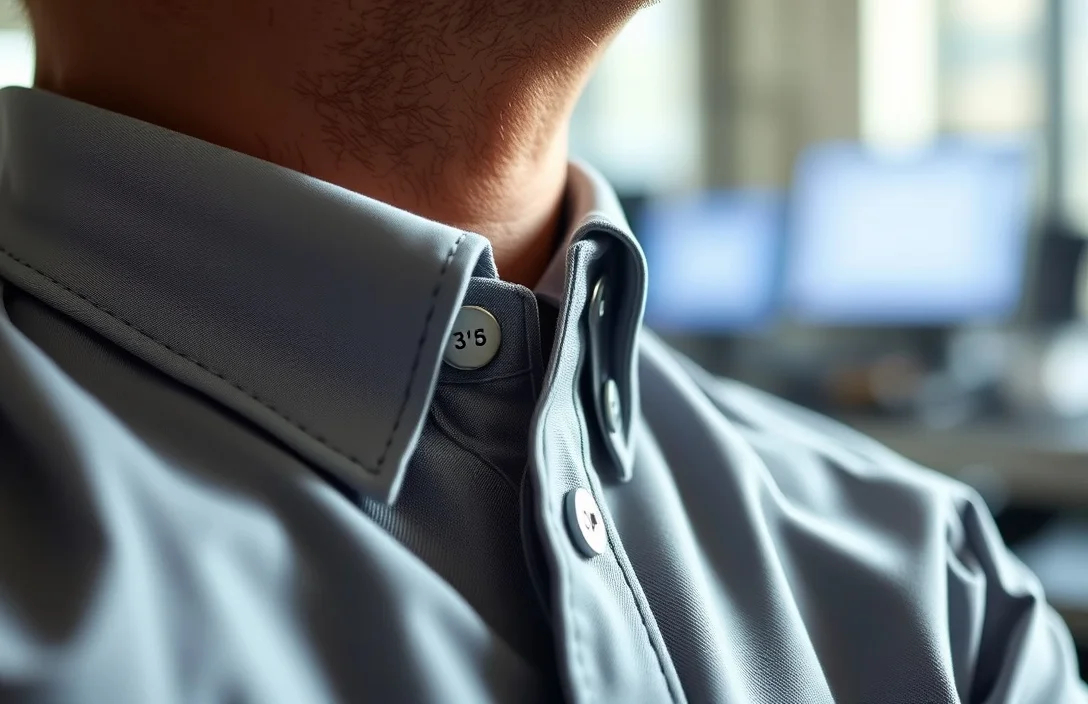
Collar pins are small devices that thread through pre-punched holes in the collar to raise the collar points and keep them aligned. They create a vertical focal line that anchors the collar away from the neck, reducing curl and improving the shirt’s overall shape under a tie. The effect is most noticeable on dress shirts with a medium to high collar, where the rise matters for a crisp look.
When worn, the fabric is held between the pin and the button or stud behind the collar. The goal isn’t to squeeze the collar flat; it’s to create a clean hinge that preserves the collar’s edge. If the pin sits crooked or angles outward, it can create a visible tilt and a lopsided silhouette. The right pin material, finish, and fit matter because rough edges or a poor bend can snag the fabric over time.
The alignment of the pins determines how evenly the collar points sit. Correct placement yields a straight line from the collar tip through the middle of the tie knot area, with both pins on the same horizontal plane. Misalignment shows up as a skewed collar line or a pin that looks offset in the mirror. A well-aligned pair behaves predictably across many wears, making daily dressing easier.
Prerequisites and setup
Prepare a clean shirt, two straight pins designed for fabric use, a small mirror, and a stable work surface. A seam guide or ruler helps verify a consistent horizontal line across the collar. The goal is to minimize fabric movement once you start, so choose a quiet setup without drafts or busy surroundings.
Begin by ironing the collar area and smoothing the shirt front. Pressing reduces the chance of the pins catching on stray fibers later. Scout the collar holes or pilot marks – many shirts with collar pins have two holes per side. If your shirt lacks dedicated holes, avoid forcing pins into the fabric; use a proper collar pin kit compatible with your shirt. Finally, stand in front of the mirror to map the line you want the pins to share. A clear target helps you insert the pins straight and level.
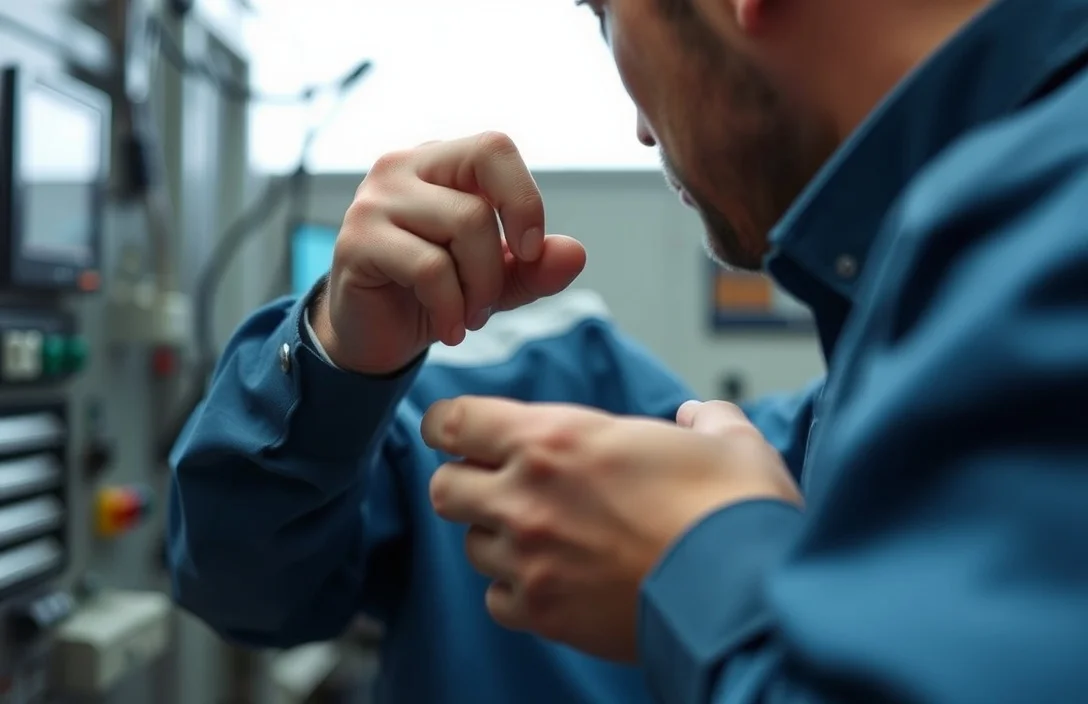
Positioning matters more than force. A gentle approach keeps the fabric stable and reduces the risk of wrinkling around the collar edge. Slide the pin cleanly through both layers with minimal resistance. If you feel resistance, back out and realign rather than forcing the pin. Patience here pays off in a cleaner, longer-lasting result.
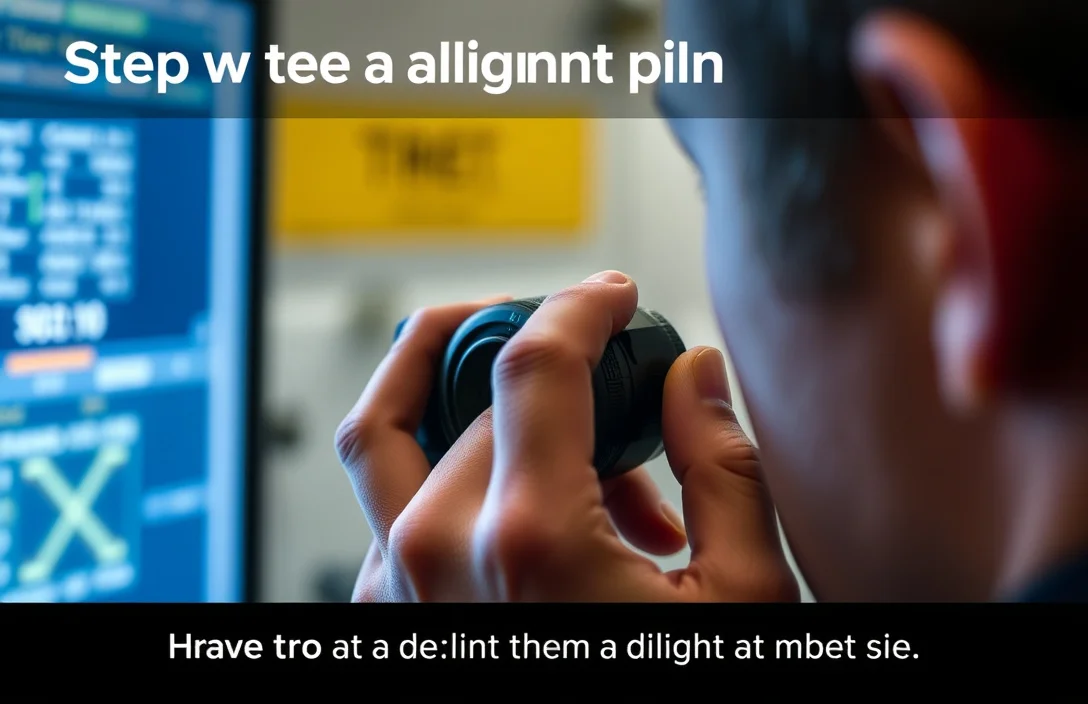
Step-by-step alignment guide
- Begin with a pressed, clean shirt and a stable surface.
- Place the first pin on the front collar edge at the outer point, with the pinhead facing outward.
- Align the second pin to mirror the first on the opposite side so both pins share a common horizontal line.
- Insert the pins straight through both layers, keeping the fabric flat and untwisted.
- Check that the pins sit flush and do not protrude beyond the collar edge.
- Verify symmetry in a mirror, adjusting both pins as needed to correct any tilt.
- Wear and recheck in person to confirm the line remains even once the tie is looped.
On a classic point collar, pins often sit just behind the collar edge, creating a clean line under the knot. For a spread collar, align the pins so they sit on the same plane relative to the tie area, ensuring the collar points rise evenly. You’ll repeat this process on different shirts to build a consistent feel.
Troubleshooting and common mistakes
Two key issues derail alignment: skewed lines and fabric snagging. If the line looks crooked in the mirror, back out the pins and reinsert with a tiny shift. A minor rotation of the pin can make a noticeable difference in the final silhouette. If you notice fabric snagging around the holes, check for burrs or fibers that caught on the pins. Gently smooth the area before reinserting.
Another common mistake is using pins that are too long or sharp for the fabric. Long pins can poke through the underside and be uncomfortable; sharp points can snag threads over time. Use pins with smooth, rounded edges and an appropriate length for your shirt’s collar. Avoid forcing pins through stiff collars not designed for pin use. If the fabric feels unusually stiff, skip the pin technique and consider alternatives like a collar stay.
If the pins aren’t flush, you’ll see a raised edge under the collar. Fix this by slightly adjusting the insertion angle and confirming the pins sit flat. If you routinely see misalignment, double-check your shirt’s collar shape and the pin’s alignment with the center seam. A consistent technique reduces these issues over time.
Types and materials (and how to choose)
| Type | Pros | Cons | Best For |
|---|---|---|---|
| Stainless steel pin | Durable, rust-resistant, easy to clean | Can feel cold; heavier | Everyday wear, high-quality dress shirts |
| Brass pin | Light, polished finish, classic look | Thicker neck; may require larger holes | Traditional shirts, formal events |
| Nickeled or chrome pin | Sleek appearance, compatible with most metals | Risks scratching delicate fabrics | Modern collars, professional settings |
| Plastic-coated pin | Gentle on fabrics, low snag risk | Less durable; may wear over time | Budget-friendly outfits, casual wear |
Two-pin alignment works across most collar types, but material choice matters for longevity and fabric compatibility. If you frequently machine wash shirts, stainless steel or nickel-plated options reduce rust risk. For delicate fabrics or vintage collars, a plastic-coated pin can minimize snagging while still providing the needed lift.
Real-world variations by collar style
For a classic point collar, aim for pins that create a gentle rise without lifting the collar too aggressively. This keeps the tie knot proportionate and the shirt’s neck area comfortable. A spread collar benefits from a level line that mirrors the gap between the collar points; otherwise, the look can feel off and the tie may dominate the neck area.
A club or rounded collar demands careful pin placement to preserve the softness of the edge. Misplaced pins can create an awkward bump that shows under a shirt run or a loosely tied knot. Test alignment with a mirror and adjust to suit the collar’s natural curve. The right setup respects the collar’s form while delivering a clean, confident silhouette.
Maintenance and care
Keep collar pins clean and dry after wearing. Wipe them with a soft cloth to remove oils and sweat. Store pins in a small, labeled container so you always have two matching pins ready. When you notice slight bending or burrs, replace the pair rather than forcing them back into shape. This reduces snag risk and preserves the pins’ edge.
Regularly check the collar holes for wear, especially if you use pins often. If holes loosen, you may need a different pin length or a collar pin kit designed for thicker collars. A routine of pressing the collar, inspecting the holes, and aligning in front of a mirror keeps the process fast and reliable.
Two pins aligned on the same line deliver a clean, balanced collar. Practice on one shirt, then lock in a repeatable placement for future wear. Start with a standard two-pin setup, verify in a mirror, and adjust consistently as you gain confidence.
FAQ
Do collar pins work with all shirt fabrics?
Yes for most cotton and cotton blends, but delicate fabrics like silk can snag. Use pins with smooth edges and the smallest possible head to minimize friction.
How long does it take to learn proper alignment?
About a week of regular practice on different collars usually yields consistent results. Start with two shirts and compare outcomes in the mirror.
Are collar pins uncomfortable?
Not if positioned correctly. When inserted straight and flush, they sit between layers without pressing on the neck.
Can I remove and reinsert pins quickly?
Yes, but do it gently. Repositioning once or twice in the same session is common while you’re learning.
What are solid alternatives if I don’t want to use pins?
Collar stays or magnetic collar bars provide similar lift without puncturing the fabric and are easier to adjust on the fly.
Two pins aligned on a single horizontal line deliver a clean, balanced collar. Practice on a few shirts to establish a repeatable placement, then use the same setup for everyday wear. Next step: pick a pin type that matches your shirt fabric and commit to a two-pin routine for consistent results.