How To Dress A Collar Pin? Tips For A Perfect Look
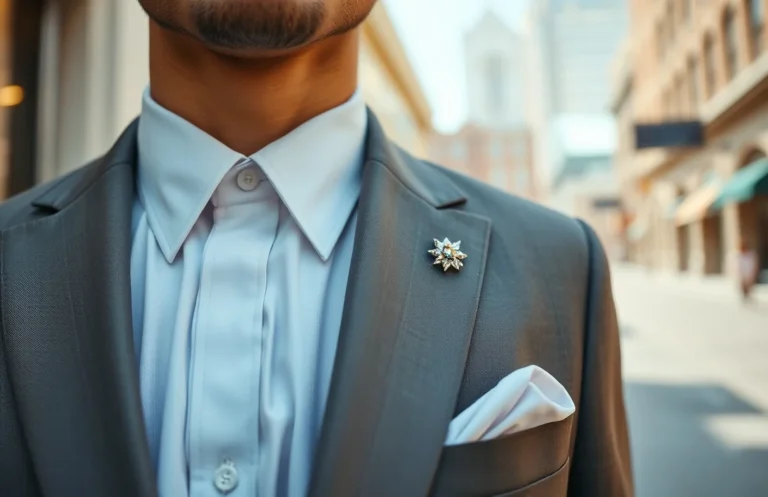
Dressing a collar pin correctly yields a sharp, understated edge to a dress shirt. With the right shirt, pin height, and careful insertion, you create a clean vertical line that keeps the collars aligned and the knot looking neat. This small detail signals precision without shouting.
Collar pin setup is simple: insert the pin between the two collar layers at about the fourth button, slide the decorative ends to sit on each collar tip, and adjust the knot so the pin remains visible and secure. Keep the shirt pressed and avoid twisting the collar. A properly dressed collar pin reads purposeful, not fussy.
Key Takeaways
- Height at fourth button. Place the pin at roughly the fourth button height for a balanced, symmetric line.
- Collar alignment. Ensure both collar layers lie flat and parallel before insertion to avoid twisting.
- End tips. Slide the end beads to rest on the collar tips, not inside the knot.
- Right type. Use a proper collar pin or collar bar compatible with your shirt’s collar.
- Avoid over-tightening. The pin should sit snugly without pinching or forcing its way through.
- Care after wear. Remove gently, wipe, and store flat to prevent bending.
What You Need Before You Begin
A clean, pressed dress shirt with a collar that can accept a pin is essential. The collar must sit flat with enough space between layers. If it feels tight or the layers don’t separate easily, you’ll battle alignment and pin stability.
Have the right pin ready. A classic collar pin has two small beads or ends that rest on the collar tips. If your shirt lacks the necessary holes or enough spacing between layers, a collar bar is a safer alternative. Also, have a tie whose width fits the collar’s spread; a pin can exaggerate a narrow knot if the tie is too wide or bulky.
Checklist before you start:
- Clean shirt, pressed, no lint near the collar.
- Collar with enough space between layers for a pin to pass through.
- Correct pin type for your collar (pin vs bar).
- Tie of appropriate width for the collar spread.
- Small magnifying light or good lighting to verify alignment.
Gathering these items beforehand reduces fiddling at the mirror and lowers the chance of bending or damaging the collar.
Collar Pin Types and Compatibility
You’ll encounter a couple of common forms. A plain straight collar pin with decorative ends sits between the collars and is visible on the outside. A collar bar crosses the collar gap like a tiny rod that goes behind the knot, offering a cleaner, minimal line. Some shirts pair better with pins, others with bars; most classic, formal looks favor a pin that physically threads through the collar layers.
Start with compatibility. Spread collars with a healthy gap typically handle a classic pin well. Point collars or those with a tight bite often require a shorter pin or a collar bar. For casual or fashion-forward shirts, a collar bar feels less fussy while still producing a tidy line. If your shirt lacks holes or the collar layers don’t separate, don’t force a pin through; use a bar or skip the pin entirely.
Here’s a quick reference to types and when to use them:
| Type | Best For | Notes |
|---|---|---|
| Collar pin | Spread collars and standard dress shirts | Visible ends sit on collar tips; classic, formal look |
| Collar bar | Narrow gaps or collars without through-holes | Sits across the collar; no thread-through required |
| Studded or decorative pin | Fashion-forward or casual shirts | Ends may be more pronounced; ensure shirt thickness doesn’t crowd the knot |
The simplest choice for most formal shirts remains the traditional collar pin. If your collar is particularly slim or your tie is wide, a bar can deliver the cleaner line you want without crowding the knot.
How to Dress a Collar Pin

Before you start, verify that your collar can accommodate the pin and unbutton enough of the shirt to let the pin pass through the collar layers. Here are the steps:
1) Check the collar and shirt. Confirm there is space between the two collar layers and that the pin length matches your shirt’s collar gap. If the gap is too tight, don’t force a pin through; reassess with a bar or a different shirt.
2) Unbutton the top four buttons. This creates room to work and aligns the fabric for a clean insertion. You want the collar layers to sit naturally, not stretched.
3) Align the collars. Bring the two collar points into a straight line, with the inner surfaces facing each other. The space between them should be even so the pin can pass through both layers.
4) Insert the pin through both collars. Center the pin so it passes perpendicularly through the collar layers at the chosen height – roughly the fourth button height. Keep it straight for even pressure.
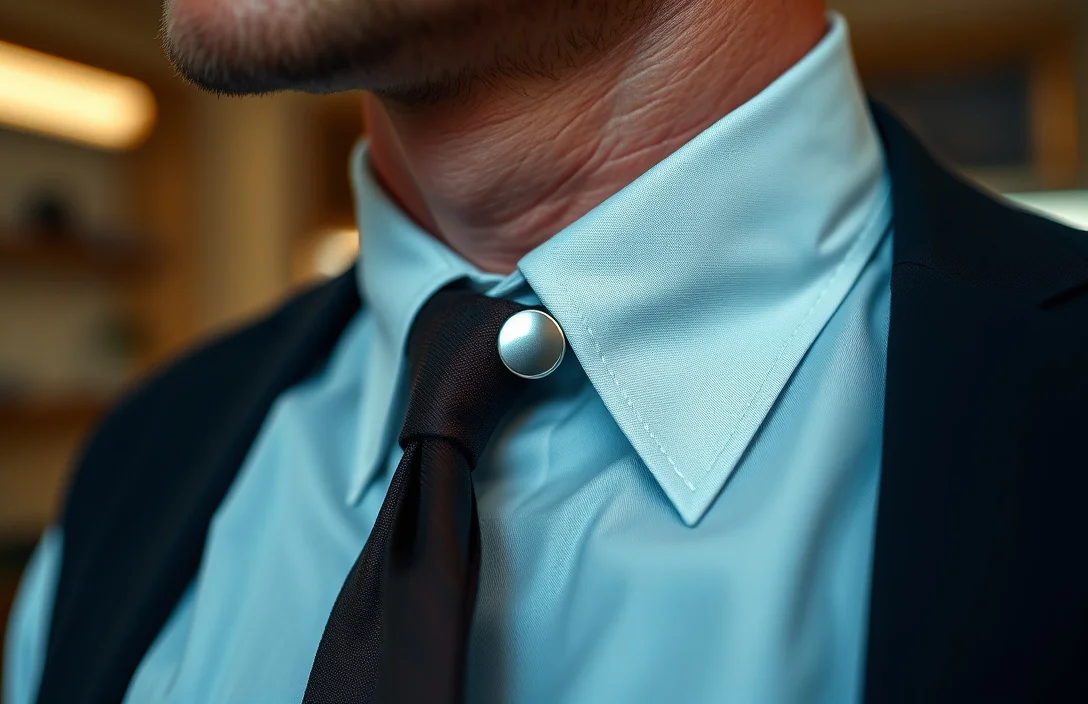
5) Slide the ends to the collar tips. The decorative ends should rest on the outer edge of each collar tip, not pressed into the knot or fabric. They should look like small beads perched at the corners.
6) Dress the knot and adjust. Tie your knot as you normally would, positioning the pin just above it. The line of the collars should remain straight and the knot should appear tidy, not bulky.
7) Inspect and finalize. Check that the pin lies flat and that the collar edges are even. If the pin protrudes or causes wrinkling, remove it and reinsert, ensuring proper alignment.
A quick demonstration helps. Imagine a spread collar and a standard tie. After aligning the collars, you slide the pin through in a clean, flat line, then adjust the ends to rest on the collar tips. The knot should sit higher than the pin but not obscure it, creating a balanced, intentional look.
Troubleshooting and Common Mistakes
Mistakes are often about alignment or height. A pin that sits crooked or pulls the collar away from the neck reads as sloppy. The cure is usually rechecking alignment and height before reinserting.
Common issues and fixes:

- Pin won’t pass through both collars. This means the collar gap is too tight or the pin length is too long. Try a shorter pin or switch to a collar bar if you can’t create space without damaging fabric.
- Ends don’t sit on the collar tips. Reposition the pin so the ends anchor at the tips. Make sure the collars are flat and parallel before reinserting.
- Collar bunching around the pin. This happens when the knot is too tight or the tie is too thick for the collar gap. Loosen the knot slightly and ensure the tie lies flat against the shirt.
- Pin feels loose or spins around. Reinsert with the collar fully aligned and ensure the pin is centered. The ends should grip the collar edge, not the fabric.
- Skin pinching or discomfort. Stop immediately; the pin should sit cleanly between collars without contacting skin. If you feel pressure, drop the pin height a notch or switch to a bar.
For performance in formal settings, practice with a mirror and a cheap shirt first. The goal is a clean, vertical line from the collar to the knot, with the ends resting confidently on the collar tips.
Care and Maintenance
Collar pins are metal and can tarnish or bend with careless handling. Clean them after wear with a soft cloth and mild metal cleaner if needed. Avoid storing pins in humid environments; a small jewelry box or pouch reduces contact with other metal pieces and prevents scratching.
If a pin bends, don’t force it straight. A slight bend may affect alignment and cause discomfort. Replace a damaged pin rather than risking collar damage. Store it with its ends capped or in its original case to avoid accidental scratches on shirts or skin.
Alternatives and Styling Tips
If you’re new to collar pins or unsure about the look, start with a collar bar. It delivers a clean, minimal line and doesn’t require threading through collar holes. For casual settings, skip the pin entirely and rely on a crisp collar and tight knot for a sharp silhouette.
Metal options matter. Brass, gold-tone, or silver-tone collar pins pair differently with suit colors and shirt fabrics. A cool-toned suit and white shirt read stricter; warmer metals complement earth tones or navy tones. Match your metals subtly with cufflinks or belt hardware for a cohesive, intentional look.
You can rotate between three setups: pin for formal evenings, bar for business-casual days, and none for relaxed events. This keeps your wardrobe flexible without sacrificing polish.
Practice, Evaluation, and Next
Start with one shirt you know fits well and a pin you’re comfortable handling. Practice dressing the collar pin in front of a mirror, then wear it for a short test period to see how it reads in real lighting and with a live knot. If unsure, choose a conservative height and a classic metal finish.
Practical next steps:
- Pick a pin that matches your typical suit metals for a cohesive look.
- Practice with two shirts of different collars (spread and point) to learn how height affects the silhouette.
- If any doubt remains about button height or collar spacing, test with a bar or skip the pin for your next formal event.
A collar pin isn’t about risk or flash; it’s a quiet cue of dress sense. With the right shirt and careful insertion, the line from neck to knot becomes crisper.
Closing Verdict and Next Actions
A collar pin elevates a traditional shirt when used with care. Start with a spread collar, verify there’s enough space between collar layers, and insert at roughly the fourth button height. If the collar won’t accept a pin, switch to a collar bar or skip the detail. Your next step: choose a pin that matches your typical metals and practice on a spare shirt before wearing it on an important day.
FAQ
What exactly is a collar pin and when should I wear one?
A collar pin is a small bar or pin that sits between a shirt’s collar layers to keep the collars aligned and the tie knot neat. It works best for formal, crisp looks with spread collars, typically in business or wedding settings. Use only with collars designed to accommodate it.
Do I need a special shirt to use a collar pin?
Yes. Choose shirts with enough collar spacing and holes that accommodate the pin. If the collar is too tight or lacks space, a collar bar or skipping the pin is safer and looks cleaner.
How do I choose the right height for the pin?
Aim for roughly the fourth button height, ensuring the pin sits above the knot and the ends anchor on the collar tips. Height consistency is key for a symmetrical line.
What are common mistakes to avoid with collar pins?
Avoid pinning through collar fabric that doesn’t have space, misplacing the pin, or letting the ends misalign with the collar tips. Also, avoid pins that pinch skin or cause wrinkling around the knot.
Are there safer alternatives if I don’t want to use a pin?
Yes. A collar bar provides a similar effect without threading through the collars and can be a good option for thinner collars or tighter spacing. For a minimal look, skip the pin entirely and rely on a tight knot and crisp collar.